 Pin It
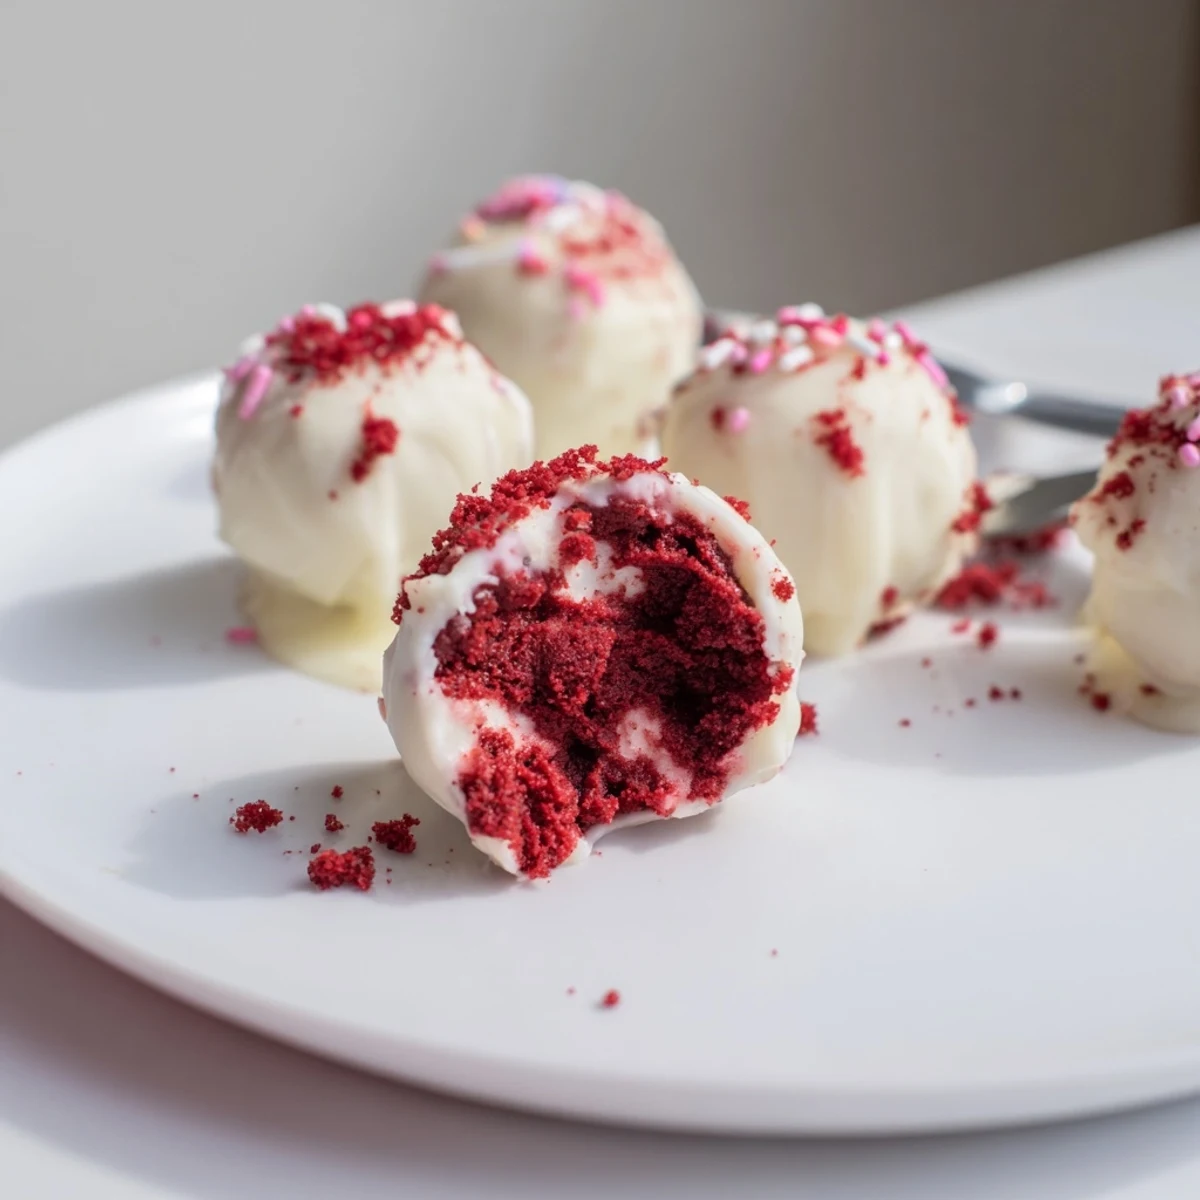
 Crumble baked red velvet into fine crumbs and fold together with softened cream cheese, powdered sugar and vanilla until a soft, pliable mixture forms. Portion into tablespoon-sized balls, chill until firm, then dip in gently melted chocolate. Let excess drip off, decorate with crumbs or sprinkles, and allow coatings to set before serving. Store chilled up to five days.
My kitchen counter looked like a crime scene the first time I made these, red crumbs everywhere, but one bite of that creamy center under a crisp chocolate shell and I stopped caring about the mess entirely.
I brought a tray of these to a friends potluck and watched three people argue over who got the last one.
Ingredients
- Red velvet cake (300 g, fully baked and cooled): Store-bought works perfectly here, and actually crumbles more evenly than some homemade versions I have tried.
- Cream cheese (200 g, softened): Leave it on the counter for at least an hour because cold cream cheese will leave ugly lumps in your filling.
- Powdered sugar (40 g): Just enough sweetness to pull the cheesecake flavor together without making it cloying.
- Vanilla extract (1 tsp): A small amount but it bridges the gap between the cake and the cream cheese beautifully.
- White chocolate (250 g): Use good quality coating chocolate since cheap white chocolate can seize and ruin the dip.
- Red food coloring (optional): A few drops in the melted coating give a gorgeous deep red finish that looks stunning on a dessert table.
- Red velvet crumbs or sprinkles (optional): Save a handful of cake crumbs before mixing for a rustic decoration that hints at what is inside.
Instructions
- Reduce the cake to crumbs:
- Break the red velvet cake into pieces and rub them between your fingers over a large bowl until you have a fine, even crumb with no large chunks hiding anywhere.
- Whip the cheesecake filling:
- Beat the softened cream cheese, powdered sugar, and vanilla together until completely smooth and silky, scraping down the bowl once to catch any stubborn bits.
- Bring it all together:
- Pour the cream cheese mixture over the crumbs and work it through with your hands or a spoon until every speck of cake is coated and the texture resembles a soft, pliable dough.
- Roll into balls:
- Scoop tablespoon-sized portions and roll them gently between your palms, placing each one on a parchment-lined tray as you go.
- Chill until firm:
- Slide the tray into the refrigerator for at least one hour so the balls hold their shape when you dip them later.
- Melt the chocolate:
- Warm the white chocolate in short microwave bursts or over a double boiler, stirring between each round until it flows smoothly, then stir in red coloring if you want that dramatic crimson coat.
- Dip and coat:
- Drop each chilled ball into the chocolate, roll it to cover completely, lift it out with a fork letting the excess drip away, and set it gently back on the parchment.
- Decorate while wet:
- Scatter crumbs or sprinkles over the tops immediately before the chocolate sets because once it hardens nothing will stick.
- Let them set:
- Leave the finished balls at room temperature or pop them back in the fridge until the coating is firm and dry to the touch.
 Pin It
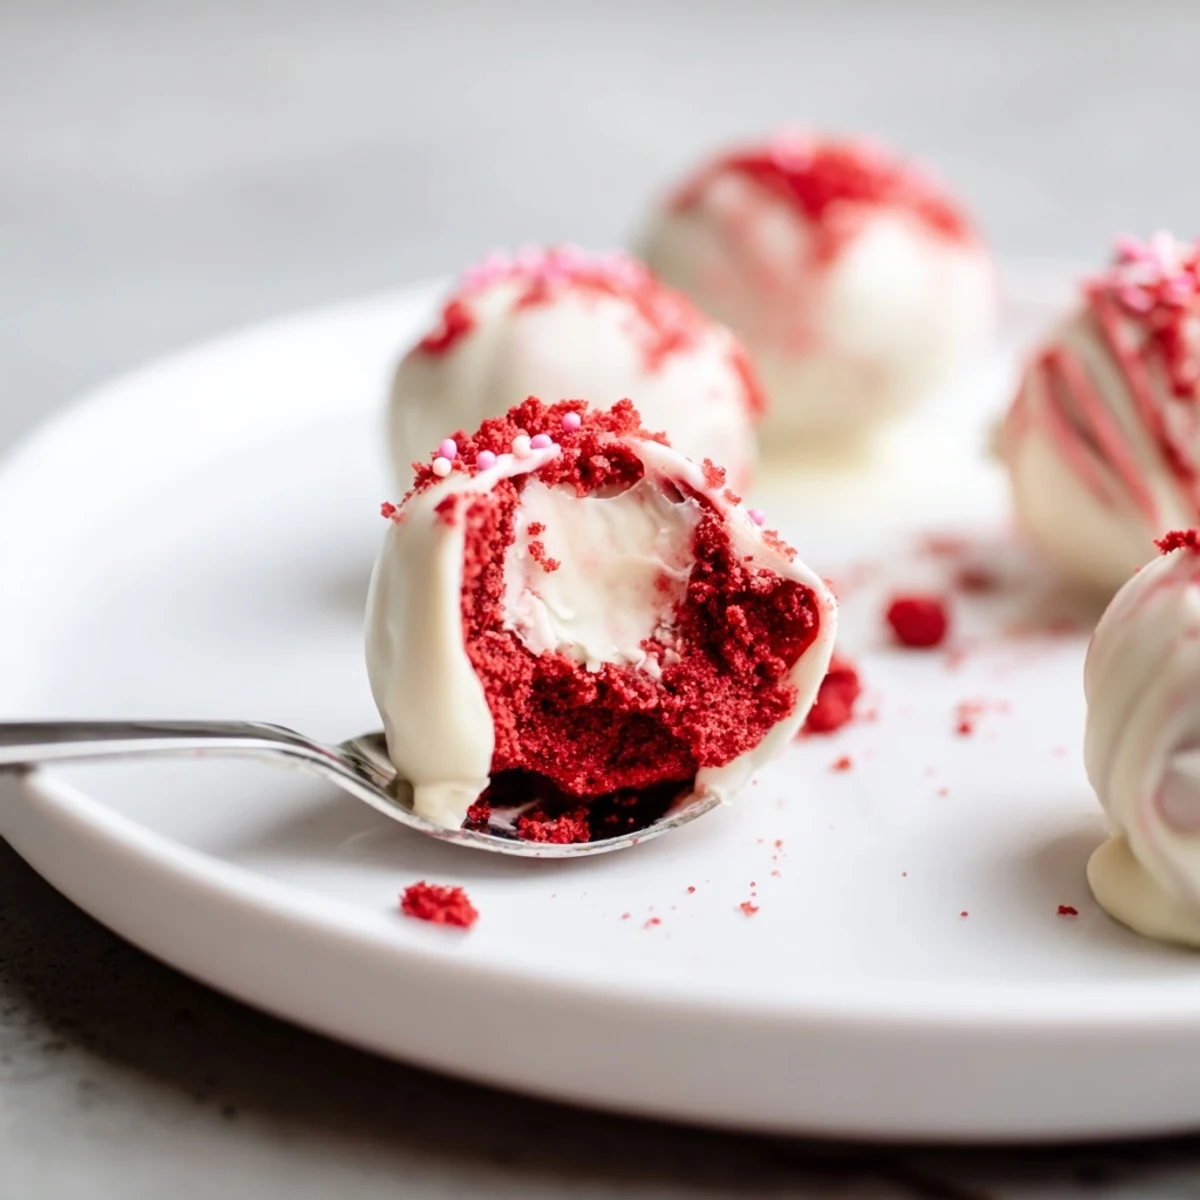
 The moment someone bites into one and discovers that creamy cheesecake heart hiding under the chocolate shell, you will see their eyes light up every single time.
Storing and Making Ahead
These keep beautifully in an airtight container in the refrigerator for up to five days, and honestly the chocolate coating gets even snappier after a night of resting.
Swaps and Variations
Dark or milk chocolate makes a less sweet but equally delicious coating, and I once rolled a batch in crushed toasted pecans which added a wonderful crunch that people could not stop talking about.
A Few Final Thoughts
Treat this recipe as a template rather than a rule book and you will find yourself coming back to it for every gathering that calls for something sweet and impressive.
- Always taste your cream cheese mixture before combining it with the crumbs so you can adjust the sweetness to your liking.
- A small cookie scoop saves time and gives you uniform balls that look professional.
- Remember to pull them from the fridge about ten minutes before serving so the cheesecake center softens to its best texture.
 Pin It
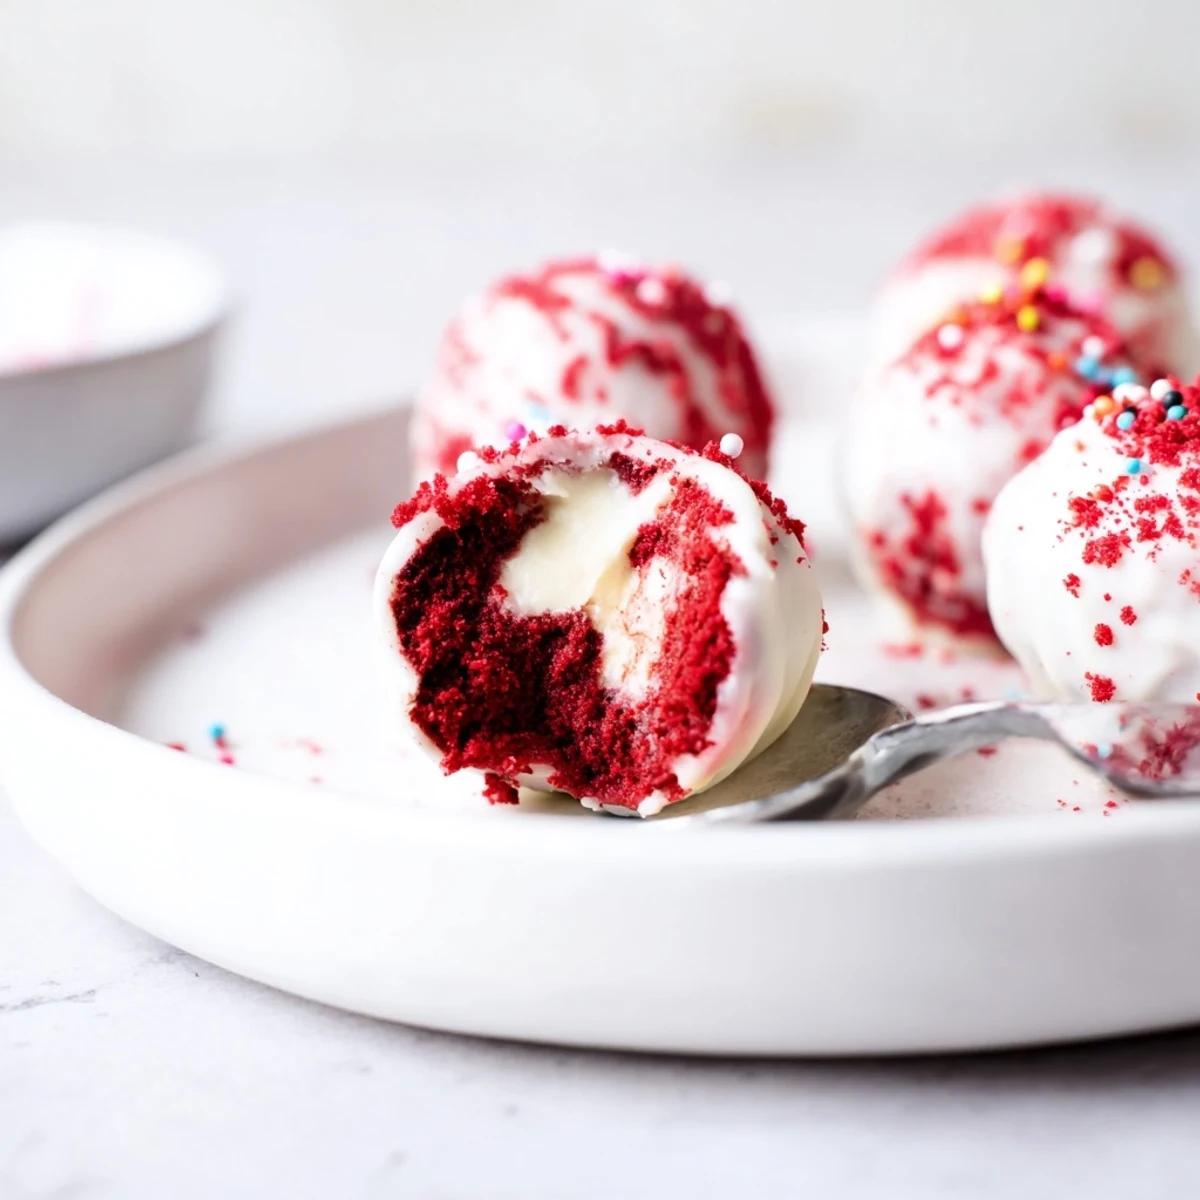
 Roll up your sleeves, embrace the crumbs, and share these little bites of joy with anyone lucky enough to be in your kitchen.
Recipe FAQs
- → How can I stop the chocolate coating from cracking?
-
Melt chocolate slowly and avoid overheating; allow balls to come straight from the fridge so the coating sets quickly. Tempered chocolate or adding a small amount of neutral oil helps keep the shell glossy and minimizes cracking when chilled.
- → Can I use a different cake or flavor?
-
Yes. Any moist cake works—vanilla or chocolate change the overall flavor. Adjust sweetness in the filling if using a sweeter cake, and taste the mixture before chilling to balance flavors.
- → How do I firm up the filling if it’s too soft?
-
Increase powdered sugar by a tablespoon at a time or chill the mixture longer before rolling. Adding a small amount of crushed nuts or toasted coconut also helps absorb moisture and adds texture.
- → Can these be frozen for later?
-
Freeze on a tray until solid, then transfer to an airtight container with parchment between layers. Thaw in the refrigerator before serving to avoid condensation on the chocolate coating.
- → What’s the best way to color the coating?
-
Use oil-based or cocoa-butter-compatible gel colors for chocolate to avoid seizing; for white chocolate, colored melts are an easy option. Add color sparingly and mix thoroughly for an even hue.
- → How should I address common allergens?
-
Substitute dairy cream cheese with plant-based alternatives and use gluten-free cake if needed. Choose allergen-free chocolate and always check labels on store-bought cake or chocolate for hidden ingredients.
