 Pin It
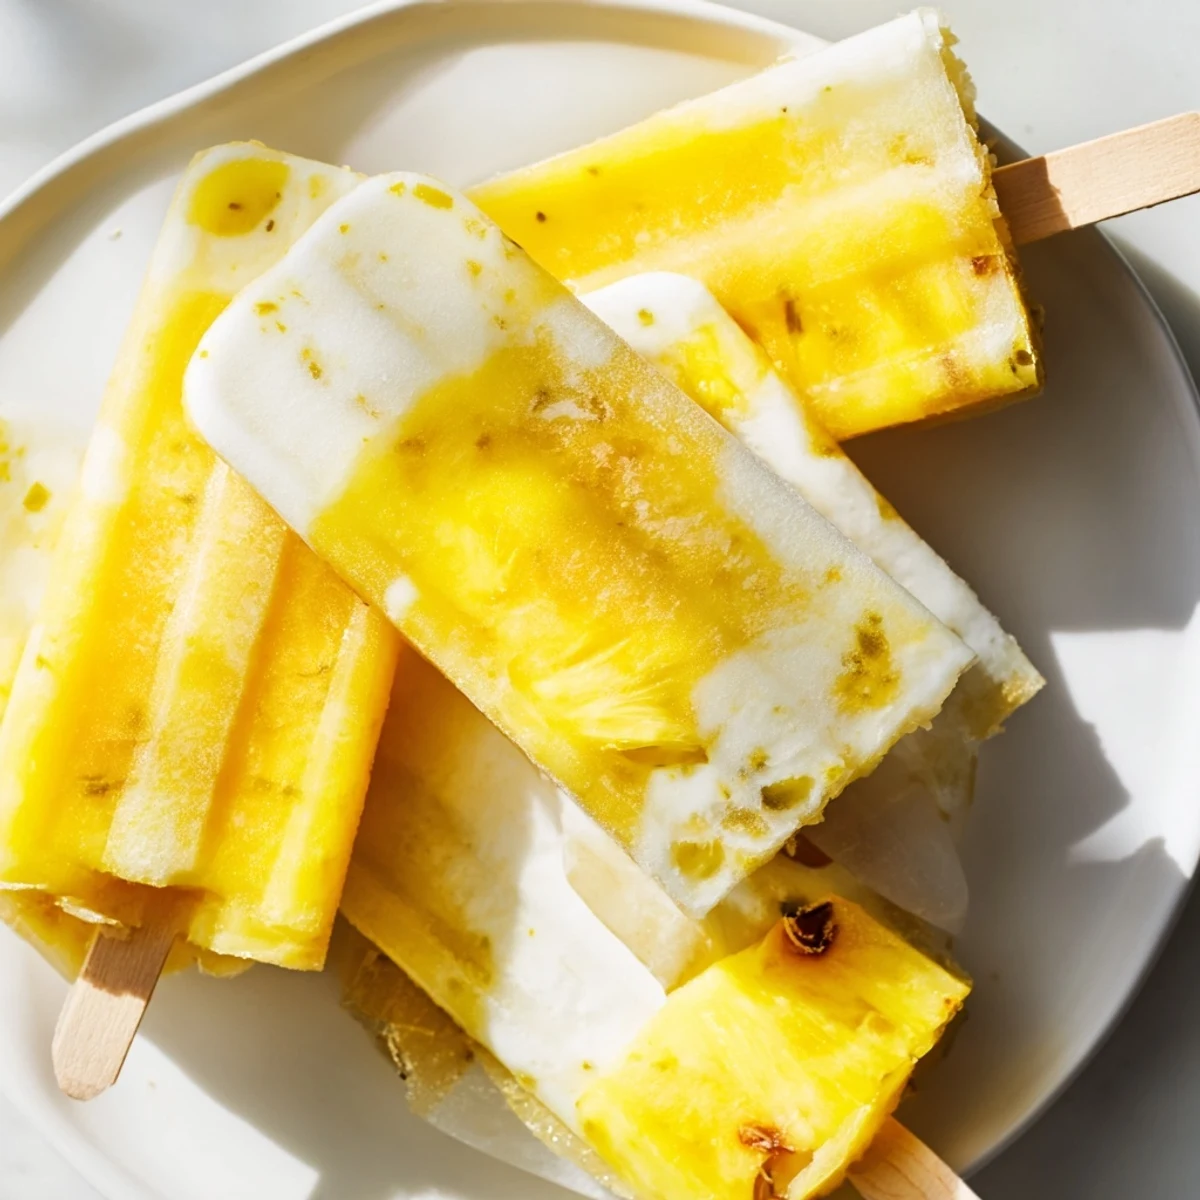
 These vibrant popsicles blend sweet pineapple puree with a rich coconut milk and lime mixture, creating a marbled tropical treat. With just 10 minutes of prep, they're an easy dairy-free dessert. Swirl layers for a fun look or add shredded coconut for extra texture. Perfect for cooling down on sunny days!
Standing in the sweltering kitchen with the fan barely spinning, I decided we needed something cold that would transport us straight to a beach. I grabbed the ripest pineapple I could find and a can of coconut milk, ignoring the fact that I had never made popsicles before. The blender roared to life, filling the room with a scent that instantly made the heat feel bearable.
I remember bringing a batch of these to a barbecue and watching the kids faces light up as they devoured them. The adults were sneaking them just as quickly, standing around the cooler and licking sticky juices off their fingers. It was the moment I realized simple frozen fruit could steal the show.
Ingredients
- Fresh pineapple chunks: Use ripe pineapple for the best natural sweetness and bright yellow color.
- Fresh lime juice: Essential for cutting through the rich coconut fat and adding a zesty punch.
- Full-fat coconut milk: Shaking the can well ensures the cream is integrated for a smooth texture.
- Coconut cream: This adds that luxurious ice cream like mouthfeel we all crave.
- Maple syrup or honey: Adjust this depending on how sweet your pineapple is.
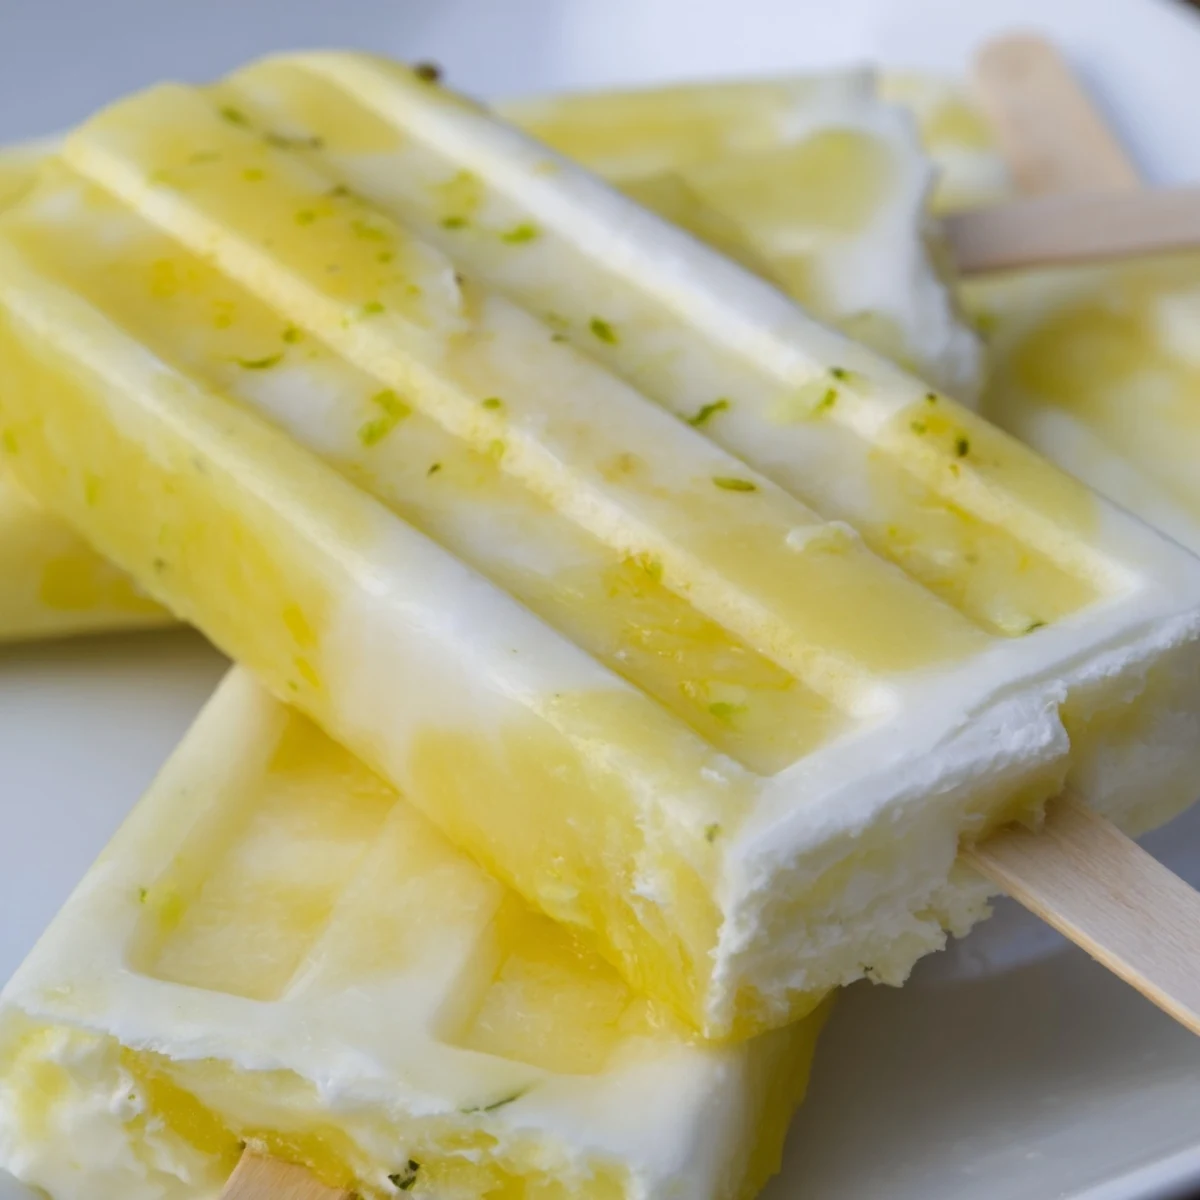
- Grated lime zest: Adds little bursts of aromatic citrus oil throughout the pops.
Instructions
- Blend the fruit:
- Puree the pineapple and lime juice until you have a velvety smooth liquid.
- Whip up the cream:
- Whisk the coconut milk, coconut cream, sweetener, and zest until they are one fluffy mixture.
- Layer the molds:
- Pour alternating layers of pineapple and coconut into molds, then use a skewer to swirl them together.
- Freeze solid:
- Insert sticks and freeze for at least four hours until they are rock hard.
- Release the treats:
- Run warm water over the mold exterior for a few seconds to loosen them gently.
 Pin It
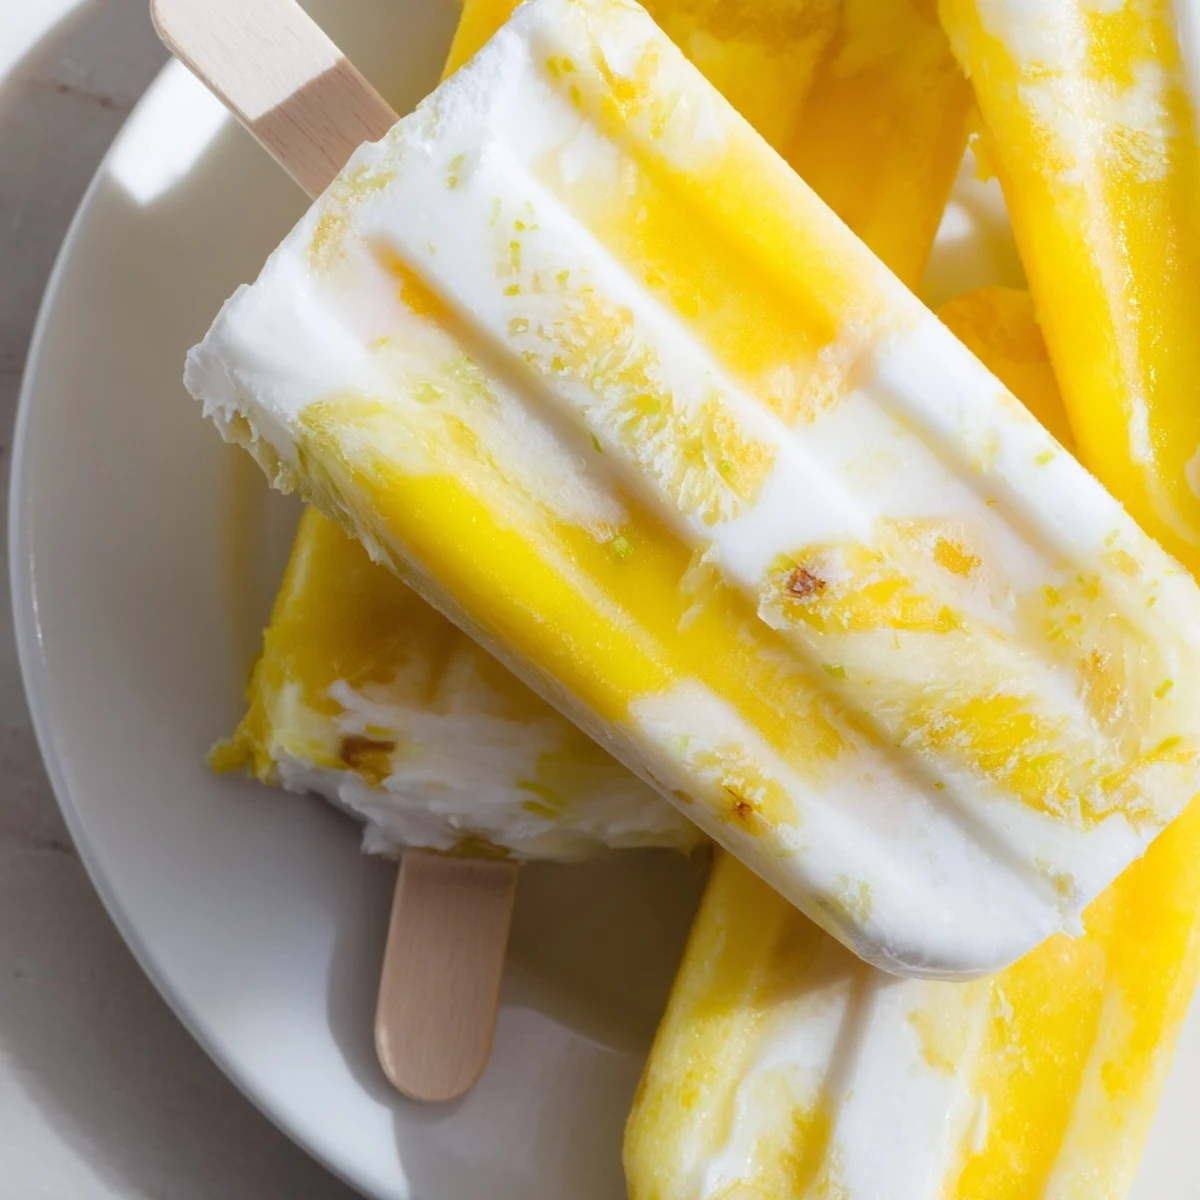
 These treats became a staple in our freezer last summer whenever we needed a quick reset after a long, hot day.
Getting the Swirl Right
I used to just mix everything together, but layering them first creates a stunning marbled look that impresses everyone.
Unmolding With Ease
There is nothing worse than fighting with a mold when all you want is a cold snack. patience and warm water are your best friends here.
Serving Ideas
Sprinkling a little flaky sea salt on top right before eating brings out the tropical flavors even more.
- Dip the tops in toasted shredded coconut.
- Serve alongside a slice of fresh lime.
- Keep the molds stored in a ziplock bag to prevent freezer burn.
 Pin It
 Enjoy every icy, tropical bite of this simple summer luxury.
Recipe FAQs
- → Can I use canned pineapple?
-
Yes, use well-drained canned pineapple if fresh isn't available. Ensure it's packed in juice, not syrup, for best flavor.
- → How do I store leftovers?
-
Store unmolded popsicles in an airtight container or freezer bag for up to 2 weeks. Wrap individually to prevent freezer burn.
- → What sweetener works best?
-
Maple syrup or honey adds a balanced sweetness. Agave is a great vegan alternative that blends smoothly without altering the flavor.
- → Can I make these nut-free?
-
Coconut is classified as a tree nut, so these aren't suitable for those with nut allergies. Substitute with almond milk if coconut isn't an issue.
- → How do I get the marbled effect?
-
Layer pineapple and coconut mixtures in the mold, then gently swirl with a skewer. Avoid overmixing to keep distinct swirls.
