 Pin It
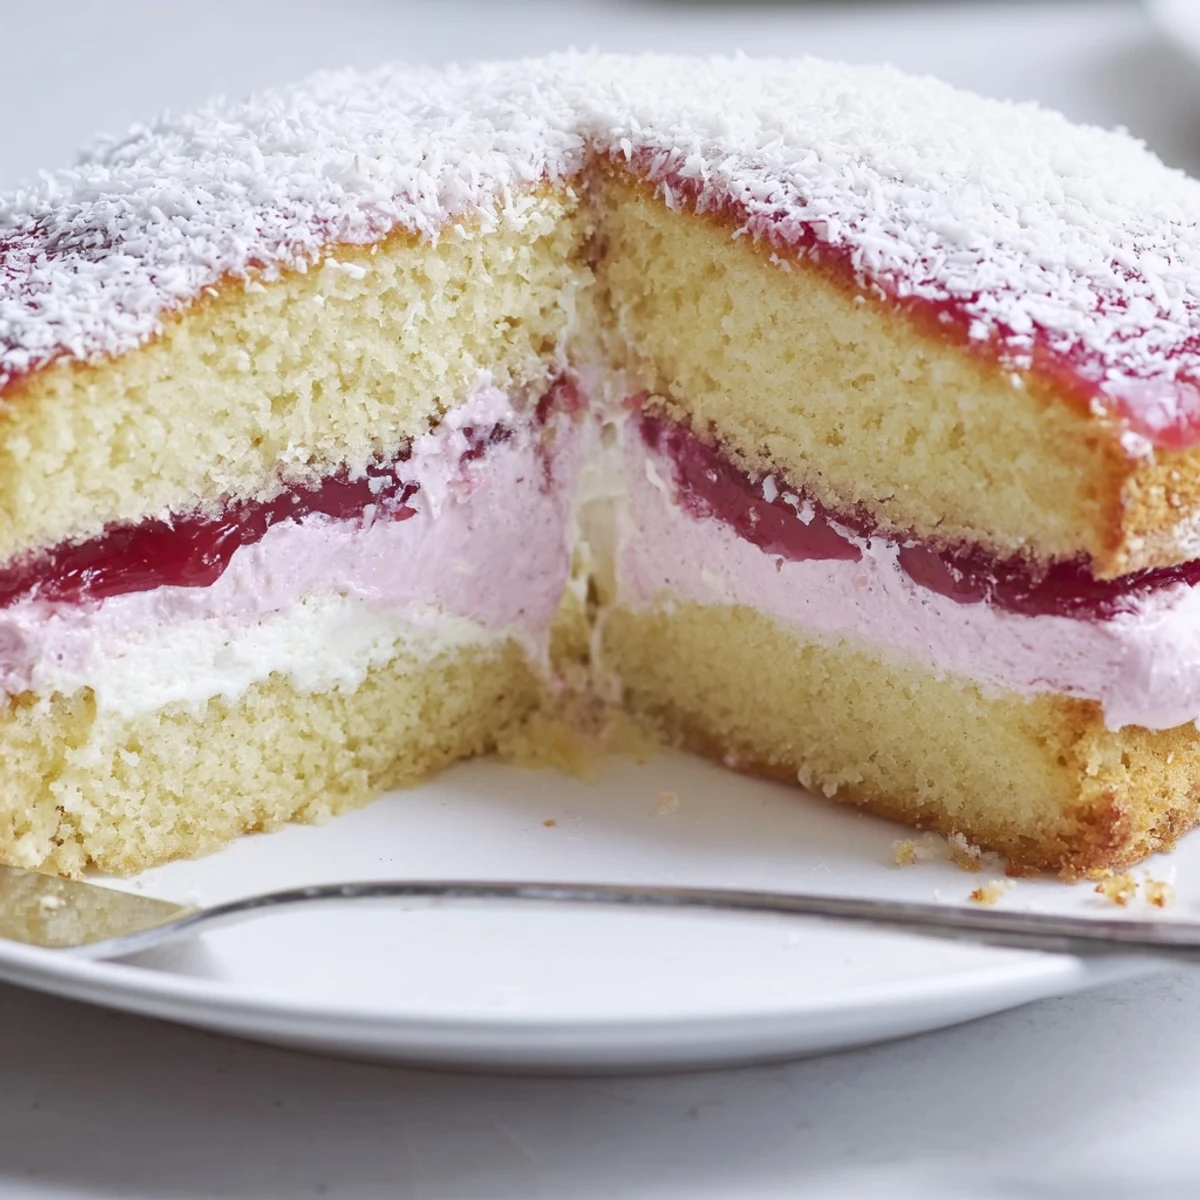
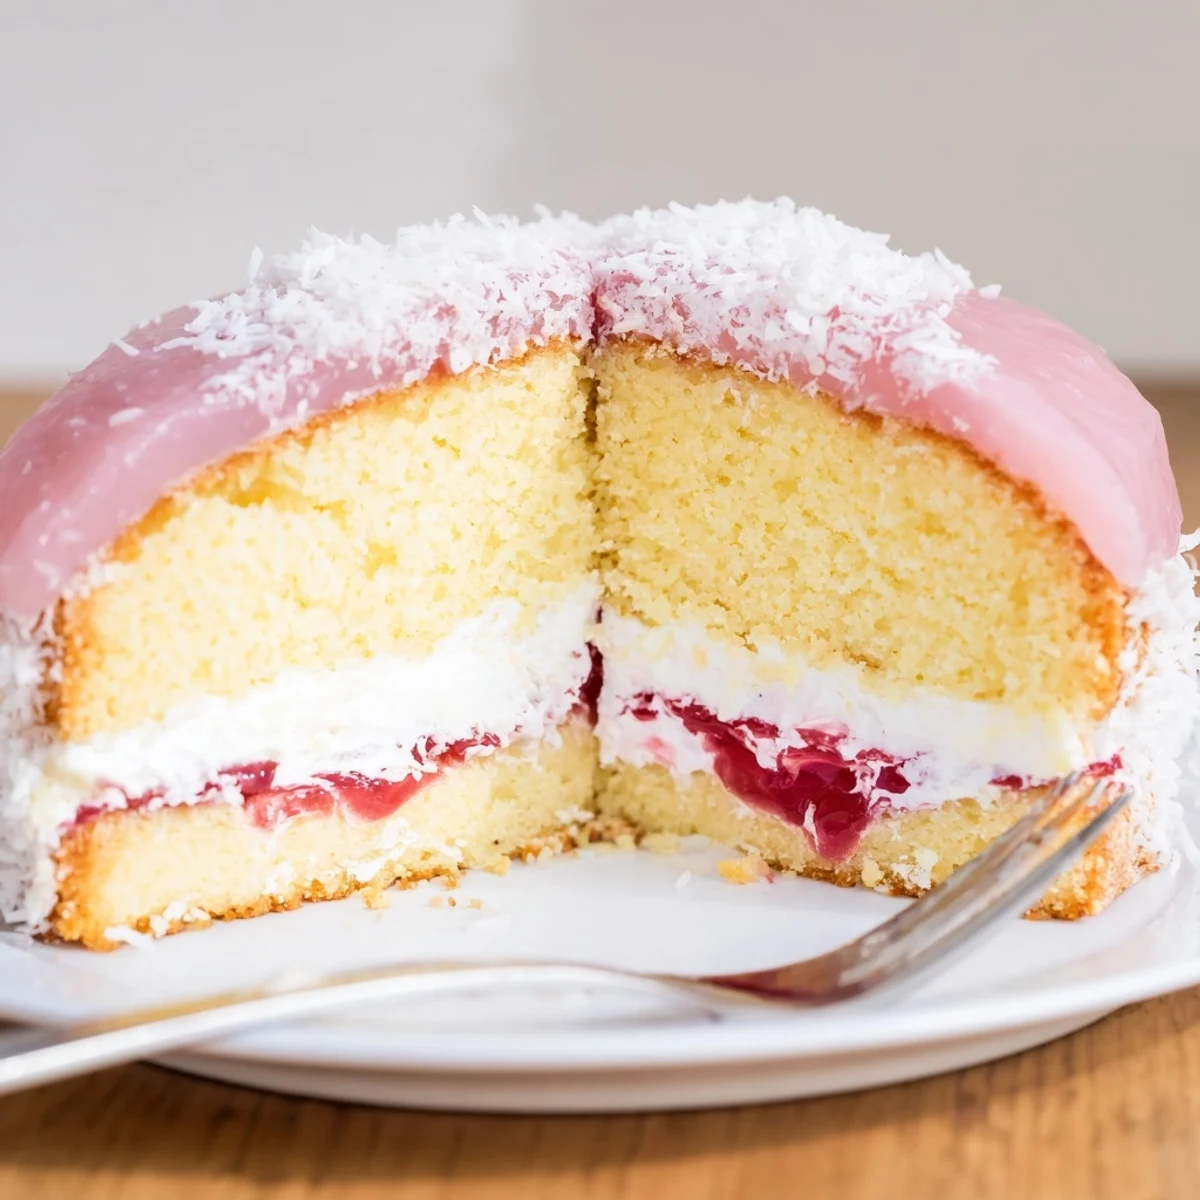
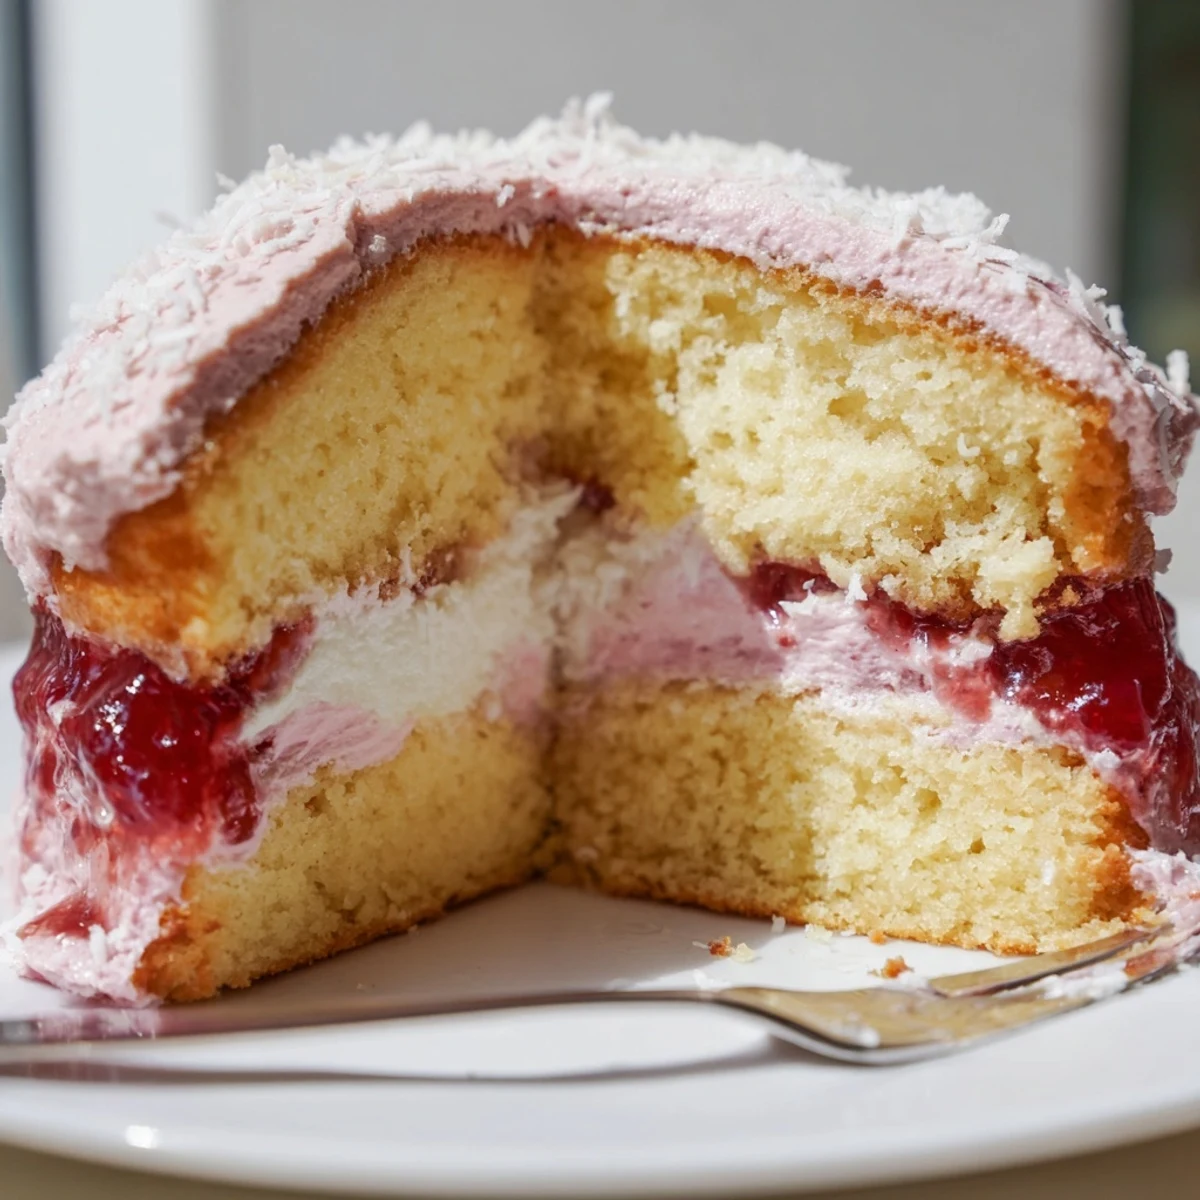
 These old-fashioned pink jelly cakes begin with a light self-raising sponge baked in a tray, cooled and cut into squares. Raspberry or strawberry jelly is dissolved, chilled until semi-set, then used to coat sandwiched squares filled with whipped cream. Each piece is rolled in desiccated coconut and chilled to set. Allow about 45–60 minutes for the jelly to reach the right consistency and 30 minutes refrigeration before serving.
My grandmother's kitchen always smelled like these jelly cakes. We'd stand at her bench, sticky fingers everywhere, coconut dusting our cheeks, while she pretended not to notice us sneaking extra cream. Something about that raspberry jelly seeping into sponge just feels like childhood afternoons that stretch forever, even now when I make them in my own tiny kitchen.
Last summer I made these for my friend's birthday. She'd spent years in Australia and almost cried when she saw them. We ate them on her back porch, laughing about how nothing ever looks as perfect as bakery photos but somehow tastes better anyway. Sometimes the messiest ones turn out to be the ones people remember most.
Ingredients
- 125 g unsalted butter, softened: Room temperature butter makes all the difference here. I've learned the hard way that cold butter creates stubborn lumps that refuse to disappear no matter how long you beat it.
- 125 g caster sugar: The fine texture dissolves beautifully into the butter. Regular sugar works too but you might notice slight graininess in the finished sponge.
- 2 large eggs: Bring these to room temperature as well. Cold eggs can cause your batter to curdle and nobody needs that kind of stress in their life.
- 1 tsp vanilla extract: Don't be tempted to use more. A little vanilla goes a long way in delicate sponge cakes and too much can taste medicinal.
- 180 g self-raising flour, sifted: Sifting is non-negotiable here. Those extra thirty seconds of sifting prevent sad little flour pockets in your sponge.
- 100 ml milk: Full cream milk gives the best results. The fat content keeps the sponge tender and prevents it from drying out too quickly.
- 85 g raspberry or strawberry jelly crystals: Raspberry is traditional but strawberry works beautifully too. Either way, choose the brand you loved as a kid.
- 250 ml boiling water and 150 ml cold water: The temperature combination is crucial for proper jelly setting. Too much cold water and you'll wait forever for it to reach that perfect semi-set stage.
- 200 ml thickened cream: Whipped to firm peaks, this creates the luscious filling that holds everything together. Don't skip the icing sugar. It stabilizes the cream and adds just the right sweetness.
- 100 g desiccated coconut: Fine desiccated coconut coats the cakes evenly without overwhelming them. Shredded coconut can be too coarse and doesn't stick quite as beautifully.
Instructions
- Preparing the sponge:
- Preheat your oven to 180°C (350°F) and line a 20cm x 30cm baking tin with baking paper. Cream the butter and sugar until the mixture turns pale and fluffy. This takes about five minutes with an electric mixer and those minutes matter. Beat in the eggs one at a time, then add the vanilla. The mixture might look slightly curdled after adding the eggs. Don't panic, it will come together once you add the flour.
- Folding in the dry ingredients:
- Fold in the sifted flour and milk alternately. Start and end with the flour for the lightest result. Be gentle with your folding motion. Overworking the flour at this stage creates tough sponge cakes that no amount of cream can fix. Spread the mixture evenly in your prepared pan and bake for 12 to 15 minutes. The sponge is done when a skewer inserted in the center comes out clean.
- Cooling the sponge:
- Cool the sponge in the tin for 10 minutes. This resting period helps prevent the sponge from sinking or tearing when you turn it out. Gently turn onto a wire rack to cool completely. A warm sponge will melt your jelly coating so patience here saves you from disappointment later.
- Making the jelly coating:
- Dissolve the jelly crystals in boiling water first. Stir thoroughly until every crystal has disappeared. Add the cold water and pour the mixture into a shallow dish. Refrigerate until the jelly is just starting to set. This usually takes 45 to 60 minutes. You want it thick enough to coat but not completely set. Test it with a spoon. The jelly should coat the back of the spoon without sliding right off.
- Assembling the cakes:
- Cut your completely cooled sponge into 24 equal squares. Precision matters here because evenly sized cakes look professional and cook at the same rate. Whip the thickened cream with icing sugar and vanilla until firm peaks form. Be careful not to over whip. Cream can turn grainy and separate in seconds if you push it too far. Sandwich two sponge squares together with a generous spoonful of whipped cream.
- Coating the cakes:
- Dip each sandwiched cake into the semi-set jelly. Use two forks to turn the cake and coat all sides. Let the excess jelly drip off for a moment. Roll the cake immediately in desiccated coconut. Place each coated cake on a wire rack to set. The jelly needs about 30 minutes in the refrigerator to firm up completely. They're best served slightly chilled but not fridge cold.
 Pin It
 My daughter helped me make these last weekend. By the end we both had coconut in our hair and jelly on our noses but she kept saying 'these are the best ones ever.' Those messy moments in the kitchen end up being the stories we tell for years. Sometimes the imperfect cakes are the ones that taste the sweetest.
Getting the Jelly Just Right
The jelly stage took me years to master. I've had batches that slid right off the sponge and others where the jelly set so hard I couldn't cut through it. The sweet spot is that thickened but still流动 stage. Test it with your finger. It should coat without sliding and still show finger marks when touched. Check your jelly every 10 minutes after the first 30 minutes of chilling. It goes from perfect to too firm faster than you expect.
Making Them Ahead
These jelly cakes are best enjoyed the same day but life doesn't always work that way. If you need to make them ahead, assemble and coat them the day before then store in an airtight container in the refrigerator. The sponge will soften slightly overnight but they'll still be delicious. Let them come to room temperature for 20 minutes before serving. This softens the jelly slightly and makes the coconut coating more pleasant to eat. Never freeze them. The texture of the jelly changes completely and you'll end up with something entirely different.
Flavor Variations
Raspberry jelly is traditional but don't let that limit your creativity. Passionfruit jelly creates an incredibly tropical version that feels like summer in every bite. Orange jelly works beautifully too and reminds me of chocolate orange bars but lighter. You could even try lime jelly for a refreshing twist. The key is choosing flavors that complement the vanilla sponge rather than compete with it.
- Try adding a teaspoon of lemon zest to the sponge for brightness
- A splash of raspberry liqueur in the whipped cream takes these to dinner party status
- Toasted coconut adds a lovely depth of flavor if you have the extra time
 Pin It
 There's something so joyful about these little cakes. They're not fancy restaurant dessert material but they make people smile in a way that fancy desserts rarely do. Sometimes the simplest recipes create the sweetest memories.
