 Pin It
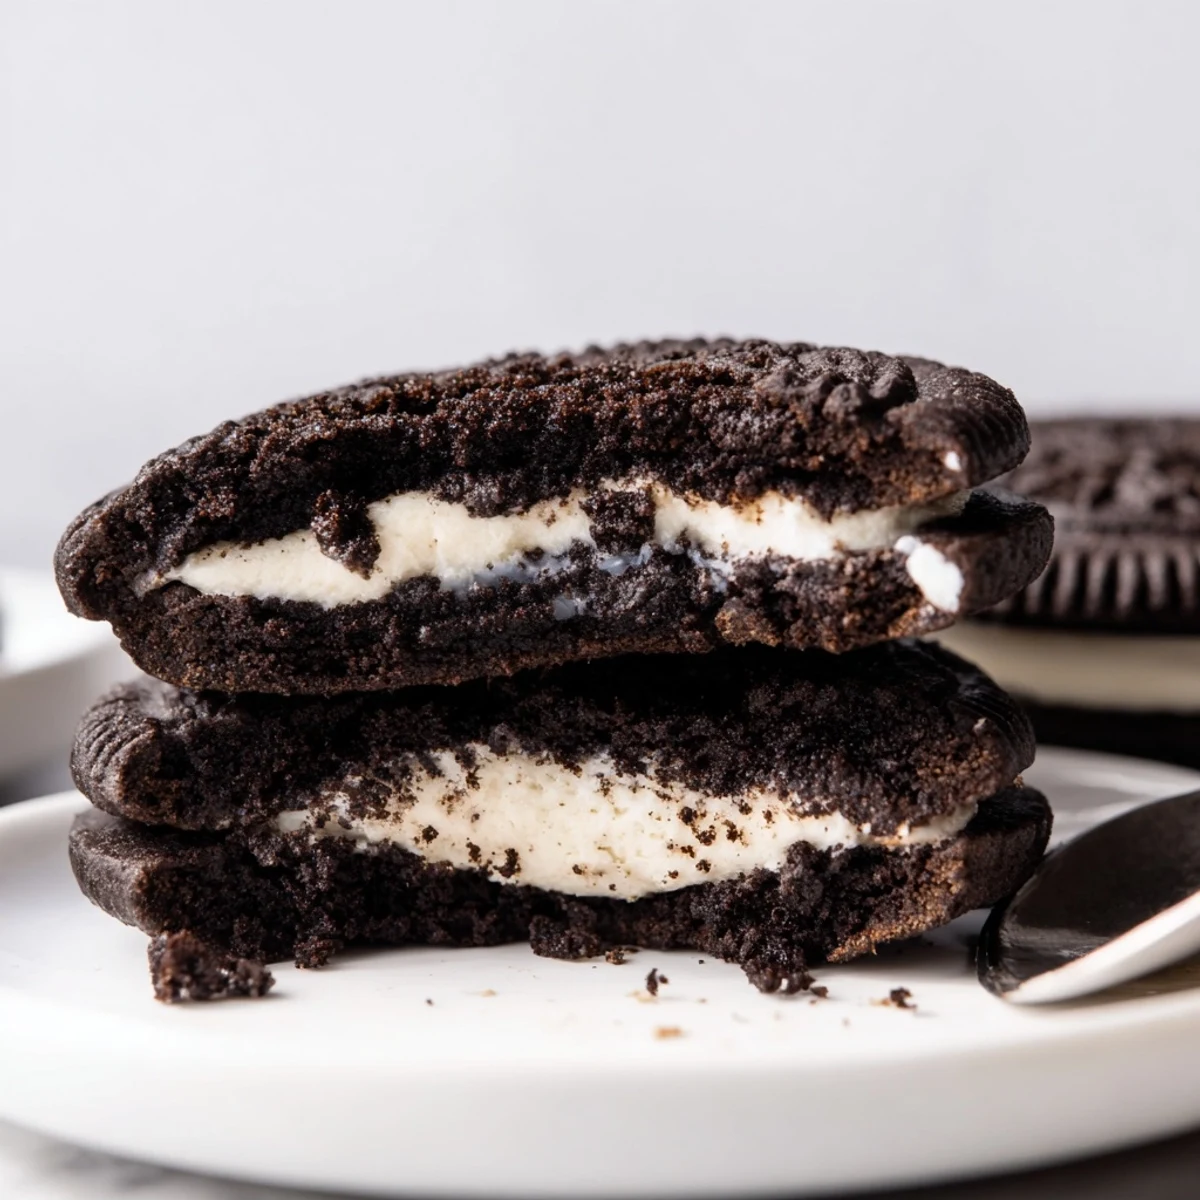
 Make classic dark chocolate sandwich cookies by creaming butter and sugar, stirring in egg and vanilla, then folding in sifted flour and Dutch-process cocoa to form a stiff dough. Roll into 1-inch balls, flatten, and bake until set. For the filling, beat butter, shortening and powdered sugar with vanilla until fluffy. Assemble sandwiches and let the filling set; chill briefly for cleaner edges. Add a teaspoon of espresso powder to deepen chocolate notes, and store in an airtight container up to 5 days.
My sister and I used to race through homework just so we could split a sleeve of Oreos before dinner, and that childhood ritual stuck with me long after I realized homemade versions taste infinitely better. The dark cocoa smell hits you before the oven even finishes preheating. These cookies capture everything I loved about that store bought classic but with a richness that only real butter and fresh vanilla can deliver.
I brought a batch of these to a backyard potluck last summer and watched three adults quietly hover near the dessert table, sneaking seconds and thirds when they thought nobody was looking. My friend Marcos asked if I had bought them from a bakery, which might be the best compliment my kitchen has ever received.
Ingredients
- All-purpose flour (1 cup, 125 g): Provides structure without making the cookies tough.
- Unsweetened Dutch-process cocoa powder (¾ cup, 70 g): This is the key to that deep, dark Oreo color and flavor, so do not substitute natural cocoa here.
- Granulated sugar (1 cup, 200 g): Balances the intense cocoa and helps crisp the edges slightly.
- Baking soda (½ tsp): Gives just enough lift to keep these from turning into hockey pucks.
- Salt (¼ tsp): A small amount that makes the chocolate taste more like itself.
- Unsalted butter, softened (½ cup, 115 g): Bring it to room temperature so it creams smoothly with the sugar.
- Large egg (1): Binds everything together into a cohesive dough.
- Vanilla extract (1 tsp for dough, 1 tsp for filling): Use the real stuff if you can, because it is half the flavor in the filling.
- Vegetable shortening (¼ cup, 55 g for filling): This is what gives the filling that classic creamy texture and stable consistency at room temperature.
- Powdered sugar, sifted (1½ cups, 180 g for filling): Sifting is nonnegotiable unless you enjoy lumpy filling.
- Pinch of salt for filling: Trust me, it makes the vanilla sing.
Instructions
- Preheat and prepare:
- Set your oven to 350°F (175°C) and line two baking sheets with parchment paper so nothing sticks.
- Mix the dry ingredients:
- Sift the flour, cocoa powder, baking soda, and salt together in a medium bowl and set aside. Watch the cocoa dust cloud and try not to sneeze.
- Cream butter and sugar:
- Beat the softened butter and granulated sugar in a large bowl until the mixture turns pale and fluffy. Scrape down the bowl once so nothing hides at the bottom.
- Add egg and vanilla:
- Drop in the egg and vanilla extract, beating until everything is smoothly combined and the batter looks glossy.
- Bring the dough together:
- Gradually add the sifted dry ingredients to the wet mixture, mixing on low until a stiff, dark dough forms. It will feel dense and slightly tacky, which is exactly right.
- Shape the cookies:
- Roll tablespoon sized portions into 1-inch balls and place them 2 inches apart on the sheets. Flatten each gently with your palm or the bottom of a glass dipped in cocoa powder.
- Bake and cool:
- Bake for 10 to 12 minutes until the tops look set and slightly firm to the touch. Let them rest on the sheets for 5 minutes before moving to a wire rack to cool completely.
- Whip the filling:
- Beat the butter, shortening, sifted powdered sugar, vanilla, and salt together until light, smooth, and spreadable. Taste it and try not to eat it all with a spoon.
- Assemble the sandwiches:
- Pipe or spread about a tablespoon of filling onto the flat side of half the cookies. Top with the remaining cookies and press gently until the cream reaches the edges.
- Let them set:
- Give the assembled cookies 10 to 15 minutes at room temperature so the filling firms up before serving.
 Pin It
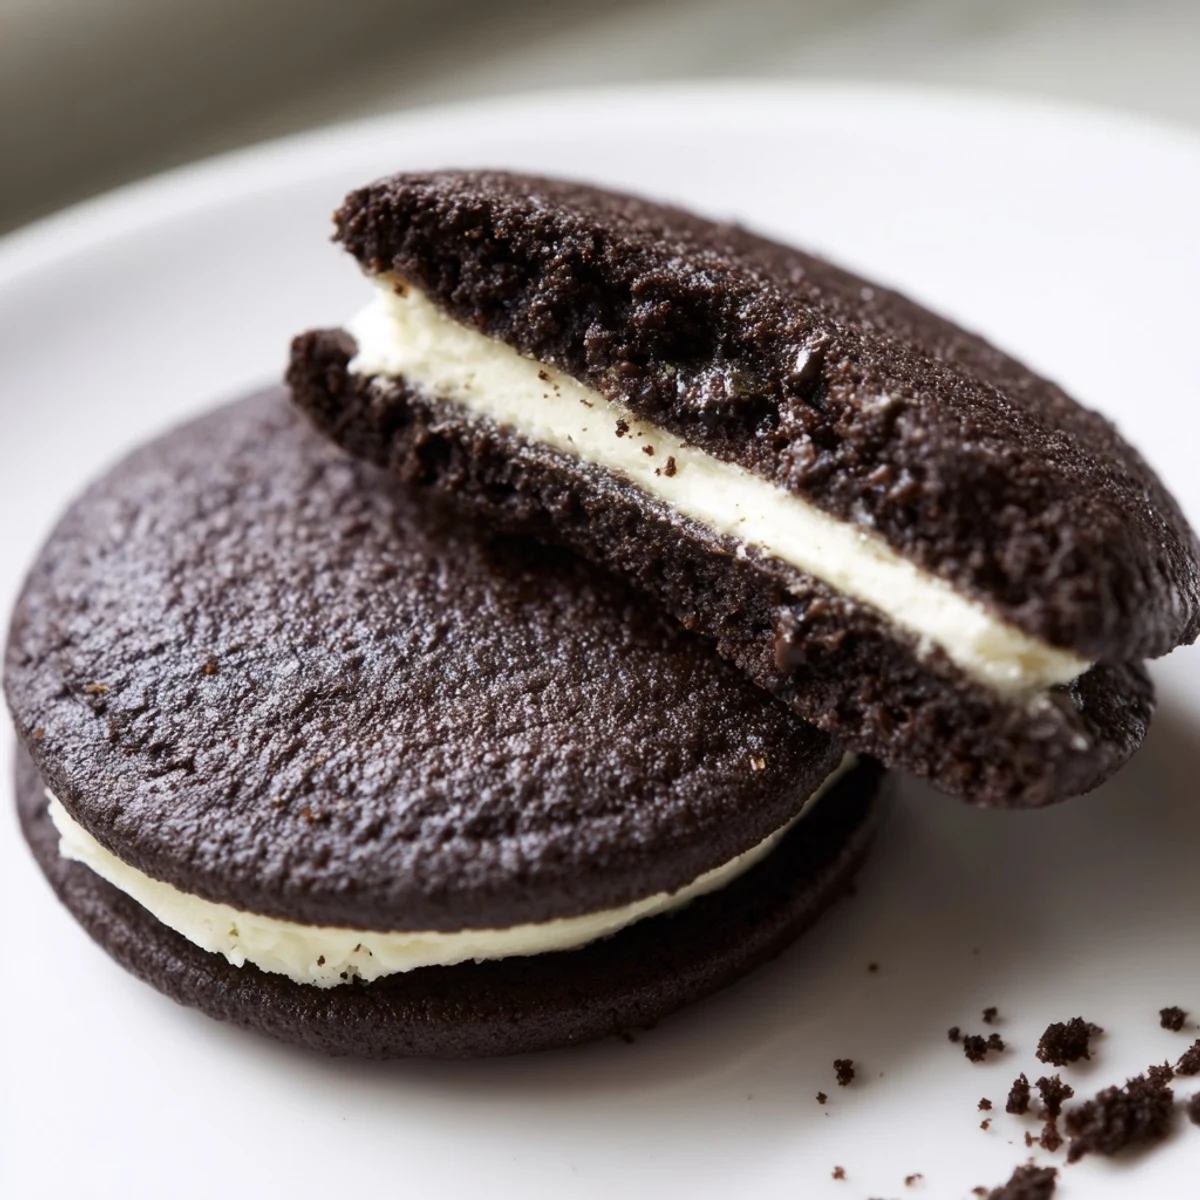
 There is something quietly magical about twisting apart a cookie you made yourself, seeing that perfect white cream against the dark chocolate wafer. It transforms a simple afternoon bake into a small celebration of everything homemade cooking can be.
Storage and Make Ahead Advice
These sandwiches keep beautifully in an airtight container at room temperature for up to five days, and the filling actually improves after the first day as the flavors meld. You can freeze the baked wafers separately for up to a month, then thaw and fill whenever the craving hits.
Tools That Make This Easier
An electric mixer saves your arms when creaming the stiff dough and whipping the filling to that cloudlike consistency. A piping bag is optional but gives you neat, even filling distribution without making a mess.
Serving and Pairing Ideas
Cold milk is the obvious and correct companion, but these also crumble beautifully over vanilla ice cream or float dramatically in a mug of hot chocolate.
- Warm one in the microwave for 8 seconds for a gooey, just assembled experience.
- Crumble leftovers into a cheesecake crust for a show stopping dessert mashup.
- Always share at least a few because eating the entire batch alone is a real and present danger.
 Pin It
 Once you make these from scratch, the store bought version will always feel just a little bit disappointing. That is the beautiful, dangerous power of homemade.
Recipe FAQs
- → How can I tell when the cookies are done baking?
-
Look for set edges and centers that are slightly firm; the cookies will continue to firm as they cool. Let them rest on the baking sheet for about 5 minutes before transferring to a wire rack.
- → Can I replace shortening in the filling with butter?
-
Yes. Swapping equal parts butter for shortening yields a richer, more buttery filling, though it will be a bit softer at room temperature. Chill briefly to firm the filling if needed.
- → How do I get evenly shaped sandwich cookies?
-
Use a small cookie scoop for uniform dough balls, flatten each to the same thickness, and pipe or spoon a measured tablespoon of filling for consistent sandwiches.
- → Will adding espresso powder affect texture?
-
Adding about a teaspoon of instant espresso powder enhances the chocolate flavor without noticeable texture changes. Stir it into the dry ingredients for even distribution.
- → What is the best way to store these cookies?
-
Store in an airtight container at room temperature for up to 5 days, layering with parchment to prevent sticking. For longer storage, freeze unfilled cookies or the filling separately for up to 2 months.
- → Do I need to adjust baking time for a convection oven?
-
Yes. Reduce the oven temperature by about 15°C (25°F) or check the cookies 2–3 minutes earlier, since convection ovens bake faster and promote more browning.
