 Pin It
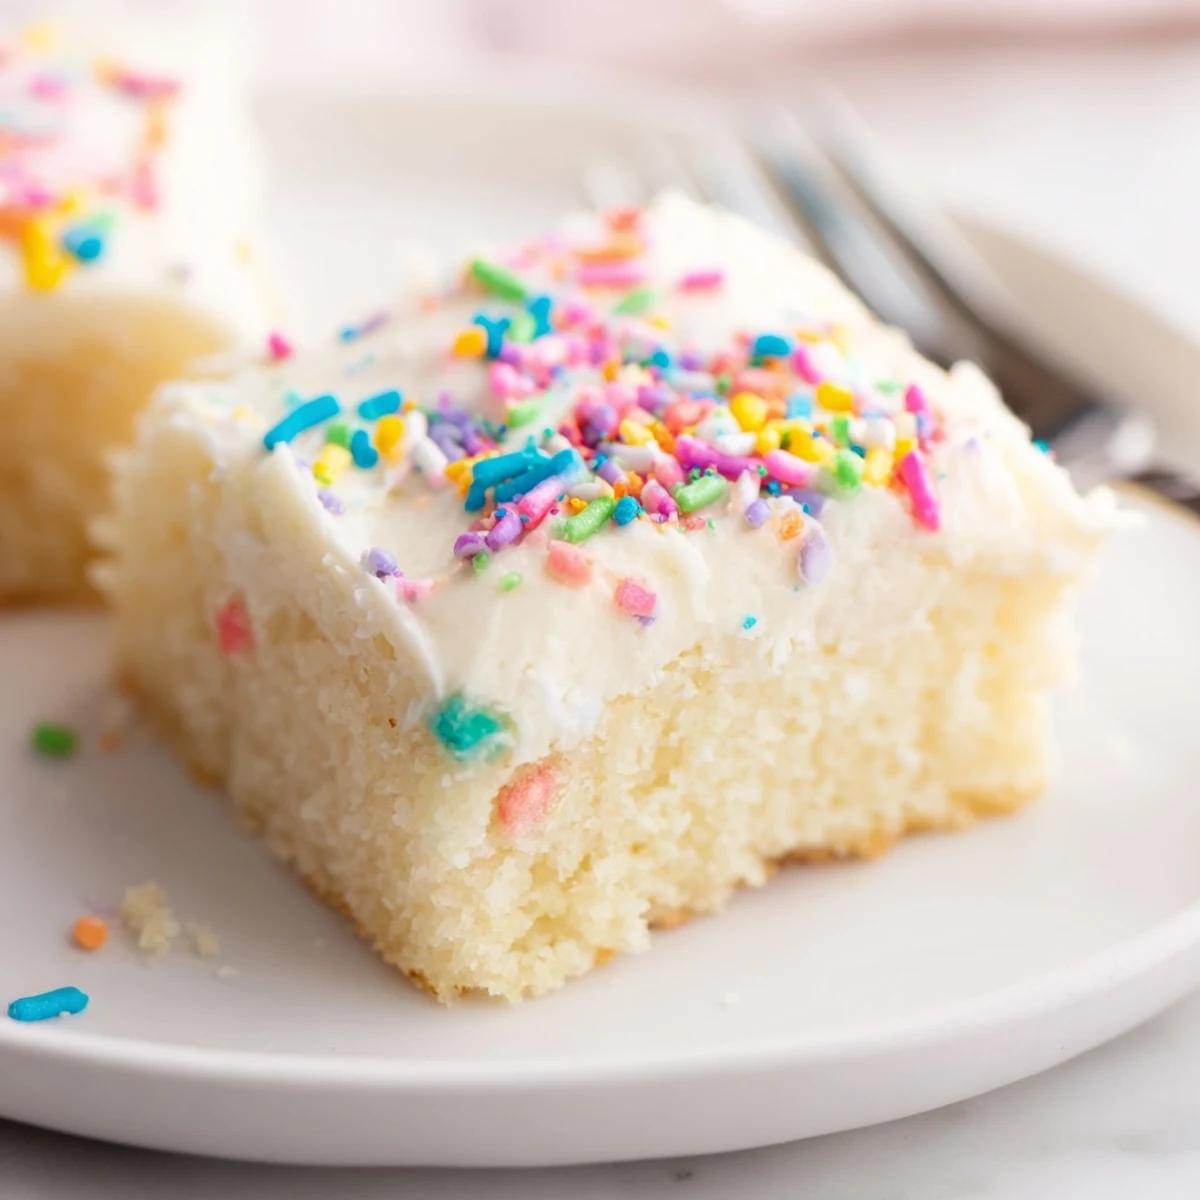
 These soft, buttery sugar cookie bars are baked in a 9x13 pan for sheet-pan convenience. The dough combines flour, baking powder, butter, sugar, egg, vanilla, and a splash of milk; press evenly and bake until edges are lightly golden. Once cooled, spread a fluffy vanilla buttercream, tint if desired, and top with sprinkles. Keep bars airtight at room temp for up to 3 days or refrigerate to extend freshness.
The rain was drumming against my kitchen window the afternoon I discovered that sugar cookies did not need to be rolled, cut, and painstakingly decorated one by one. I had promised my daughter a batch for her school bake sale, and the clock was laughing at me. Pressing all that buttery dough into a single pan felt almost rebellious, like I was getting away with something. Forty minutes later, I had a tray of frosted squares that disappeared faster than any cutout cookie I had ever made.
I brought a pan of these to a neighborhood potluck last summer and watched a man I had never met eat four of them standing right by the dessert table, completely ignoring the conversation happening around him.
Ingredients
- All-purpose flour (2 1/2 cups): The backbone of these bars, and the reason you should spoon it into your measuring cup rather than scooping, which can pack in too much and make them dense.
- Baking powder (1/2 teaspoon): Just enough lift to keep the bars soft without turning them cakey.
- Salt (1/2 teaspoon): A small amount that makes the butter and sugar taste like themselves.
- Unsalted butter, softened (3/4 cup for the bars, 1/2 cup for frosting): Room temperature butter is nonnegotiable here, so pull it out an hour ahead or you will fight with your mixer.
- Granulated sugar (1 cup): Gives the cookie base its classic sweetness and helps achieve those lightly golden edges.
- Large egg (1): Binds everything together and contributes to that tender crumb.
- Pure vanilla extract (2 teaspoons for the bars, 1 teaspoon for frosting): Use the real stuff if you can, because these bars are simple enough that every ingredient shines.
- Whole milk (1/4 cup): Softens the dough and makes it easy to press into the pan evenly.
- Powdered sugar (2 cups): The secret to frosting that is silky rather than grainy.
- Heavy cream or milk (2 tablespoons): Thins the frosting just enough to spread like a dream.
- Food coloring and assorted sprinkles: Entirely optional, but they turn a Tuesday into a celebration.
Instructions
- Preheat and prepare the pan:
- Set your oven to 350°F and line a 9x13 baking pan with parchment paper, leaving some overhang on the sides so you can lift the whole slab out later. Give the parchment a quick spray with nonstick coating.
- Whisk the dry ingredients:
- In a medium bowl, whisk the flour, baking powder, and salt together until evenly distributed. Set this bowl aside and admire the tiny cloud of flour dust you probably just made.
- Cream the butter and sugar:
- In a large bowl, beat the softened butter and granulated sugar with an electric mixer on medium speed until the mixture looks pale, fluffy, and almost whipped cream light, about two to three minutes. Scrape down the sides of the bowl once or twice so nothing hides from you.
- Add the egg and vanilla:
- Beat in the egg and vanilla extract until the batter looks smooth and cohesive. The fragrance at this stage is already remarkable, butter and vanilla performing their private concert.
- Incorporate the milk and dry ingredients:
- Mix in the milk, then gradually add the flour mixture on low speed, stopping the moment everything is just combined. Overmixing is the enemy of tender bars, so show a little restraint.
- Press the dough into the pan:
- Transfer the thick dough to your prepared pan and use a spatula or your lightly floured hands to press it into an even layer that reaches all four corners. Take your time here because an uneven base means uneven baking.
- Bake until just set:
- Bake for 16 to 18 minutes, watching for edges that are lightly golden and a center that no longer looks wet or wobbly. The bars will continue to set as they cool, so pulling them out a touch underdone is far better than overshooting.
- Cool completely:
- Let the pan sit on a wire rack until the bars are entirely cool to the touch, which takes about an hour if you can stand waiting. Frosting a warm bar is a mistake you only make once.
- Make the frosting:
- Beat the remaining softened butter until creamy, then gradually add the powdered sugar, heavy cream, vanilla, and a pinch of salt. Beat on medium high until the frosting is fluffy and spreadable, then stir in food coloring if the mood strikes you.
- Frost, decorate, and slice:
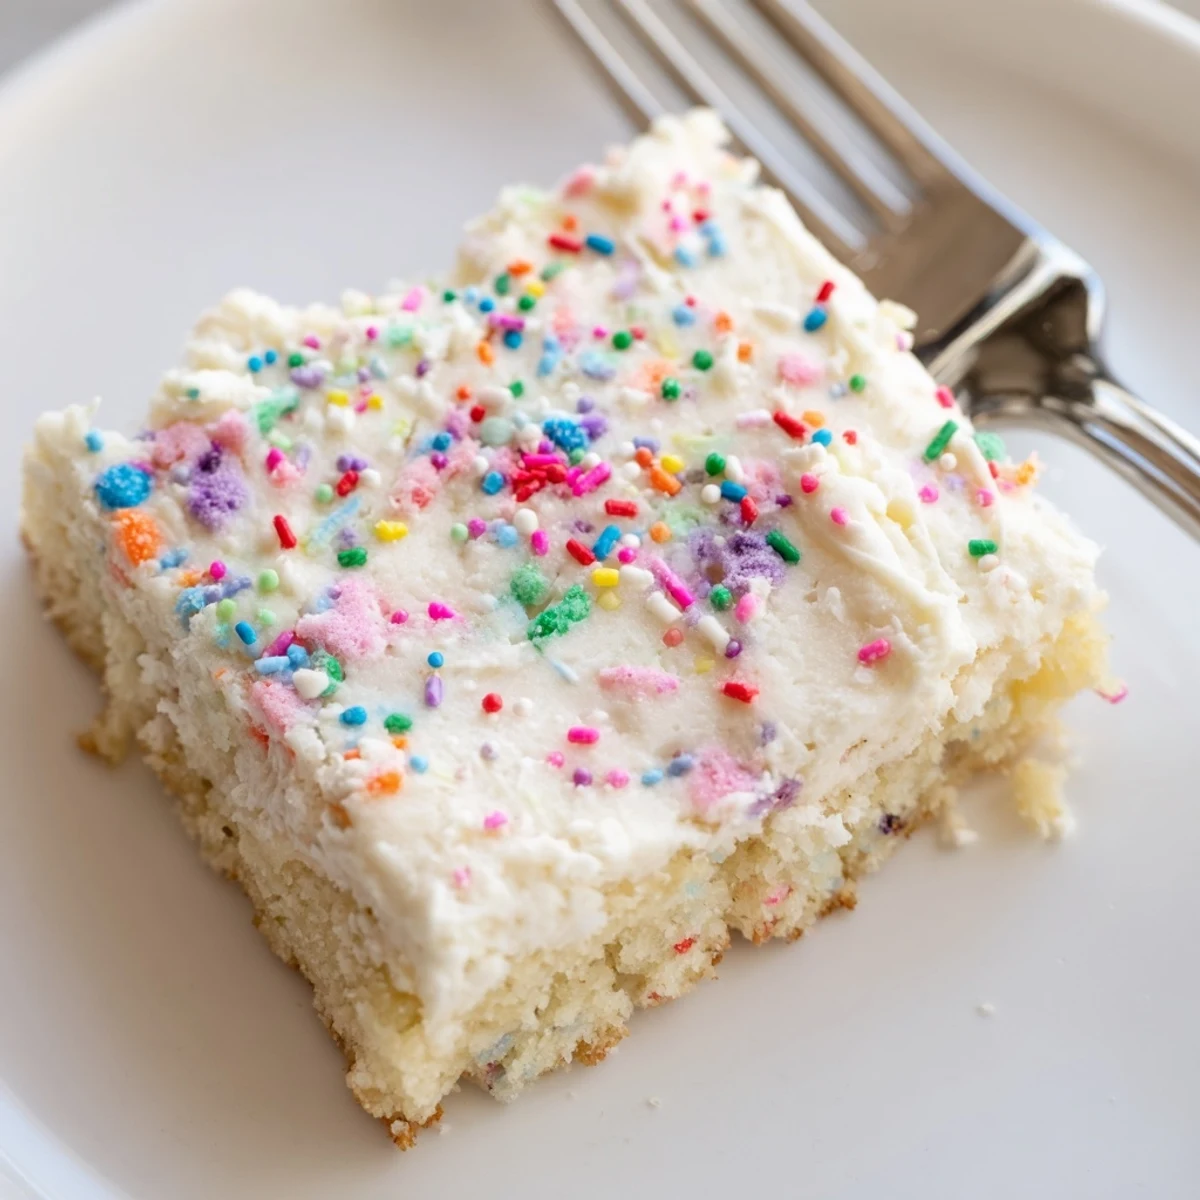
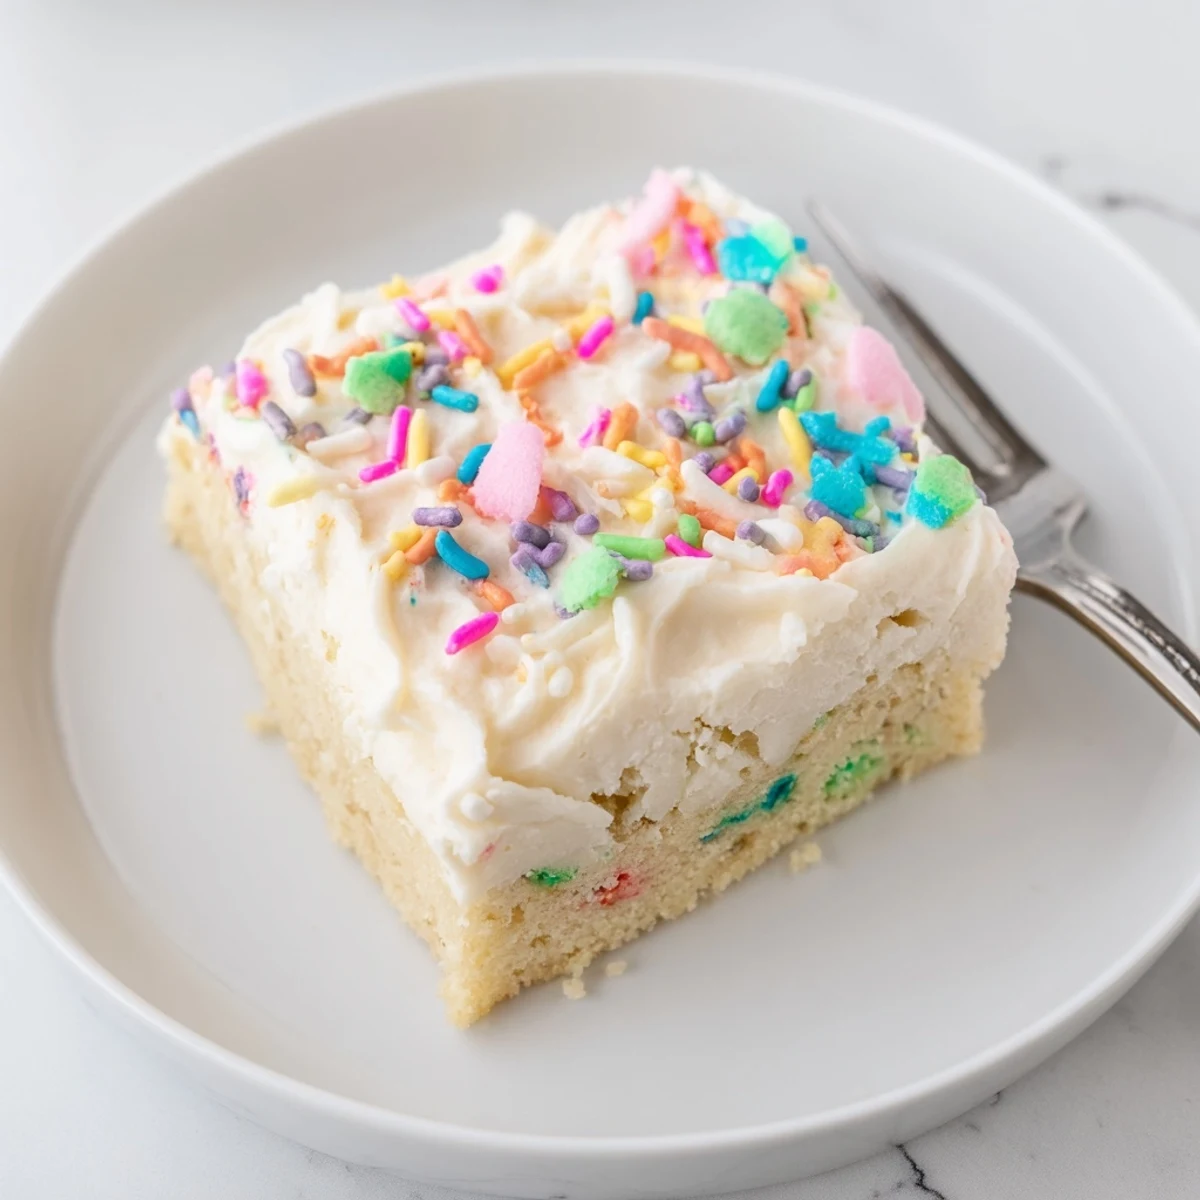
- Spread the frosting in an even layer over the cooled bars, shower generously with sprinkles, and cut into 24 squares. A sharp knife wiped clean between cuts gives you the neatest edges.
 Pin It
 There is something about a tray of frosted cookie bars covered in sprinkles that turns adults into children and children into very happy negotiators trying to secure a second piece.
Storing Your Cookie Bars
Keep the bars in an airtight container at room temperature for up to three days, though in my house they rarely survive past day two. If you need more time, the refrigerator extends their life to about a week, but always let them sit out for twenty minutes before serving so the frosting softens back to its proper texture. You can also freeze the unfrosted cookie slab for up to three months, then thaw and frost when you need a quick miracle.
Making Them Your Own
The base recipe is a willing canvas for almost any flavor twist you can dream up. Add a teaspoon of almond extract alongside the vanilla for a wedding cookie vibe, or fold in a handful of white chocolate chips for extra richness. Lemon zest in the dough and a squeeze of lemon juice in the frosting turns the whole pan into something bright and surprising.
A Few Last Thoughts
Sugar cookie bars are proof that the best recipes are not always the most complicated ones. They are generous, forgiving, and always ready for a reason to celebrate.
- Spoon and level your flour rather than scooping directly from the bag for the most accurate measurement.
- Switch up your sprinkles to match any holiday, season, or mood without changing a single thing about the recipe.
- Remember that these bars are at their absolute best on the day they are made, so plan accordingly for gatherings.
 Pin It
 Every time I make these, I think about that rainy afternoon and how a little bit of desperation turned into one of the most requested recipes in my kitchen. Sometimes the best things happen when you run out of time and decide to improvise.
Recipe FAQs
- → How can I prevent the bars from overbaking?
-
Watch the edges for light golden color and test the center for slight give. Remove from the oven as soon as the center is set to avoid a dry texture; the bars will finish setting as they cool in the pan.
- → What’s the best way to tint the frosting?
-
Use gel or paste food coloring to avoid thinning the buttercream. Add a tiny amount at a time, beat until evenly colored, and adjust shade gradually for consistent results.
- → How do I keep the bars soft and tender?
-
Do not overmix the dough and avoid overbaking. Cream the butter and sugar until light to incorporate air, press the dough evenly, and remove from oven when the center is just set for a tender crumb.
- → Are there dairy-free substitutions for the butter and milk?
-
Yes — swap in dairy-free butter and your preferred plant milk. For the frosting, use dairy-free spreads and a splash of coconut cream or plant-based cream to achieve a similar richness.
- → How should I store frosted bars to maintain freshness?
-
Layer bars in an airtight container with parchment between layers. Store at room temperature up to 3 days or refrigerate up to a week; bring to room temperature before serving for best texture.
- → Can I make these bars gluten-free?
-
Substitute a 1:1 gluten-free flour blend that includes xanthan gum and monitor the bake time, as gluten-free blends can brown differently. Texture may vary slightly but results are typically excellent.
