 Pin It
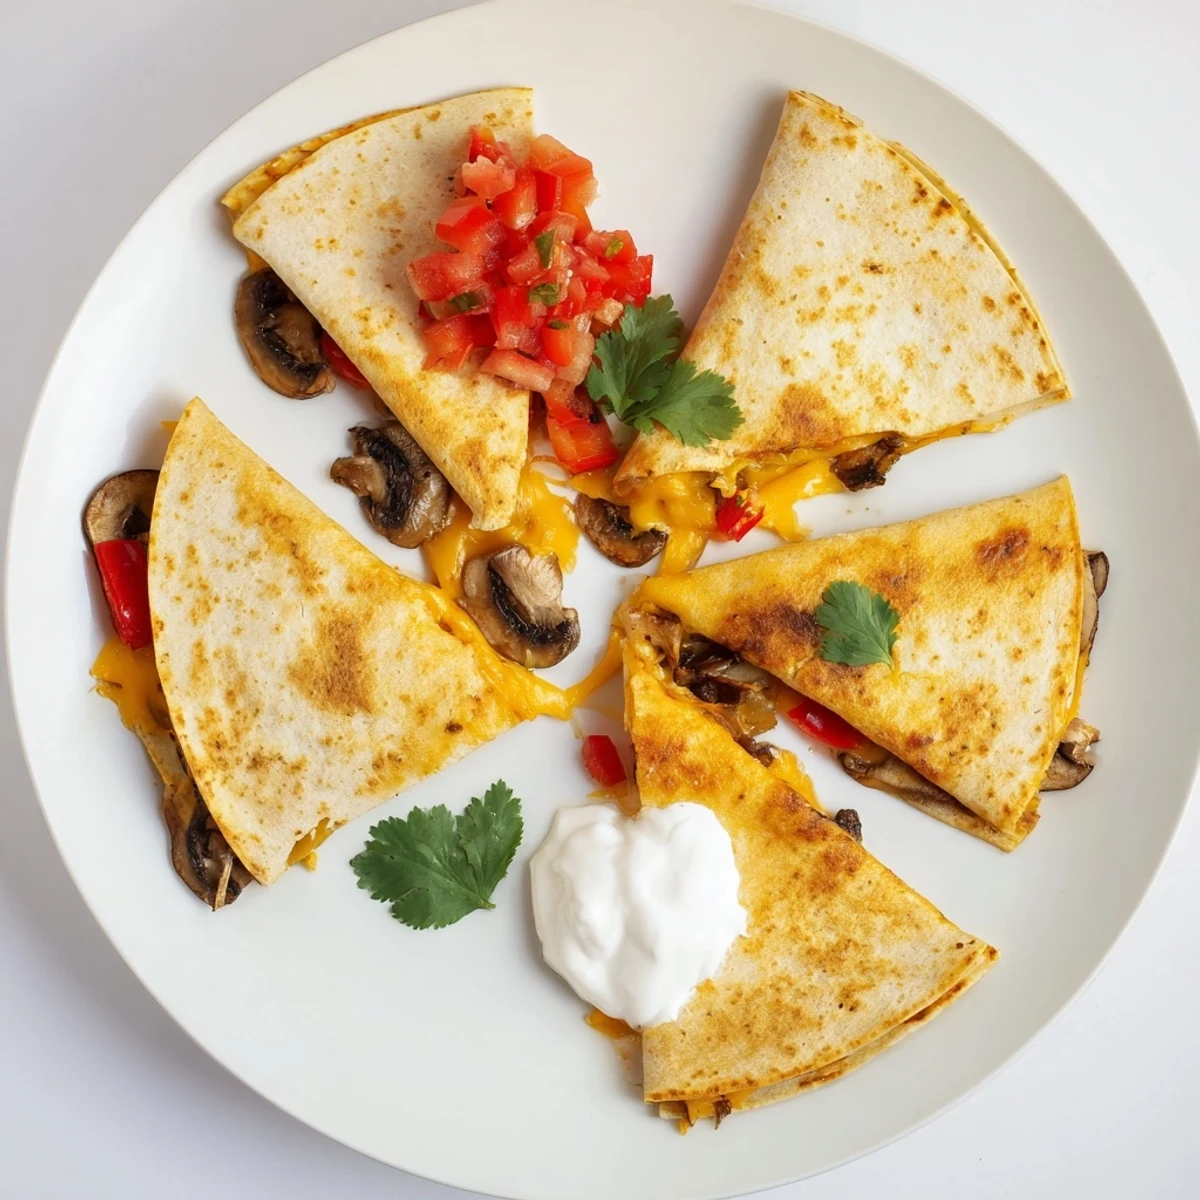
 Create deliciously crispy quesadillas featuring a golden-brown exterior and gooey melted cheese center. These classic Mexican handhelds combine flour tortillas with a blend of sharp cheddar and creamy Monterey Jack, complemented by sautéed vegetables or shredded chicken. The half-moon shape ensures even cooking while making them easy to eat. Ready in just 20 minutes, these versatile treats work perfectly for quick weeknight dinners, casual entertaining, or satisfying late-night snacks. Serve with traditional accompaniments like fresh guacamole, zesty salsa, cool sour cream, and bright cilantro for an complete restaurant-style experience at home.
The smell of tortillas hitting a hot skillet takes me back to late nights in my first apartment, figuring out dinner with whatever was in the fridge. My roommate had the brilliant idea of melting cheese between tortillas, and suddenly we had something that felt like a real meal. We stood over the stove, watching the cheese bubble through the brown spots, both of us knowing we had discovered kitchen gold.
Last Tuesday my youngest daughter declared she wanted to learn how to make quesadillas like the ones from our favorite taco truck. We stood at the counter together, her small hands carefully sprinkling cheese while I explained how the heat needs to be just right. When she took that first bite of her own creation, the look on her face reminded me why simple recipes are often the most meaningful.
Ingredients
- Large flour tortillas: These fold beautifully and develop that satisfying crunch we are all after
- Shredded cheddar cheese: Sharp and melty, it anchors the whole flavor profile
- Shredded Monterey Jack cheese: Creamy and mild, it balances the cheddar perfectly
- Cooked chicken breast: Add shredded chicken if you want something more substantial
- Sautéed mushrooms: They become meaty and rich when cooked first
- Diced bell pepper: Brings sweetness and a pop of color
- Diced red onion: Adds bite and looks gorgeous against the yellow cheese
- Black beans: Rinse them well to avoid any metallic canned taste
- Fresh jalapeño: Thin slices mean surprising bursts of heat
- Sour cream, salsa, guacamole, and cilantro: The finishing touches that make it feel complete
Instructions
- Preheat your skillet:
- Get a large skillet or griddle warming over medium heat, giving it time to get evenly hot so your tortillas crisp up beautifully
- Build your quesadilla:
- Lay a tortilla flat and sprinkle cheese over just half, then pile on whatever fillings speak to you before folding it into a half moon
- Cook to golden perfection:
- Place the folded tortilla in your hot skillet and cook for 2 to 3 minutes per side, pressing gently with your spatula until the tortilla is golden and cheese is oozing
- Rest and slice:
- Let the quesadilla cool briefly on a cutting board so the cheese sets slightly, then cut into wedges that hold together when you pick them up
- Repeat and serve:
- Keep going with the remaining tortillas, serving them immediately with all the fixings while they are still hot and crisp
 Pin It
 My friend Maria taught me that the best quesadillas are the ones you make for people you love, standing around the kitchen island and eating them with your hands. She always said the joy is in the gathering, not the perfection.
Choosing Your Tortillas
Flour tortillas are classic for a reason, they fold without cracking and get that gorgeous golden brown color. I have found that slightly thicker ones from the bakery section hold up better to fillings than the thin stack ones.
The Cheese Blend
The cheddar brings sharpness while Monterey Jack adds creaminess, and together they create that perfect cheese pull. I learned the hard way that pre shredded cheese sometimes does not melt as smoothly, so I grate my own when I have the time.
Make It Your Own
This is where the fun really happens, because once you have the basic technique down you can go in so many directions. I have made breakfast versions with scrambled eggs and dinner ones with leftover roast chicken.
- Try corn tortillas for a gluten free option and a more authentic flavor
- Brush the tortillas lightly with oil before cooking for extra crispiness
- Leftovers make surprising next day lunches, just pop them in a toaster oven
 Pin It
 Somehow these never fail to turn an ordinary Tuesday into something that feels like a small celebration. That is the magic of really good comfort food.
Recipe FAQs
- → What type of cheese works best for quesadillas?
-
A blend of shredded cheddar and Monterey Jack provides ideal melting properties and flavor. Cheddar adds sharpness while Monterey Jack contributes creamy texture. You can also use Oaxaca cheese, asadero, or mozzarella for excellent results.
- → Should I use flour or corn tortillas?
-
Flour tortillas create a pliable, crispy texture that folds easily without cracking. Corn tortillas offer authentic flavor and are naturally gluten-free, though they may require more careful handling to prevent breakage during folding.
- → How do I prevent my quesadillas from getting soggy?
-
Cook vegetables beforehand to remove excess moisture, drain canned beans thoroughly, and avoid overloading with wet ingredients. Preheating your skillet properly ensures immediate crisping, while cooking at medium heat allows cheese to melt without making the tortilla greasy.
- → Can I make quesadillas ahead of time?
-
While best enjoyed fresh, you can prepare components in advance. Shred cheese, chop vegetables, and cook proteins up to two days ahead. Assemble and cook just before serving for optimal texture. Reheating in a skillet restores crispiness better than microwaving.
- → What's the best way to cut quesadillas?
-
Let cooked quesadillas rest for 1-2 minutes so the cheese sets slightly. Use a sharp knife or pizza cutter to slice into 3-4 wedges, cutting through the curved edge first. This prevents fillings from spilling out and creates evenly portioned pieces.
- → How do I get extra crispy tortillas?
-
Lightly brush tortillas with oil or butter before cooking, and ensure your skillet is properly preheated. Cook at medium-high heat for 2-3 minutes per side, pressing gently with a spatula to ensure contact with the cooking surface for even browning.
