
 Pin It
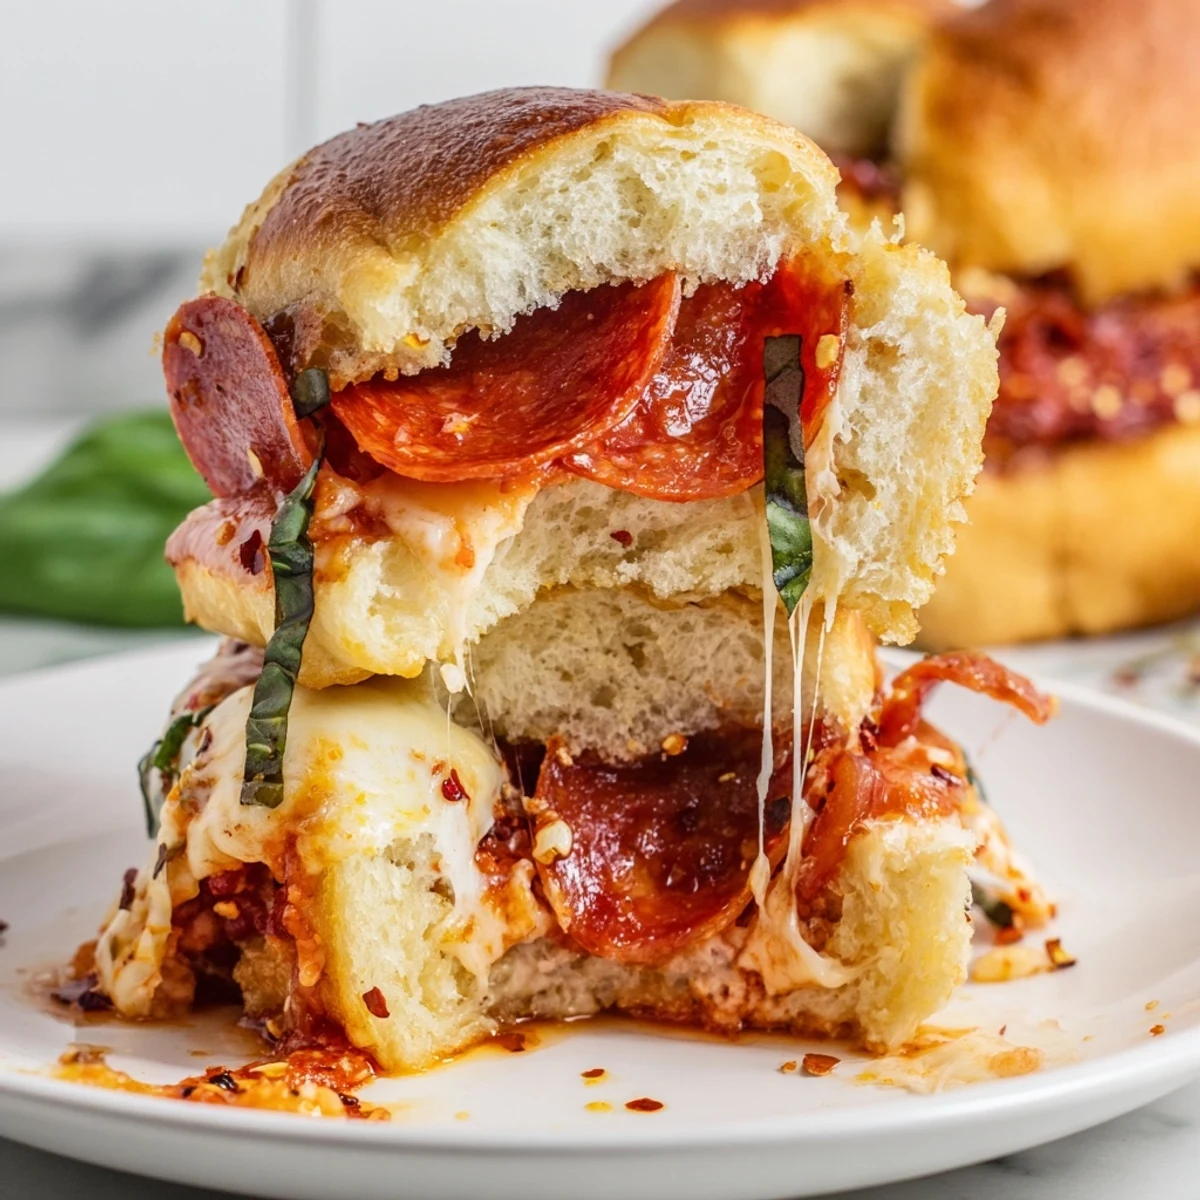
 These hot honey pepperoni sliders take everything you love about pizza and pack it into soft, pull-apart buns. Layered with tangy pizza sauce, plenty of melty mozzarella, and spicy pepperoni slices, each bite delivers that classic pizzeria flavor.
The real magic happens on top—a brushed glaze of melted butter, honey, and hot sauce creates an irresistibly golden, caramelized crust. A sprinkle of Parmesan and Italian herbs seals the deal.
Ready in just 35 minutes with only 15 minutes of prep, they're the ultimate crowd-pleasing appetizer for game days, parties, or casual weeknight dinners. Serve them warm with extra pizza sauce on the side for dipping.
The smell of melted butter and honey drifting through my apartment on a rainy Sunday afternoon is something I will never shake. I had leftover slider buns and a reckless idea to turn them into something that tasted like a pizza joint collided with a bakery. Two hours later, every single one was gone and my roommate was texting her friends about it.
I brought a tray of these to a friends football watch party and they disappeared before halftime. Someone actually paused the game to ask what was in that honey glaze, and I had to admit it was basically just three pantry staples thrown together.
Ingredients
- 12 slider buns or Hawaiian rolls: Keep them connected as a slab because that is what makes pull apart magic happen and Hawaiian rolls add a subtle sweetness that pairs beautifully with the heat.
- 2 cups shredded mozzarella cheese: Use low moisture mozzarella for the best melt, and shred it yourself if you can because pre shredded has coatings that fight against gooeyness.
- Quarter cup grated Parmesan cheese: This goes on top and creates that salty crispy crust you did not know you needed.
- 36 slices pepperoni: Layer them generously because they shrink slightly and you want every bite to have that spicy chew.
- 1 cup pizza sauce: Any decent jarred sauce works but go for one with a little less sugar since the honey glaze already brings sweetness.
- 2 tablespoons unsalted butter, melted: This is the base of the glaze that makes the tops golden and irresistible.
- 1 tablespoon honey: The sweet element that balances the hot sauce and makes people wonder what your secret is.
- 1 teaspoon hot sauce: Sriracha or chili oil both work, and you can dial this up or down depending on your crowd.
- 1 teaspoon dried Italian herbs: A simple mix of oregano and basil makes the whole thing taste like an actual pizzeria.
- Half teaspoon garlic powder: Because butter without garlic is a missed opportunity.
- Pinch of red pepper flakes: Totally optional but they add a visual sparkle and a low background hum of heat.
- Fresh basil leaves: Scatter these on after baking for a fresh pop that cuts through all that richness.
Instructions
- Get the oven ready:
- Preheat to 375 degrees Fahrenheit and grease your baking dish so nothing sticks when you try to lift those golden beauties out later.
- Slice the buns as a team:
- Using a serrated knife, slice the entire block of rolls in one horizontal cut so the bottom stays connected and the top stays connected, then place the bottom slab in the dish.
- Build the sauce and cheese layer:
- Spread pizza sauce evenly across the bottom buns and do not be shy about it, then blanket on half the mozzarella so it melts into the sauce like a proper foundation.
- Cover with pepperoni:
- Lay every pepperoni slice in a single layer so each slider gets fair coverage, then pile on the rest of the mozzarella to lock it all in place.
- Crown with the top buns:
- Gently press the top slab down onto the cheese and pepperoni mountain, letting it nestle in like a lid on a treasure chest.
- Whisk the glaze:
- Stir together the melted butter, honey, hot sauce, garlic powder, and Italian herbs until it looks like liquid gold and smells absolutely dangerous.
- Brush and finish:
- Generously brush the honey butter mixture over every roll top, making sure the edges get love too, then shower with Parmesan and red pepper flakes.
- Bake covered then uncovered:
- Tent with foil and bake 15 minutes so the cheese melts through, then pull the foil off and bake 5 more minutes until the tops turn golden and slightly crispy.
- Rest and serve:
- Let them sit for a few minutes so you do not burn your mouth, scatter fresh basil on top, and slice along the roll seams before serving warm.
 Pin It
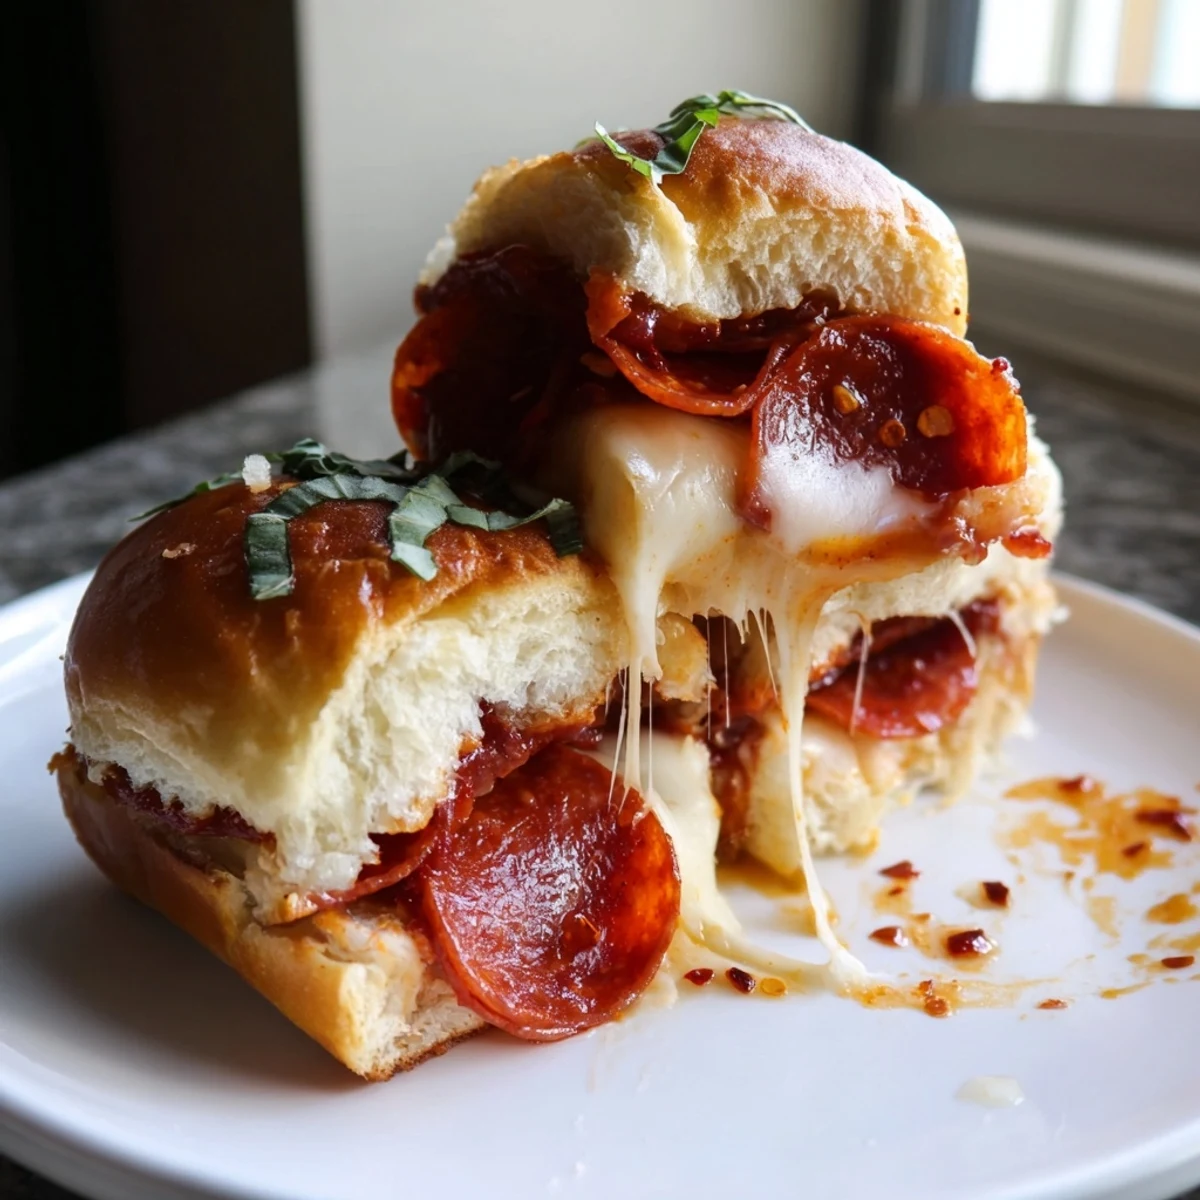
 There is something deeply satisfying about watching a crowd of people pull apart a tray of sliders, each one tugging at a roll and getting that string of mozzarella stretching between their piece and the tray. It turns a regular weeknight dinner into something that feels like an event without any extra effort.
Making These Your Own
The beauty of sliders is how forgiving they are with substitutions. Turkey pepperoni works just as well if you want something lighter, and I have friends who swap in plant based slices and report back with zero complaints.
What to Serve Alongside
A simple green salad with a vinaigrette cuts through the richness perfectly, or you can lean fully into comfort mode and serve them with a bowl of warm marinara on the side for dipping. Either way, napkins are nonnegotiable.
Getting Ahead of the Rush
You can assemble the entire tray a few hours ahead, wrap it tightly, and keep it in the fridge until you are ready to bake. This makes them a lifesaver when you are hosting and do not want to be stuck in the kitchen while everyone else is having fun.
- Brush the glaze on right before baking, not ahead, so the buns do not get soggy.
- If using refrigerated dough or very soft rolls, reduce the covered baking time by two minutes to prevent over softening.
- Always slice along the natural seams of the rolls for the cleanest separation.
 Pin It
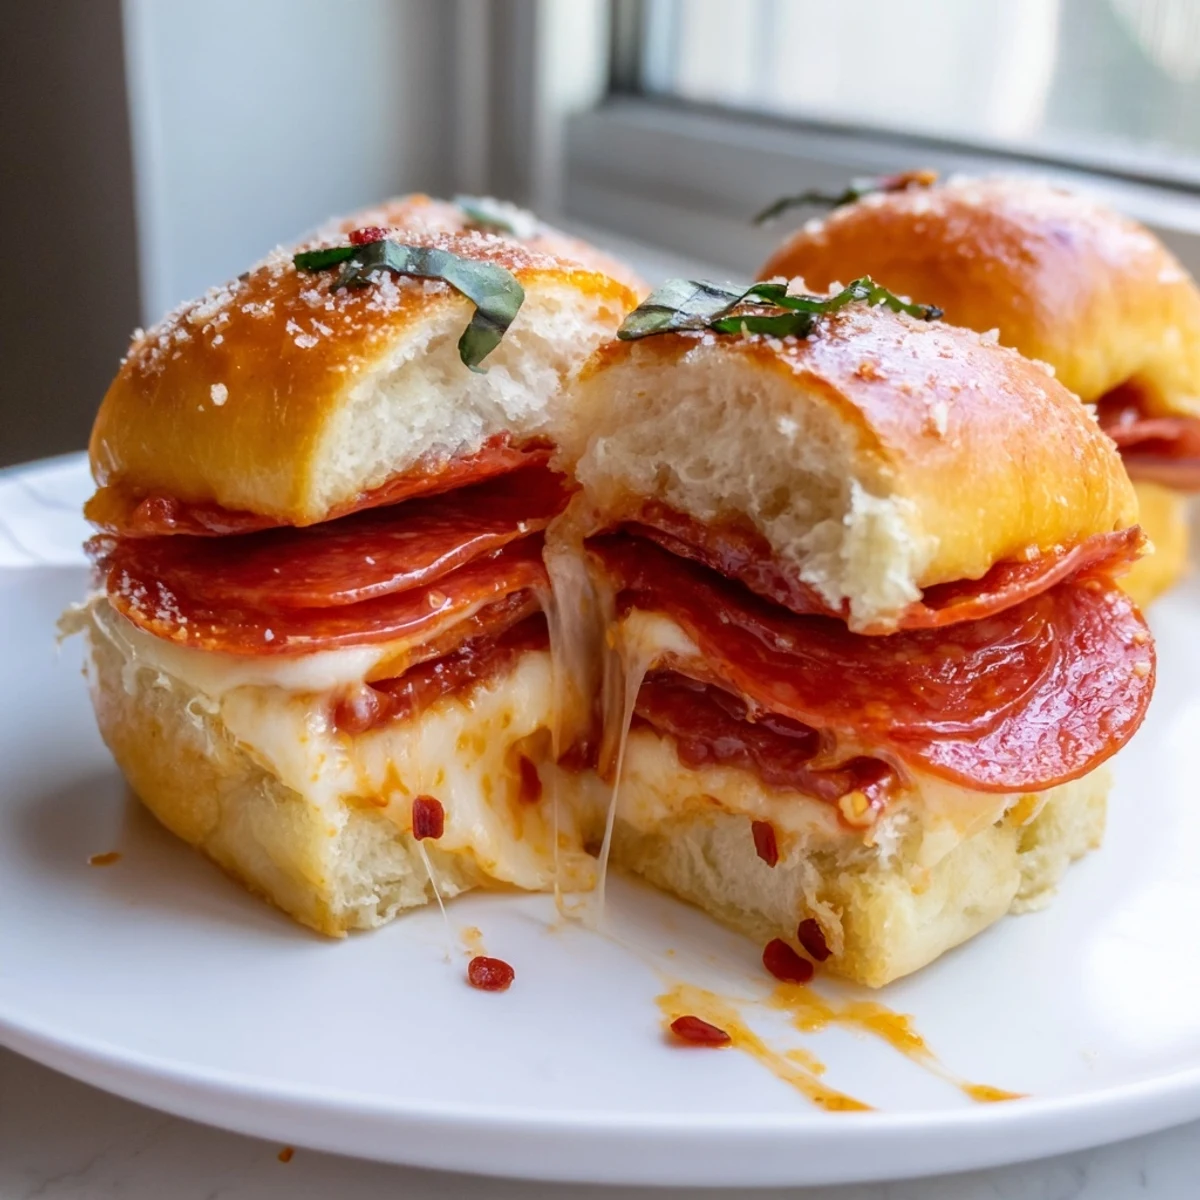
 Once you make these once, they will live in your back pocket forever. They are the kind of recipe people specifically request by name.
Recipe FAQs
- → Can I make these sliders ahead of time?
-
Yes, you can assemble the sliders completely, cover tightly with foil, and refrigerate for up to 24 hours before baking. Add the honey butter glaze just before putting them in the oven. You may need to add 3–5 extra minutes to the covered baking time if going straight from the fridge.
- → What's the best type of rolls to use?
-
Hawaiian sweet rolls or standard slider buns work best. Hawaiian rolls add a subtle sweetness that pairs wonderfully with the spicy honey glaze. Avoid crusty artisan rolls, as they won't pull apart as easily and can become too hard during baking.
- → How do I store and reheat leftovers?
-
Store leftover sliders in an airtight container in the refrigerator for up to 3 days. To reheat, wrap them in foil and warm in a 350°F oven for about 10 minutes. This helps the bread soften again and the cheese remelt without drying out.
- → Can I substitute the pepperoni with something else?
-
Absolutely. Turkey pepperoni, cooked Italian sausage, sliced bell peppers, mushrooms, or plant-based alternatives all work well. For a vegetarian version, load up on roasted vegetables and use the same cheese and sauce quantities.
- → How spicy are these sliders?
-
The heat level is customizable. As written, they have a mild-to-moderate kick from the pepperoni and hot sauce. To increase the spice, add more hot sauce or extra red pepper flakes. To tone it down, reduce or omit the hot sauce—the honey butter glaze will still add great flavor.
- → Can I freeze assembled sliders?
-
Yes, assemble the sliders without the honey butter glaze, wrap the entire dish tightly in foil and plastic wrap, and freeze for up to 2 months. Thaw overnight in the refrigerator, add the glaze, then bake as directed, adding a few extra minutes to account for the chill.