
 Pin It
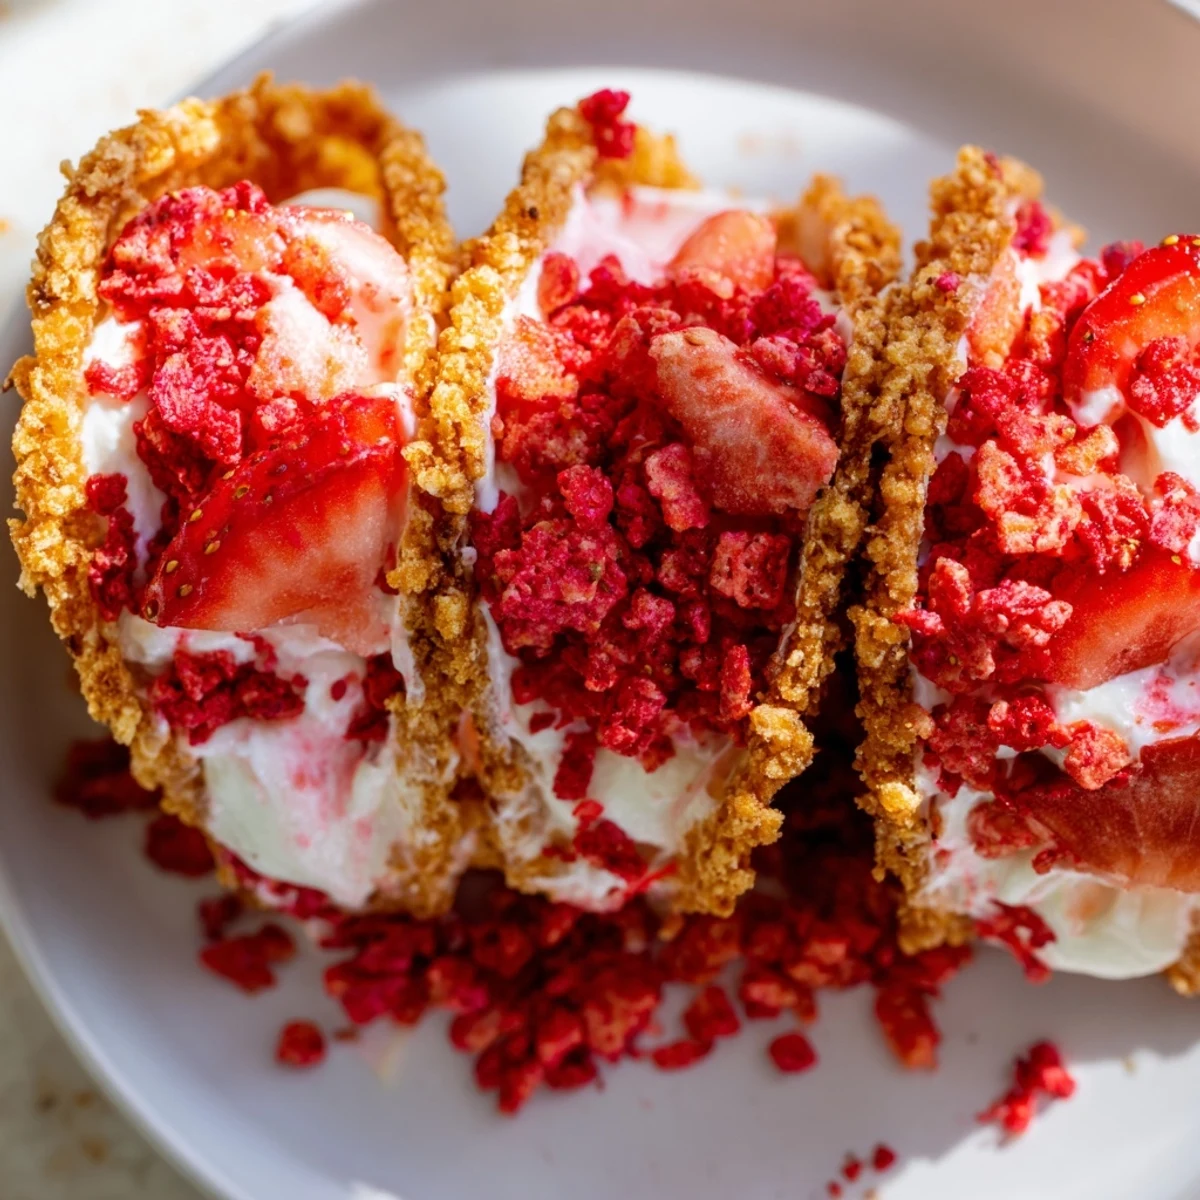
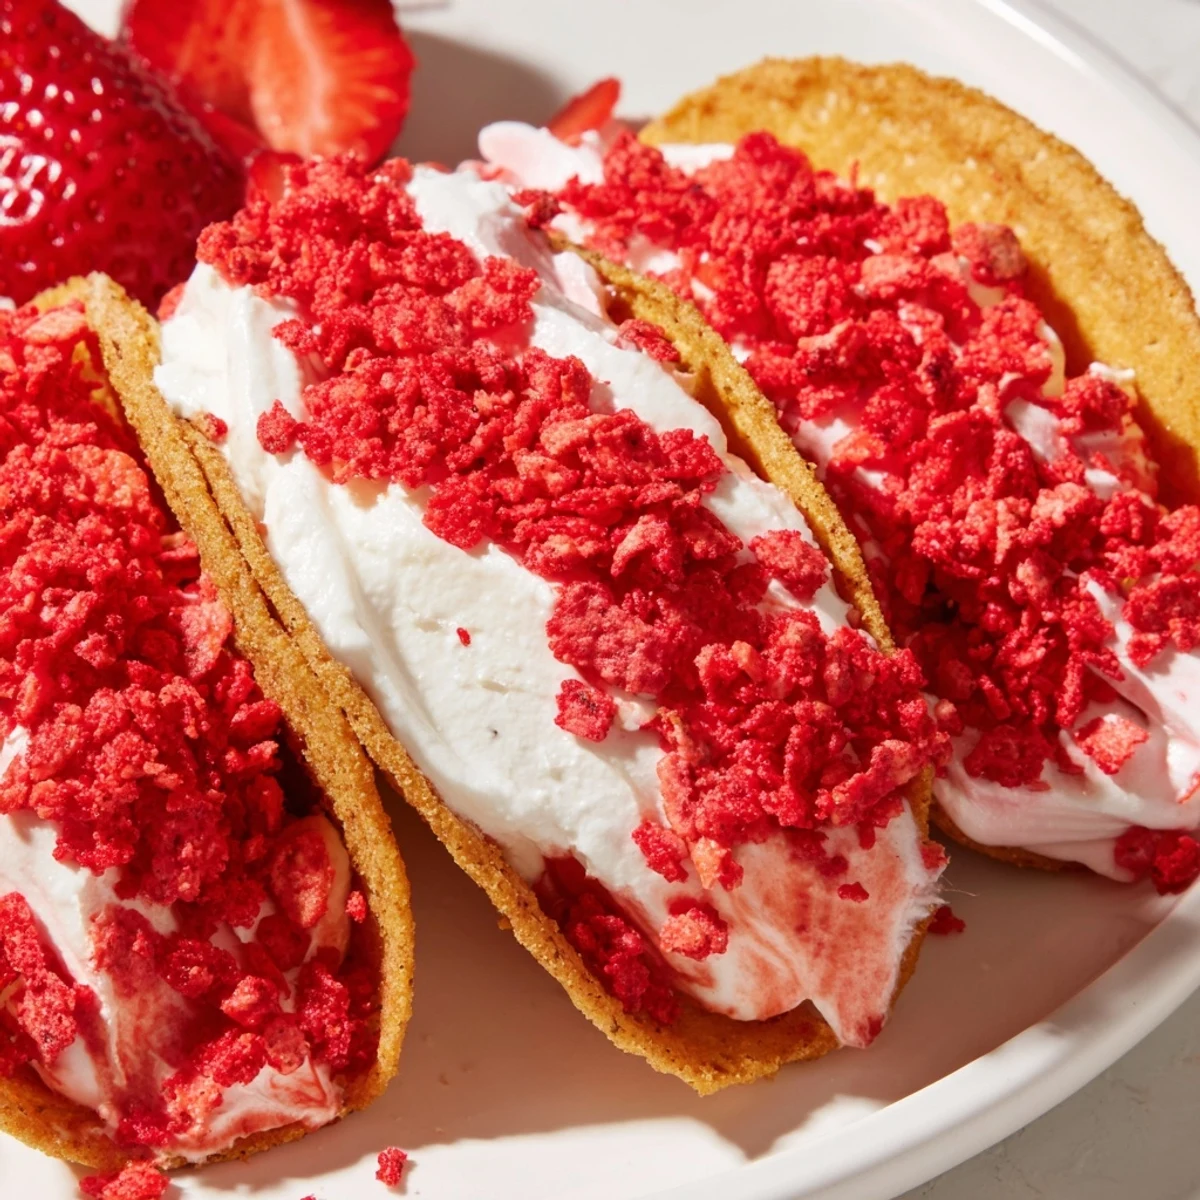
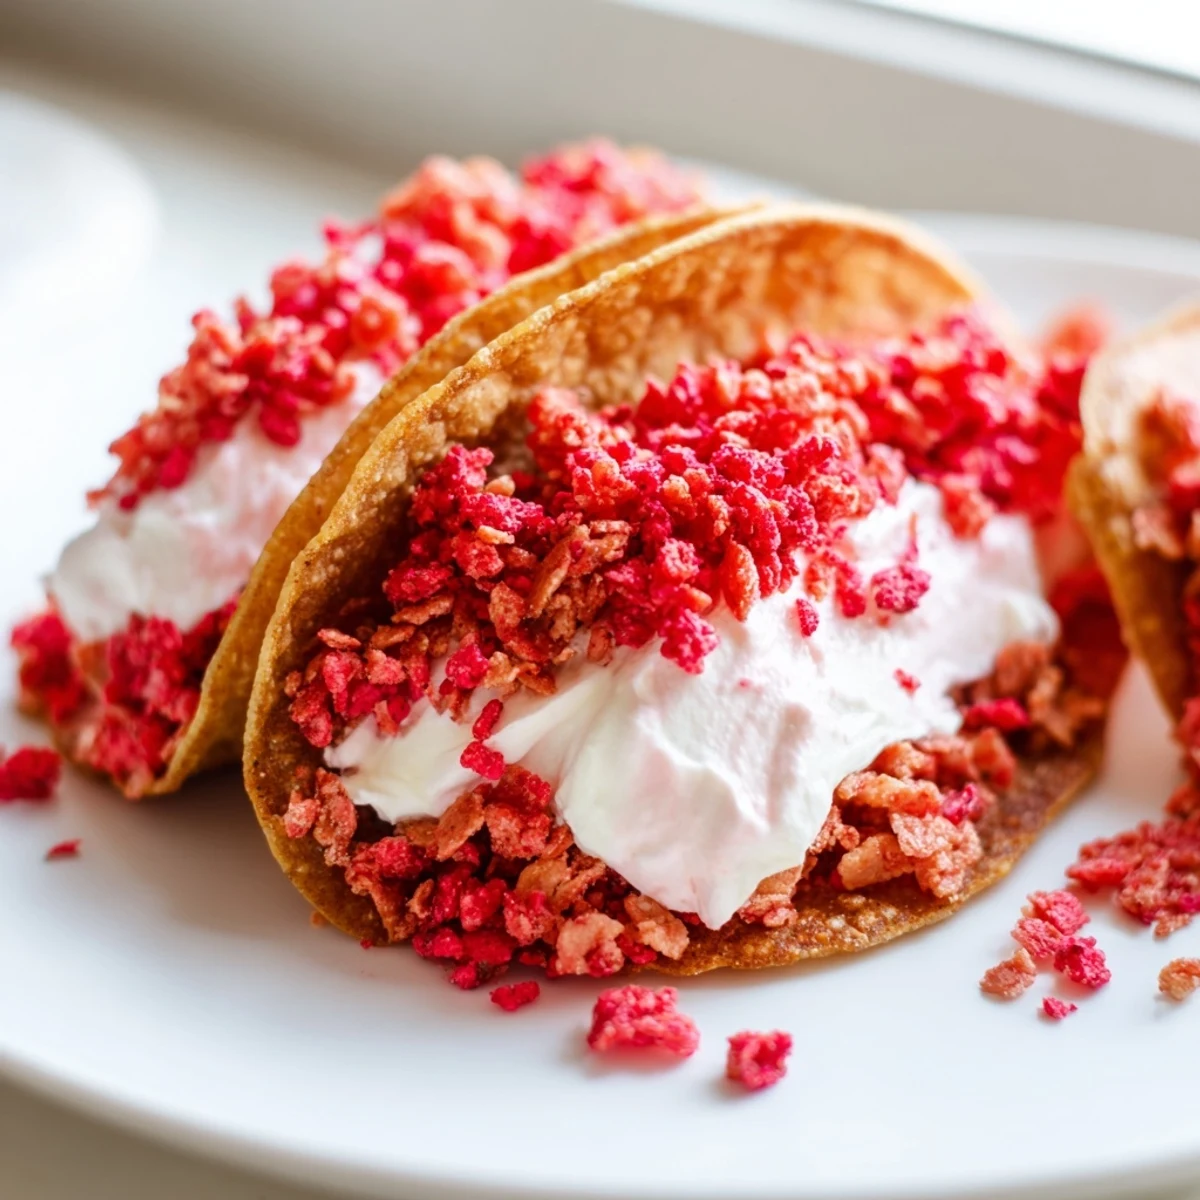
 These strawberry crunch cheesecake tacos bring together the best of both worlds — crispy baked tortilla shells coated in cinnamon sugar, a light and creamy cheesecake mousse filling, and a satisfying strawberry crunch topping made from freeze-dried berries and crispy rice cereal.
Ready in just 35 minutes with no chilling required, they're perfect for parties, potlucks, or any occasion that calls for a playful handheld dessert. Garnish with fresh diced strawberries and serve immediately for maximum crunch.
The strawberry crunch ice cream bars from the ice cream truck were my ultimate summer weakness as a kid, so when I stumbled onto the idea of folding that flavor into a taco format, I practically sprinted to the kitchen. Something about the contrast of creamy cheesecake filling against a shattering cinnamon sugar shell felt like mischief worth pursuing. These tacos landed somewhere between a childhood fever dream and a dinner party showstopper, and honestly, that is exactly where the best desserts live.
I brought a platter of these to a backyard potluck last July and watched a table full of adults abandon their burgers mid bite to reach for seconds. The shells held up beautifully even after sitting out for twenty minutes, which honestly surprised me more than anyone. My friend David ate three in a row and then asked if I could teach his daughter how to make them for her birthday party.
Ingredients
- Small flour tortillas: The smaller six inch ones are ideal because larger tortillas crack when you try to shape them and overwhelm the filling ratio.
- Unsalted butter (for taco shells): Melted and brushed on generously, this is what creates that golden crunch and helps the cinnamon sugar adhere.
- Granulated sugar and ground cinnamon (for shells): A simple mixture that transforms plain tortillas into something that tastes like a churro met a taco.
- Cream cheese: Full fat and properly softened to room temperature, because cold cream cheese will leave you with lumpy filling no matter how long you beat it.
- Heavy cream: Whipped and folded in to give the filling a mousse like lightness rather than a dense brick of cheesecake.
- Vanilla extract: Use the real stuff here, it perfumes the entire filling.
- Freeze dried strawberries: Not regular dried strawberries and definitely not fresh ones for the crunch, the moisture content matters enormously for texture.
- Crispy rice cereal: Provides the signature crunch that mimics the coating on those classic ice cream bars.
- Butter and sugar (for crunch topping): Binds the crumb together and adds sweetness.
- Fresh strawberries (for garnish): Diced small for a juicy pop of freshness on top.
Instructions
- Shape and bake the taco shells:
- Preheat your oven to 180 degrees and brush both sides of each tortilla with melted butter. Sprinkle the cinnamon sugar mixture evenly over them, then drape each tortilla over two rungs of your oven rack so they sag into a taco shape, and bake for seven to nine minutes until golden and crisp, keeping a close eye because they go from perfect to burnt quickly.
- Whip up the cheesecake mousse:
- Beat the softened cream cheese with sugar and vanilla until completely smooth with no lumps remaining. In a separate chilled bowl, whip the heavy cream to medium peaks, then gently fold it into the cream cheese mixture in three additions so you do not deflate all that lovely air you just whipped in.
- Build the strawberry crunch:
- Pulse the freeze dried strawberries and crispy rice cereal in a food processor until you get a coarse crumb with some texture remaining. Drizzle in the melted butter and sugar, then pulse once or twice just to combine without turning it into paste.
- Fill and finish the tacos:
- Pipe or spoon the cheesecake mousse into each cooled shell, filling them generously but not so full that everything spills out at first bite. Sprinkle the strawberry crunch over the top with abandon, then scatter fresh diced strawberries over everything.
- Serve immediately:
- These are at their absolute best the moment they are assembled, when the shells are still crisp and the crunch is still loud under your teeth, so gather everyone around before you start filling.
 Pin It
 The moment these went from a quirky experiment to a genuine staple was when my neighbor stopped mid sentence to close her eyes after her first bite. She stood there in my kitchen holding a taco in each hand, completely silent, and then whispered that it reminded her of summers at her grandmothers house. Food does that sometimes, reaches across decades without warning.
Making It Your Own
The beauty of this format is how forgiving it is once you understand the basic structure of crisp shell, creamy filling, and textured topping. I have swapped the strawberry crunch for crushed Oreo cookies with a chocolate drizzle and the result was equally devastating in the best way. You could also try mango or raspberry freeze dried fruit, or add a spoonful of lemon curd to the filling for brightness.
Handling the Shells
Draping tortillas over the oven rack bars takes a bit of confidence but it works beautifully if you do not overthink it. If you are nervous about free hanging tortillas, you can invert a muffin tin and nestle the tortillas between the cups instead for a more controlled shape. Either way, watch them like a hawk during the last two minutes of baking because cinnamon sugar burns faster than you expect.
Serving and Storage
These tacos are a choose your own adventure situation at the table. Set out the components separately and let people build their own if you want to turn dessert into an activity rather than just a course.
- Keep the shells in an airtight container at room temperature for up to two days if you want to prep ahead.
- The cheesecake mousse holds well in the fridge for three days and actually tastes better after the flavors meld overnight.
- The crunch topping stores in a sealed bag for a week and also makes an incredible topping for ice cream or yogurt.
 Pin It
 Every time I make these, someone asks for the recipe, and I always tell them the same thing: just promise me you will eat one standing in the kitchen before you share them. That first crunchy, creamy, strawberry flecked bite is a private joy worth protecting.
Recipe FAQs
- → Can I make the taco shells ahead of time?
-
Yes, the baked taco shells can be prepared a day in advance. Store them in an airtight container at room temperature to maintain their crispness. Fill them with the cheesecake mousse just before serving for the best texture.
- → What can I substitute for freeze-dried strawberries?
-
Crushed strawberry-flavored sandwich cookies or freeze-dried raspberries work well as alternatives. You can also use finely crushed graham crackers mixed with a tablespoon of strawberry jam for a similar flavor profile.
- → How do I shape the tortillas into taco shells?
-
After brushing with butter and sprinkling with cinnamon sugar, drape each tortilla over two parallel bars of your oven rack. The tortilla will sag between the bars, forming a taco shape as it bakes. Alternatively, you can fold them over a bunched-up ball of aluminum foil on a baking tray.
- → Can I use corn tortillas instead of flour?
-
Flour tortillas are recommended because they become crisp without breaking and have a milder flavor that pairs well with the sweet filling. Corn tortillas tend to crack when shaped and have a savory flavor that may clash with the dessert components.
- → How long do assembled tacos stay crisp?
-
Assembled tacos are best eaten within 30 minutes. The moisture from the cheesecake filling will gradually soften the shells. For parties, keep the components separate and let guests assemble their own to ensure everyone gets a crunchy taco.
- → Is there a dairy-free version of this dessert?
-
You can substitute dairy cream cheese with a plant-based alternative and use coconut cream instead of heavy cream. Replace the butter with melted coconut oil or a vegan butter substitute. Check that your tortillas are dairy-free as well.