 Pin It
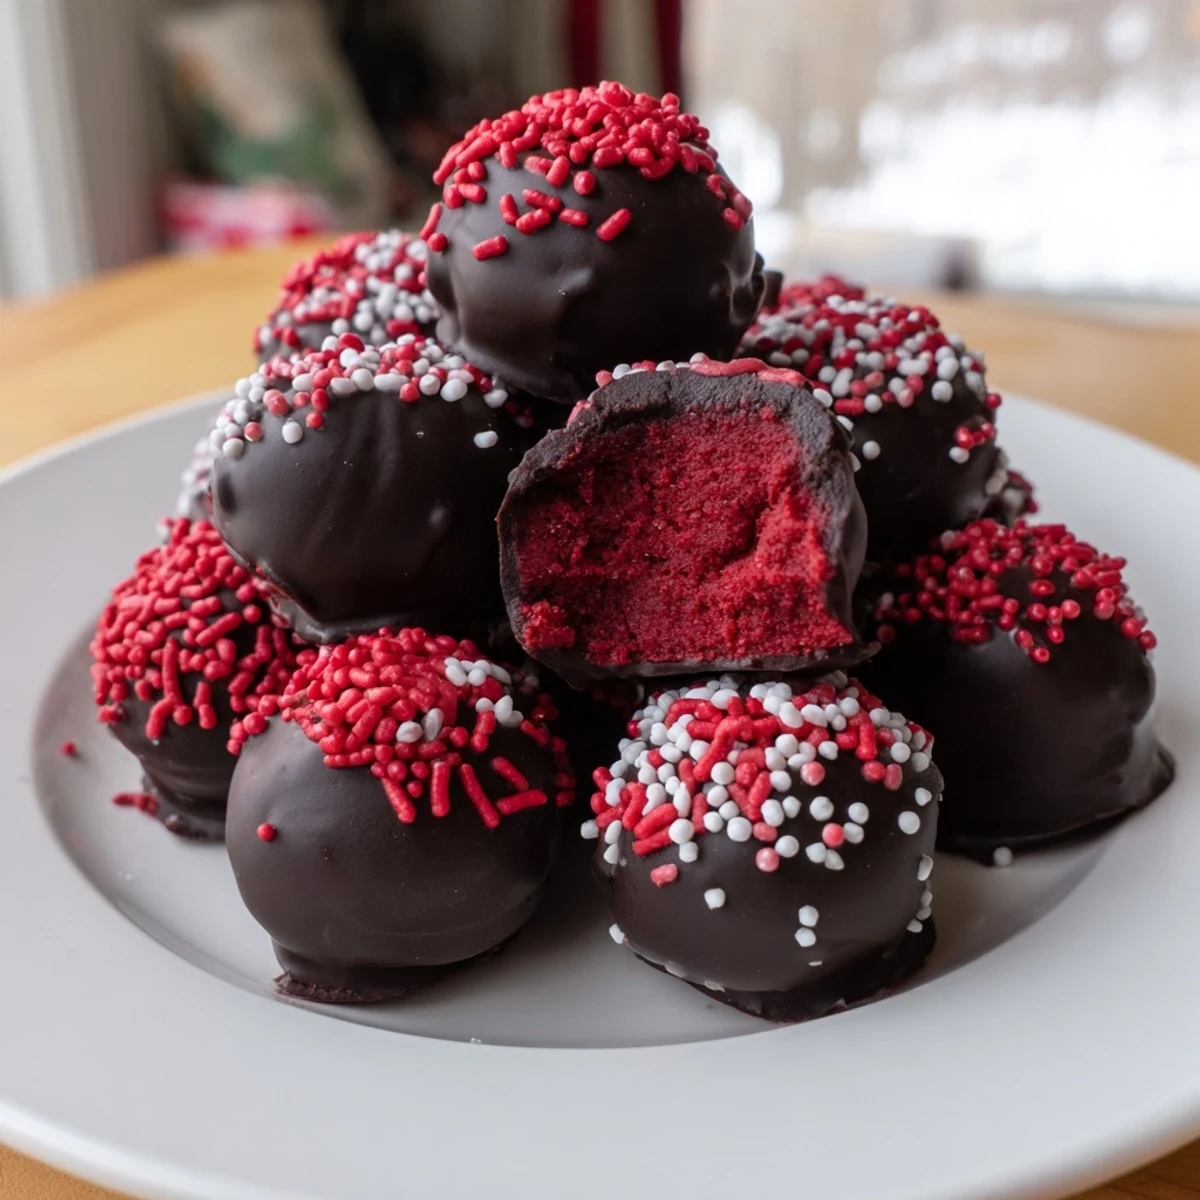
 These indulgent red velvet cheesecake balls combine the best of both worlds—velvety red cake and tangy cheesecake—all enrobed in smooth chocolate. Making them is straightforward: bake a classic red velvet cake, prepare a simple cream cheese filling, crumble and combine, then roll into perfect bite-sized spheres. After chilling until firm, dip each ball into melted chocolate for that signature finishing touch.
The result is an impressive dessert that looks fancy but comes together with minimal effort. They're ideal for parties, holidays, or whenever you want something special. The contrast between the soft, creamy interior and crisp chocolate coating creates an irresistible texture that everyone loves.
Keep these chilled for the best consistency, and feel free to customize with white, dark, or even ruby chocolate. Add sprinkles for festive occasions or enjoy them as-is for pure chocolatey bliss.
The kitchen smelled like cocoa and sugar the afternoon my sister walked in and declared she needed something red, something chocolatey, and something she could eat in two bites for her book club meeting. I had cream cheese softening on the counter and a bottle of red food coloring leftover from a holiday project, so I started experimenting without any real plan. By the time the chocolate coating set on that first batch, we had both eaten six balls each and her book club never stood a chance.
I brought a tray of these to a neighbors potluck last summer and watched a quiet accountant named Greg eat eleven of them while pretending to be interested in the cheese platter.
Ingredients
- All purpose flour (1 1/4 cups, 160 g): This forms the tender crumb of your red velvet cake, so measure it gently and never pack it down.
- Granulated sugar (3/4 cup, 150 g): Gives the cake its moisture and slight sweetness without overpowering the cocoa flavor.
- Unsweetened cocoa powder (2 tbsp, 16 g): Just enough to give that signature red velvet chocolate hint without turning it brown.
- Baking soda (1/2 tsp): Provides a gentle lift so your cake stays soft and easy to crumble later.
- Salt (1/4 tsp): A small pinch that wakes up every other flavor in the cake.
- Buttermilk (1/2 cup, 120 ml, room temperature): This is the secret to that velvety texture, so do not substitute regular milk if you can help it.
- Unsalted butter (1/2 cup, 110 g, softened): Creates richness in the cake and blends best when truly soft, not melted.
- Large eggs (2, room temperature): They bind everything together and incorporate more evenly when not cold from the fridge.
- Vanilla extract (1 tsp for cake, 1/2 tsp for filling): Use the real stuff here because the flavor carries through in every bite.
- Red food coloring (1 tbsp): This gives the dramatic red color that makes these balls so striking under any coating.
- Cream cheese (8 oz, 225 g, softened): The star of the filling, so use full fat and let it truly soften for the silkiest texture.
- Powdered sugar (1/4 cup, 30 g): Sweetens the cheesecake filling just enough without making it grainy.
- White or dark chocolate (10 oz, 285 g): Creates that satisfying snap when you bite through, and either option works beautifully.
- Red or white sprinkles (optional): A festive finishing touch that makes these look as fun as they taste.
Instructions
- Bake the Red Velvet Cake:
- Preheat your oven to 350°F and line an 8x8 inch pan with parchment. Whisk the flour, sugar, cocoa powder, baking soda, and salt in one bowl, then blend the buttermilk, butter, eggs, vanilla, and red food coloring in another. Fold everything together until just smooth and pour it into the pan. Bake for 18 to 20 minutes until a toothpick comes out clean, then let it cool completely.
- Whip Up the Cheesecake Filling:
- Beat the cream cheese, powdered sugar, and vanilla in a medium bowl until perfectly smooth and creamy. If it feels too soft to hold shape, pop it in the fridge for about 15 minutes until it firms up slightly.
- Roll the Balls:
- Crumble the cooled cake into a large bowl and add the cheesecake mixture on top. Work it together with your hands or a spoon until a cohesive dough forms. Roll into 1 inch balls and set them on a parchment lined sheet. Freeze for a full hour until they are rock solid.
- Dip and Coat:
- Melt your chocolate in 20 second bursts in the microwave, stirring between each interval until silky smooth. Drop each frozen ball into the chocolate, roll it around with a fork, and lift it out letting excess drip off. Place back on parchment and add sprinkles immediately before the shell sets.
- Let Them Set:
- Leave the coated balls at room temperature or refrigerate until the chocolate hardens completely. Serve them chilled or let them sit out for a few minutes before enjoying.
 Pin It
 The moment my neighbor Greg quietly asked if I could make another batch just for him, I knew this recipe had earned a permanent spot in my repertoire.
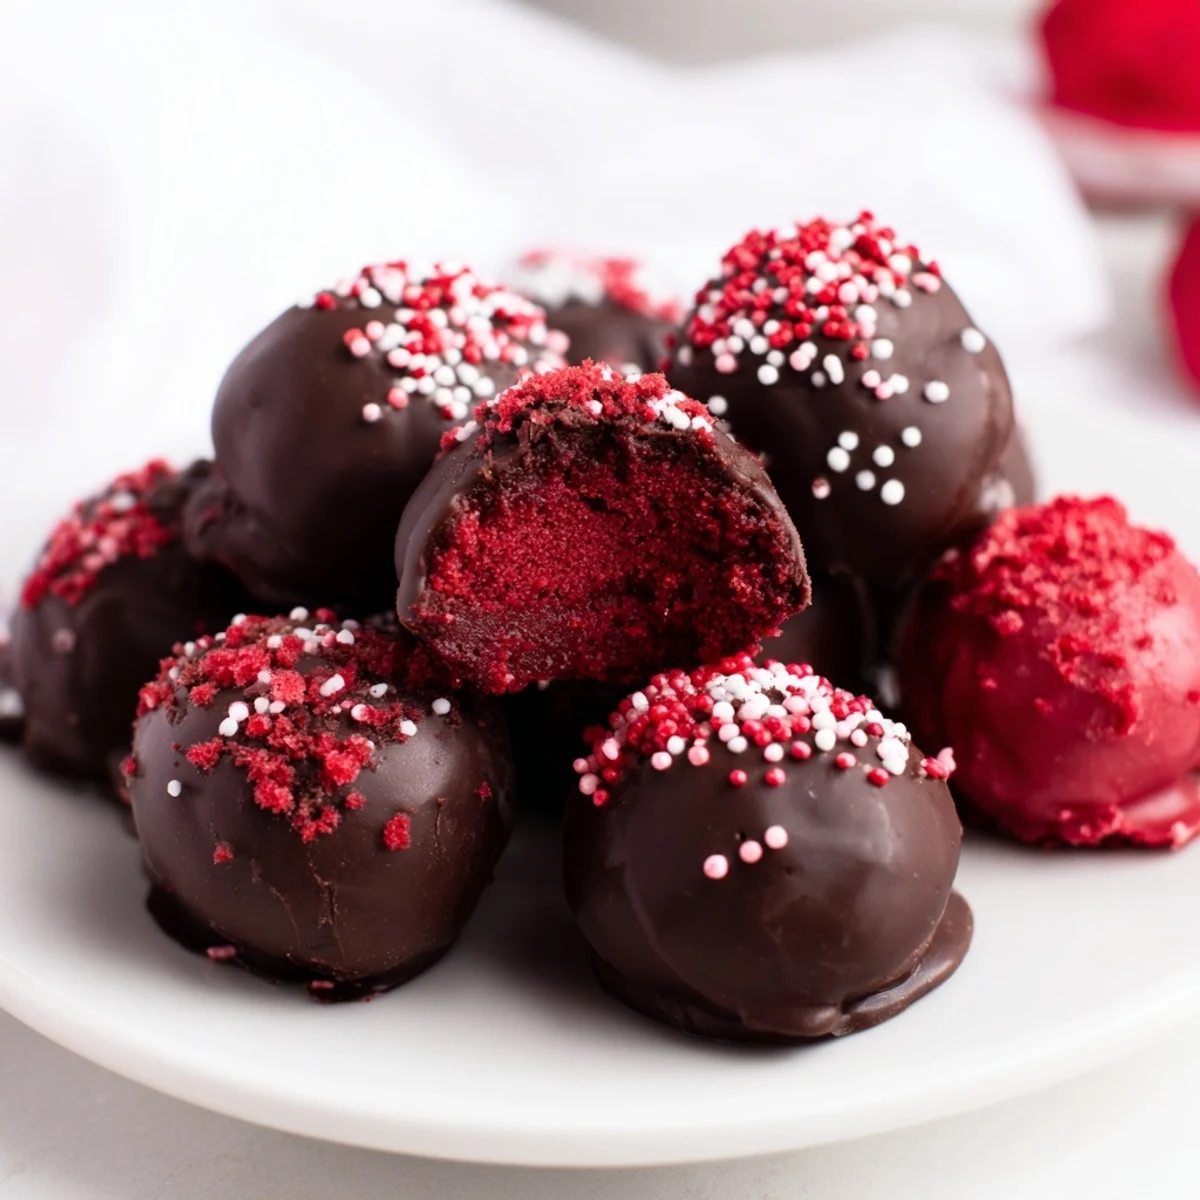
Playing With Flavors and Coatings
Ruby chocolate is a gorgeous pink alternative that adds a subtle berry tang, and it looks stunning without any sprinkles at all.
Storing for Later
These balls keep beautifully in an airtight container in the fridge for up to a week, and they freeze for a full month so you can always have a stash ready.
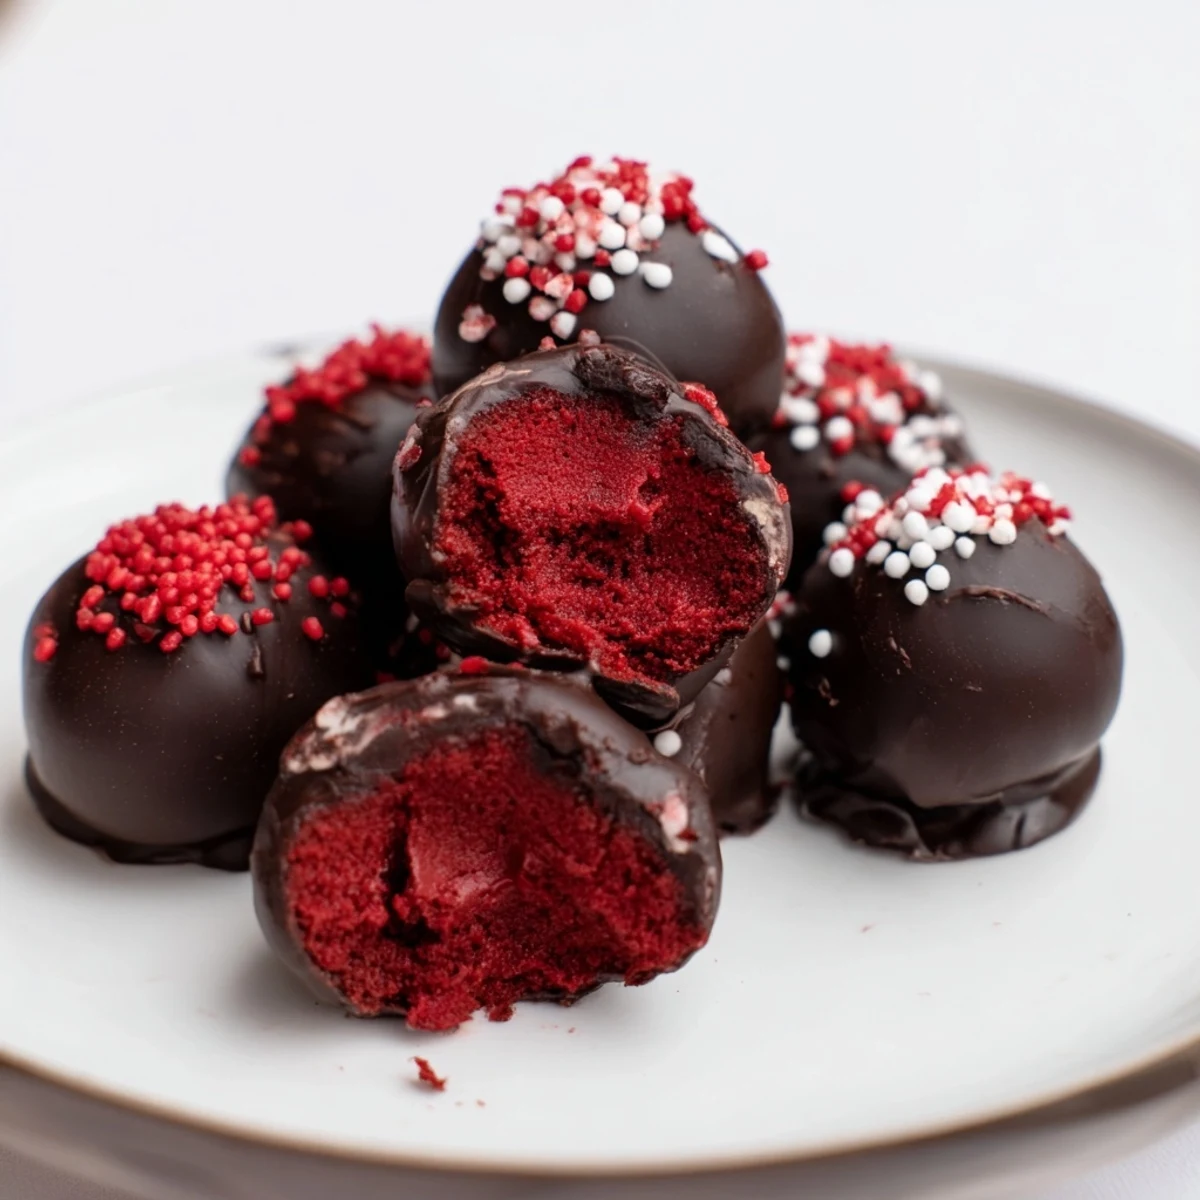
Getting the Texture Right
The texture depends on how thoroughly you combine the crumbled cake with the cheesecake filling, so really work it until it feels like a uniform dough.
- Wear food safe gloves if you do not want red stained hands from mixing.
- If your dough feels too wet, add a few extra cake crumbs to balance it out.
- Always taste one ball before freezing the whole batch to check the sweetness level.
 Pin It
 Every time I make these, someone asks for the recipe, and I always smile because the secret is simply patience while the chocolate sets.
Recipe FAQs
- → How long should I chill the cheesecake balls before dipping?
-
Freeze the formed balls for at least 1 hour until completely firm. This prevents them from falling apart during the chocolate coating process and ensures they hold their shape perfectly.
- → Can I make these ahead of time?
-
Absolutely! These store beautifully in an airtight container in the refrigerator for up to 1 week. You can also freeze them for up to 1 month—just thaw in the fridge before serving.
- → What's the best chocolate for coating?
-
High-quality melting wafers work best as they're formulated for smooth dipping and quick setting. White chocolate creates a striking look against the red, while dark chocolate provides a sophisticated flavor contrast.
- → Why did my coating crack or become sticky?
-
This usually happens when the balls aren't cold enough before dipping or if there's moisture on the surface. Ensure they're thoroughly frozen and use dry utensils. Work quickly once the chocolate is melted for the smoothest results.
- → Can I use boxed cake mix instead of from scratch?
-
Yes! A standard red velvet cake mix works perfectly in this context. Prepare according to package directions, cool completely, and proceed with crumbling and combining with the cheesecake filling.
- → How do I prevent the chocolate from seizing?
-
Melt chocolate slowly in 20-second intervals, stirring between each burst. Avoid getting any water in the chocolate—even a drop can cause seizing. If it does seize, adding a teaspoon of vegetable oil can help smooth it out.
