 Pin It
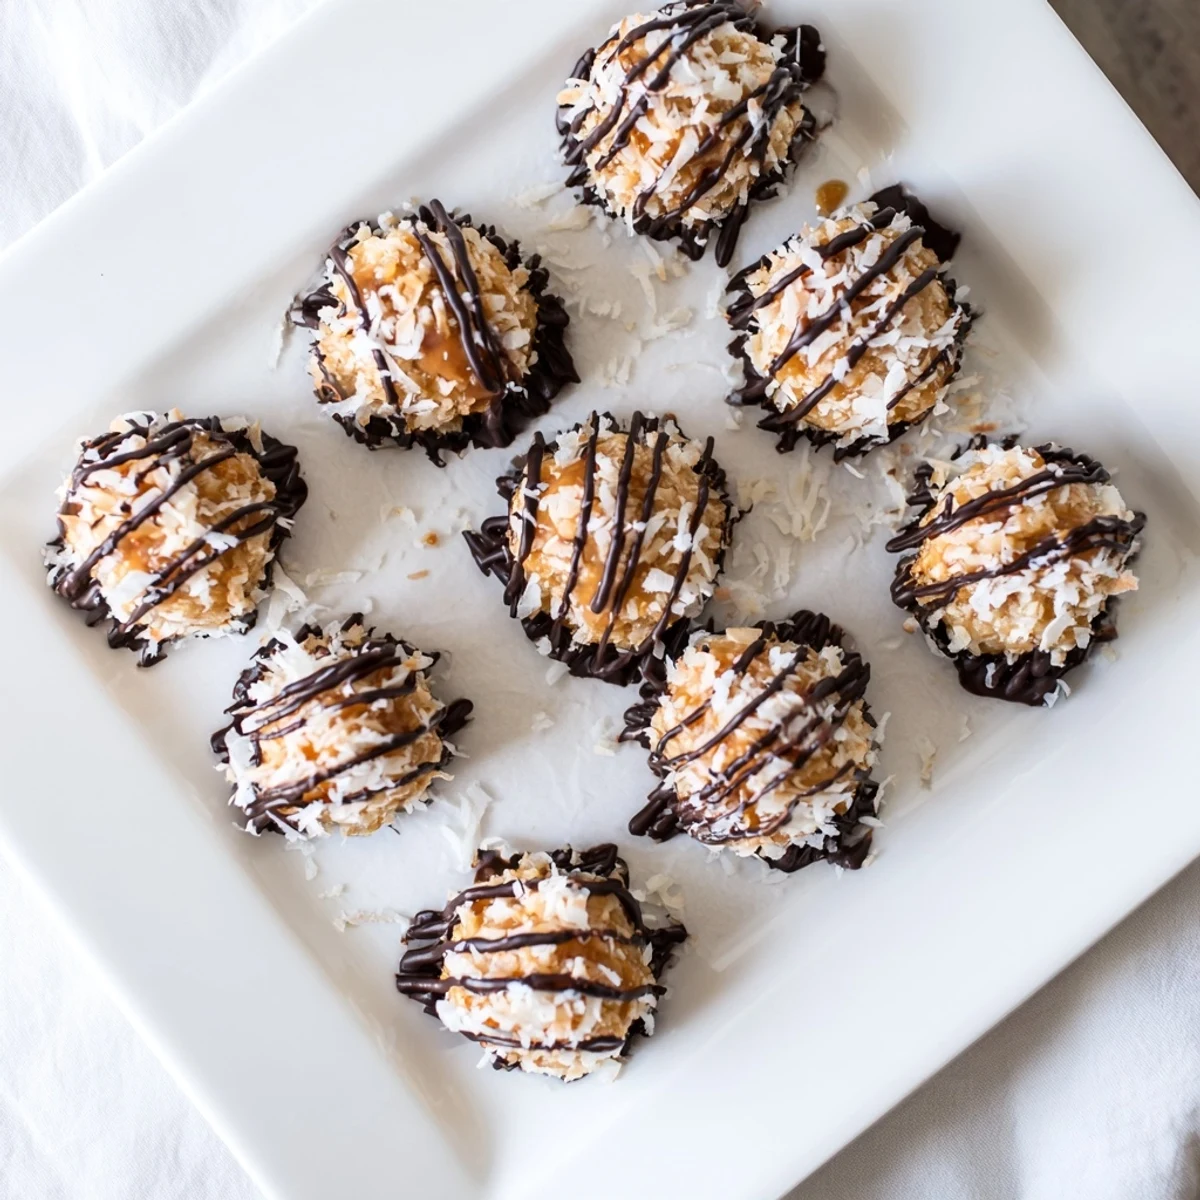
 These delightful bites capture all the flavors of classic Samoa cookies without turning on your oven. A rich date and cocoa base forms the foundation, topped with a sweet almond butter caramel coating and finished with decadent dark chocolate. The combination of toasted coconut, smooth caramel, and chocolate creates an irresistible treat perfect for satisfying sweet cravings.
Simple preparation involves blending the base ingredients, pressing into bite-sized portions, and adding the luscious caramel layer. A quick dip in melted chocolate transforms these into impressive-looking confections that taste even better than the original cookie inspiration.
Last Tuesday, I found myself craving those Girl Scout cookies but wanting something I could throw together without turning on the oven. My kitchen was already a disaster zone from earlier cooking experiments, so the idea of no-bake anything felt like a small victory. I raided the pantry and realized everything I needed was already there, staring back at me like it had been planning this moment.
My roommate walked in while I was pressing these little mounds together and immediately stole three off the parchment paper. She swore she was just quality control, but by the time the chocolate coating was ready, half the batch had vanished. Now theyre our go to whenever we need something sweet but dont want to commit to actual baking.
Ingredients
- 1 cup pitted dates: These natural sweeteners bind everything together while adding that chewy caramel like texture
- 1 cup unsweetened shredded coconut: The base of these bites brings that classic Samoa flavor without any refined sugar
- 1/2 cup almond flour: Adds nutty richness and helps hold the shape when pressed
- 2 tbsp cocoa powder: Deepens the chocolate flavor and balances the sweetness
- 1/4 tsp salt: Essential for cutting through all the sweet elements
- 1/2 cup creamy almond butter: Creates that luscious caramel layer when whisked with maple syrup
- 2 tbsp maple syrup: Natural sweetness that makes the caramel layer perfectly sticky
- 1/2 cup unsweetened shredded coconut toasted: Toasting brings out the nutty coconut flavor that makes these taste authentic
- 3 oz dark chocolate chopped: Use the good stuff here since its the star of the coating
- 1 tsp coconut oil: Makes the chocolate coating silky and helps it set properly
Instructions
- Prep your workspace:
- Line a baking sheet with parchment paper so the bites dont stick and you can easily move everything to the fridge
- Make the chocolate base:
- Pulse dates, coconut, almond flour, cocoa powder, and salt in your food processor until the mixture sticks together when you pinch it
- Shape the bites:
- Scoop about one tablespoon of mixture and press firmly into balls, flattening slightly into a disk shape
- Create the caramel layer:
- Whisk almond butter and maple syrup until smooth and glossy, then fold in the toasted coconut
- Assemble:
- Top each base with a heaping teaspoon of caramel, pressing gently so it stays put
- Prepare the chocolate:
- Melt dark chocolate with coconut oil using short bursts in the microwave or a double boiler until silky
- Coat and finish:
- Dip the bottom of each bite into chocolate, return to parchment, then drizzle the remaining chocolate over the tops
- Set them up:
- Refrigerate for at least thirty minutes until the chocolate is firm and the centers are set
 Pin It
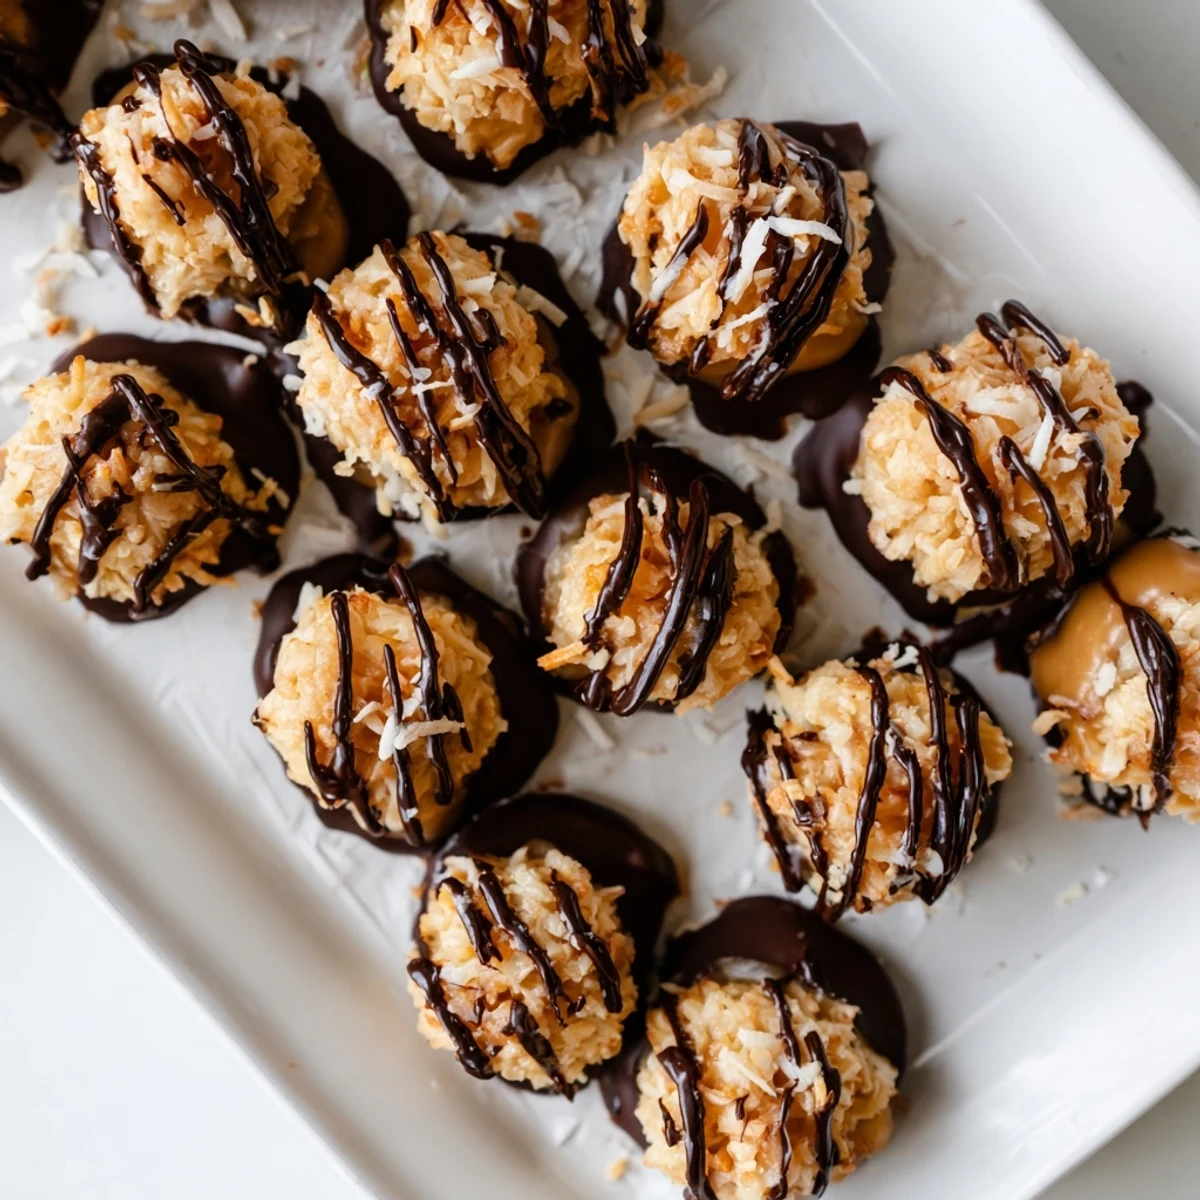
 The first time I made these for a dinner party, my friend asked if I had secretly bought them from a bakery. The way the chocolate cracks when you bite into them, then gives way to that chewy coconut caramel, it just hits all the right notes. Now theyre the first thing people ask for when they come over.
Getting The Shape Right
The mixture might feel too crumbly at first, but keep pressing it firmly in your palm. I learned that a slightly damp hand helps prevent sticking and makes shaping much easier.
Perfecting The Chocolate Coating
Work quickly once your chocolate is melted since it starts to set up fast. I set up a little assembly line with the plate of bases on one side and the parchment paper on the other to keep things moving smoothly.
Storage And Make Ahead Tips
These keep beautifully in the fridge for up to a week, though they rarely last that long in my house. You can also freeze them for longer storage and they thaw in about fifteen minutes.
- Place a piece of wax paper between layers if stacking them
- Let them sit at room temperature for five minutes before serving
- The chocolate coating will get streaky if you refrigerate them too quickly
 Pin It
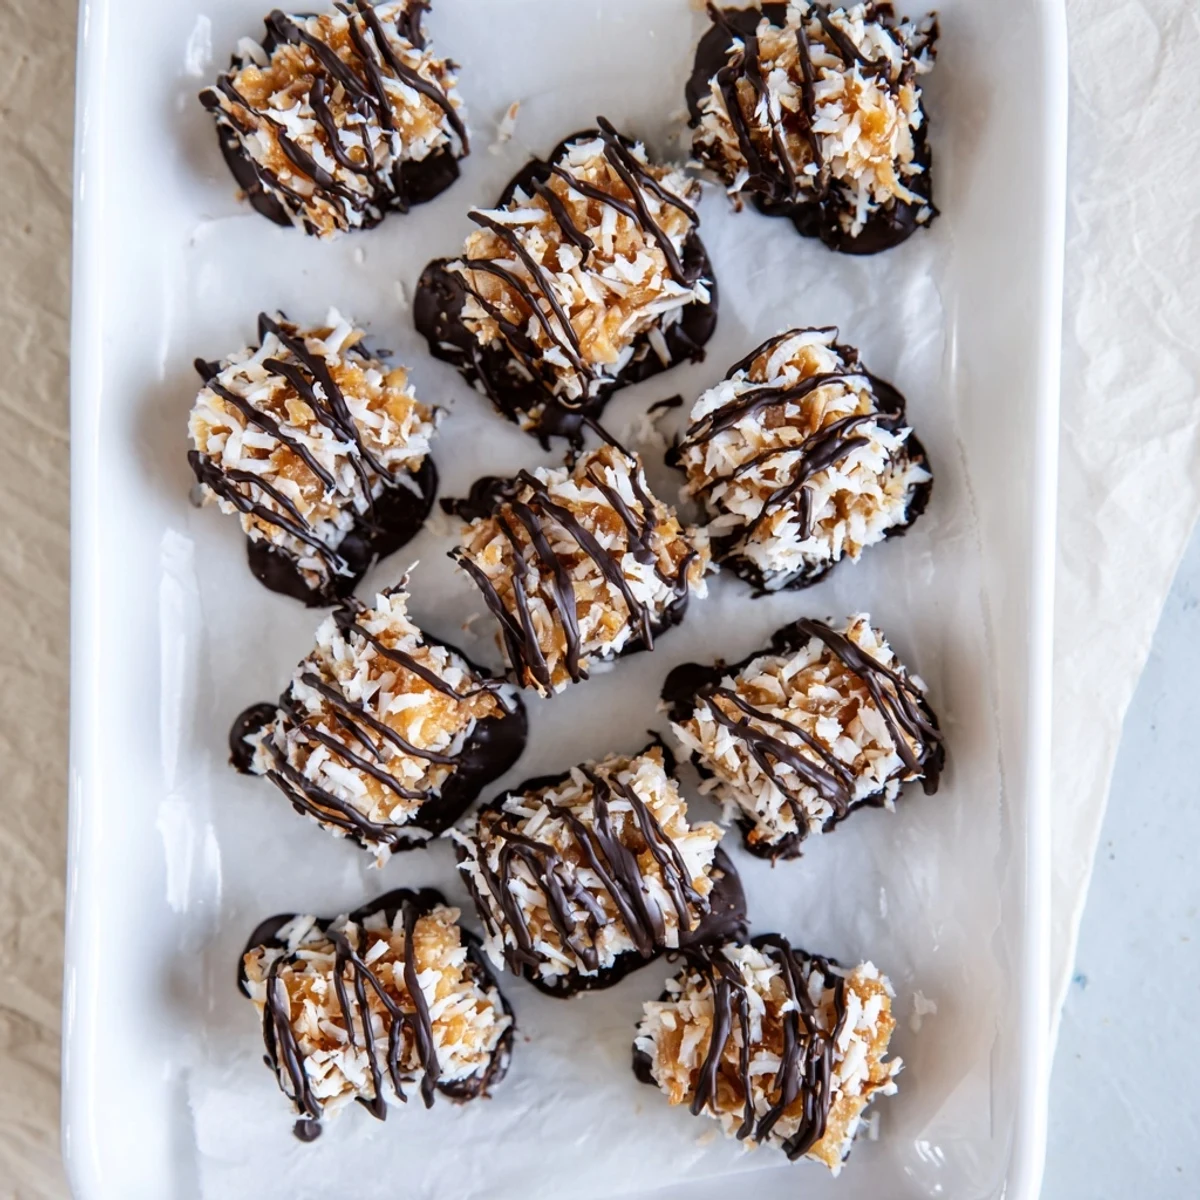
 Whenever I need a sweet fix that feels indulgent but actually comes from whole ingredients, these are my answer. They prove that sometimes the best desserts are the ones that come together without any heat at all.
Recipe FAQs
- → How long do these keep fresh?
-
Store these bites in an airtight container in the refrigerator for up to two weeks. The chocolate coating helps maintain freshness and texture.
- → Can I freeze these for later?
-
Yes, freeze them in a single layer on a baking sheet first, then transfer to a freezer-safe container. They'll keep well for up to three months.
- → What's the best way to melt the chocolate?
-
Use a double boiler for gentle, even melting, or microwave in 30-second intervals stirring between each. Adding coconut oil helps achieve smooth, dippable consistency.
- → Can I make these nut-free?
-
Substitute almond flour with oat flour and replace almond butter with sunflower seed butter for a completely nut-free version that maintains great texture.
- → Why must I refrigerate before serving?
-
Chilling allows the chocolate coating to set completely and helps the caramel layer firm up. This ensures neat, biteable portions that hold their shape.
