 Pin It
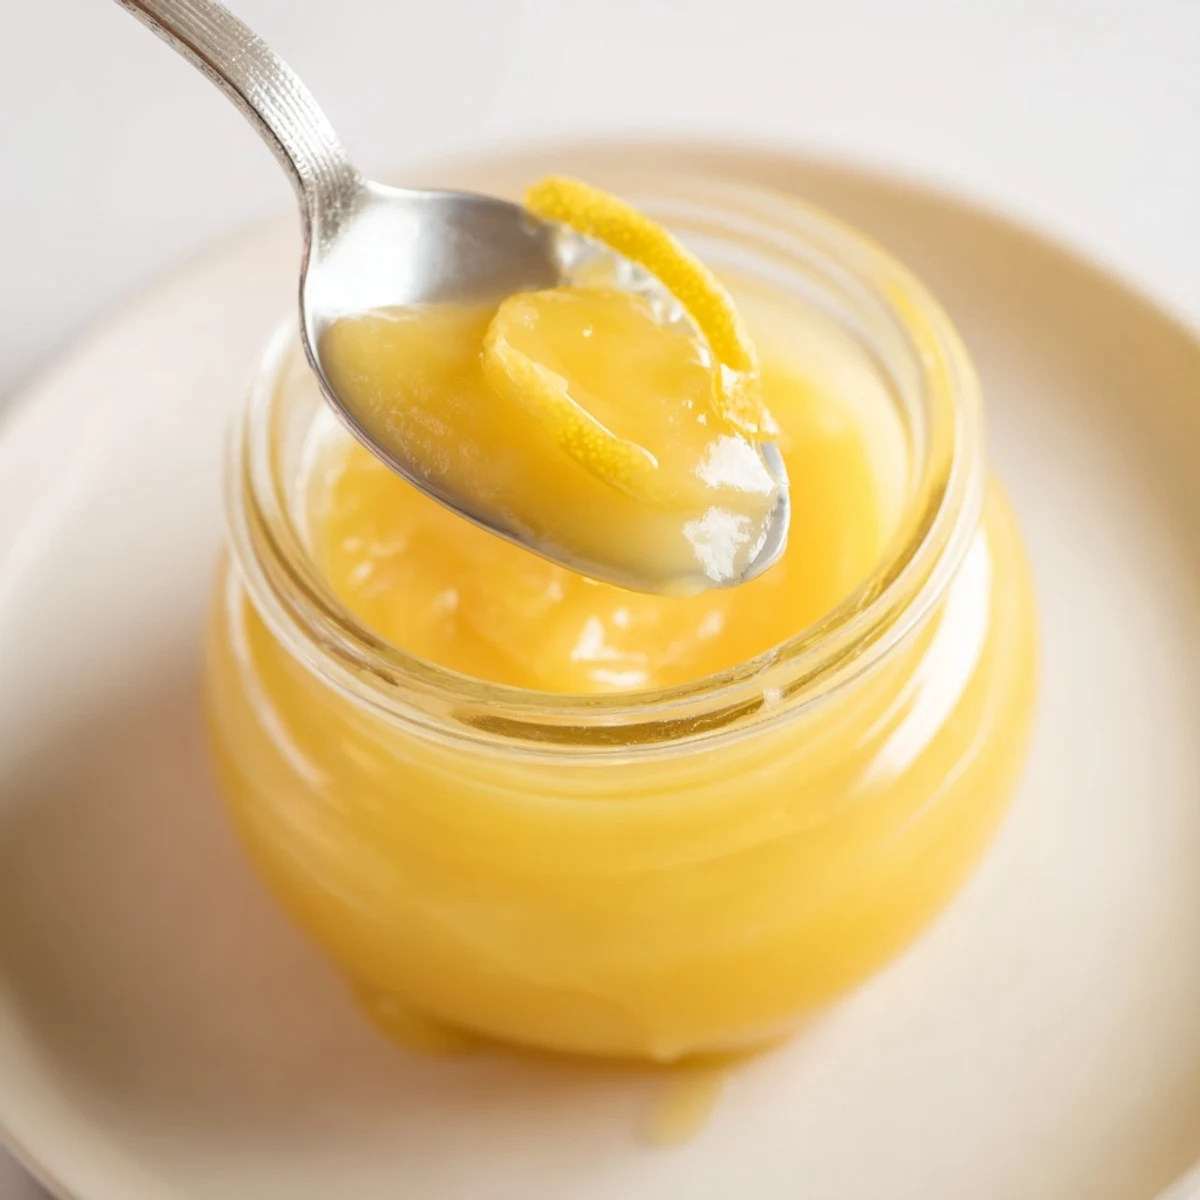
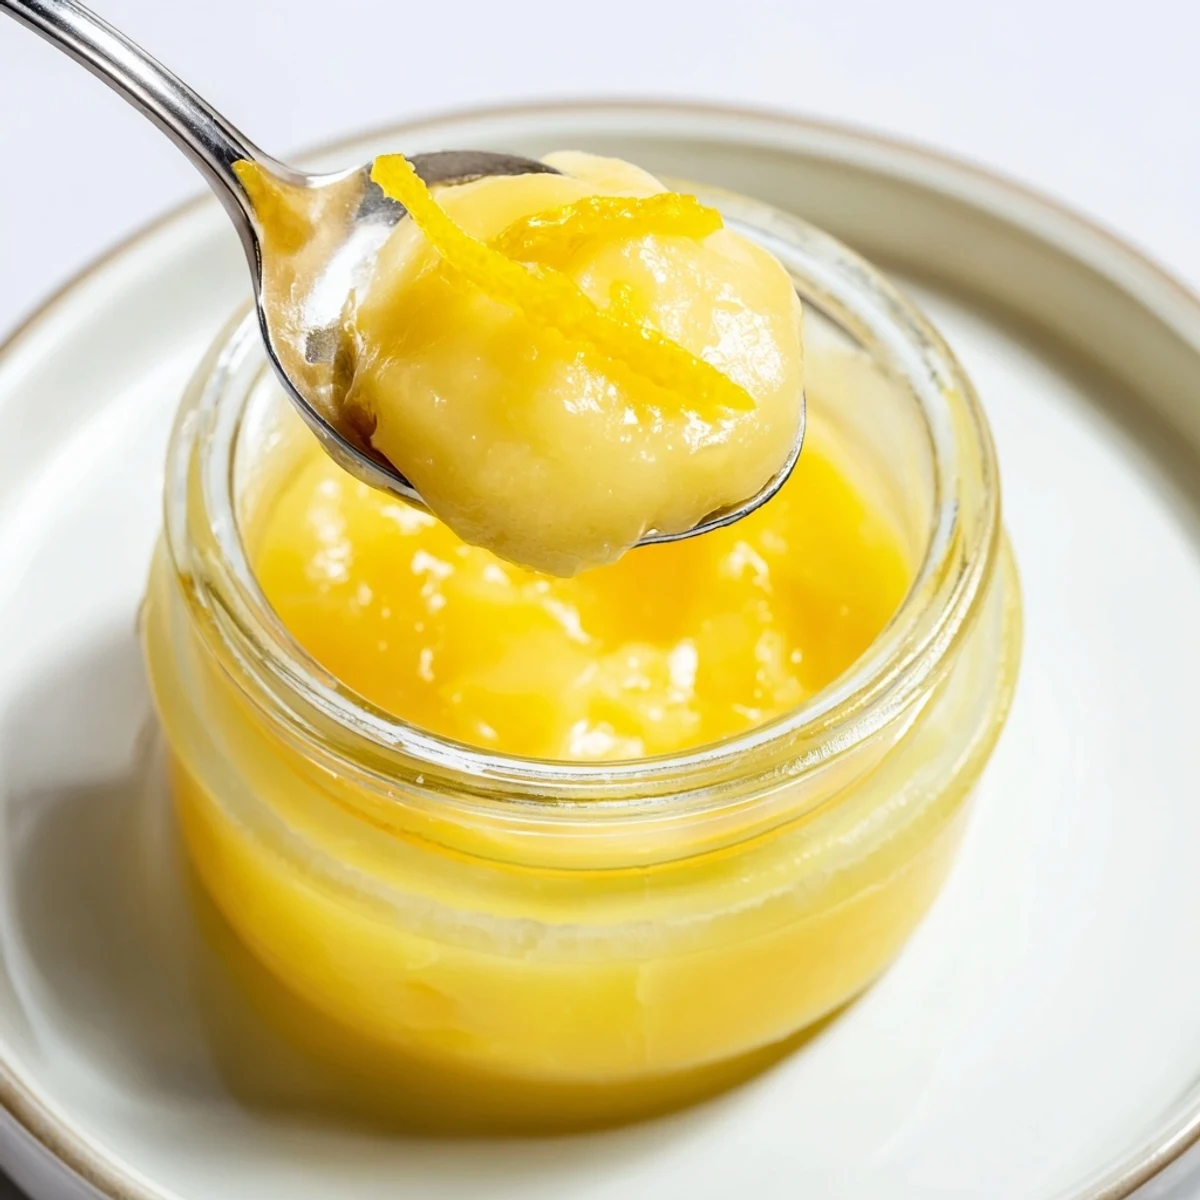
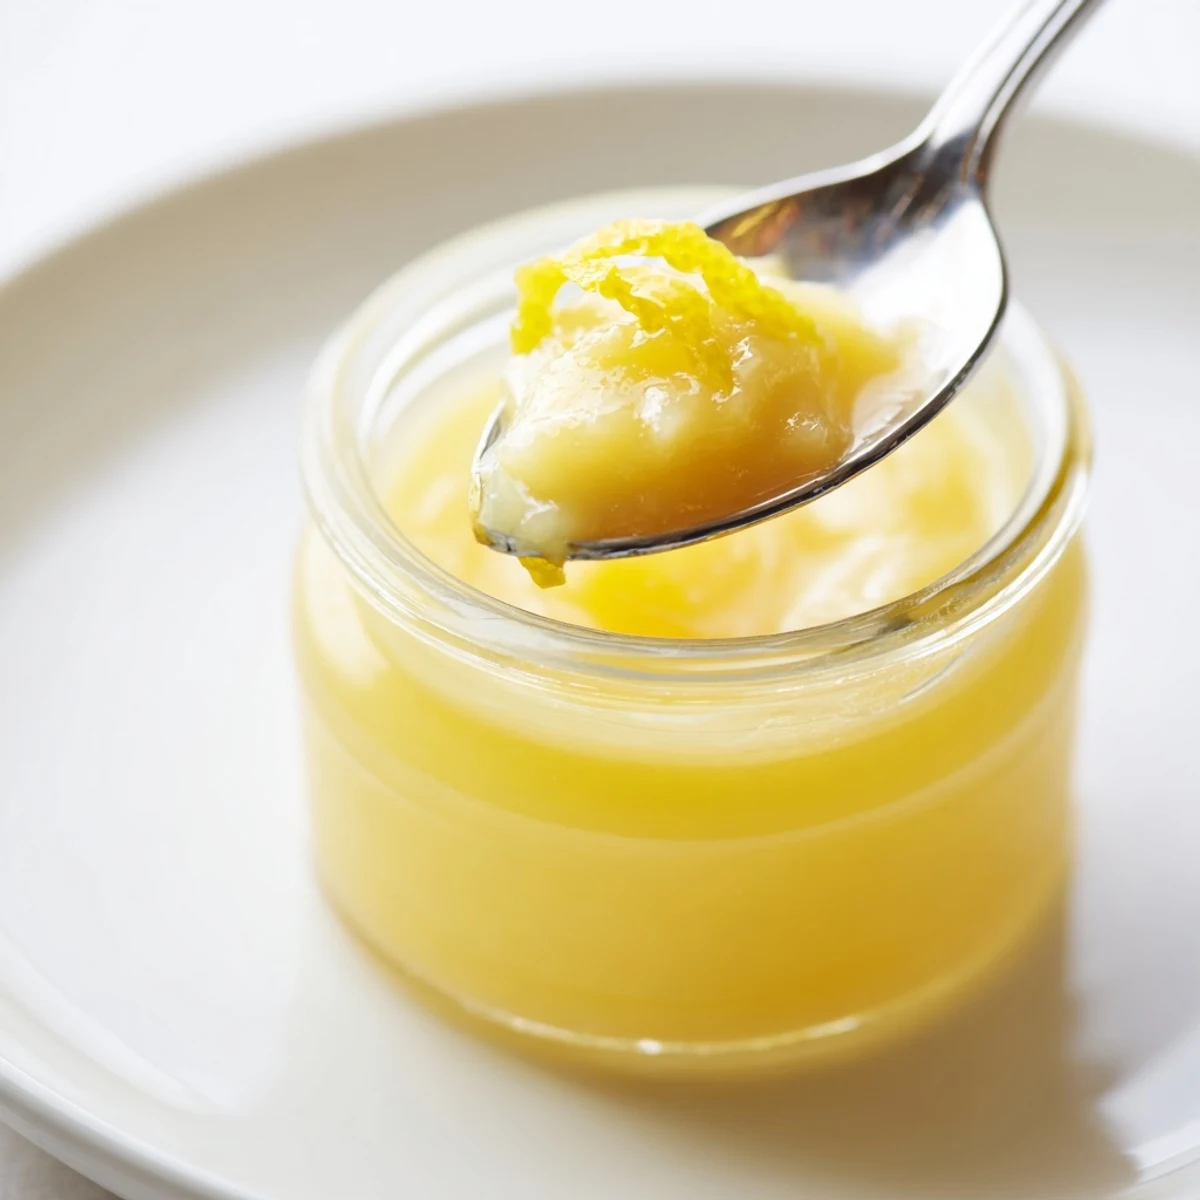
 Bright, silky lemon curd made by whisking eggs and sugar, then stirring in fresh lemon zest and juice. Cook gently over a simmering water bath, whisking until the mixture thickly coats a spoon (about 8–10 minutes). Remove from heat, whisk in cubed butter until smooth, strain for extra silkiness, cool and store in sterilized jars. Yields about 2 cups and keeps refrigerated up to 2 weeks.
The first time I made lemon curd, a ray of citrusy steam fogged my glasses as I hovered over the stove, transfixed by the glossy yellow bubbling beneath my whisk. There was something satisfyingly simple about watching ordinary lemons become silk in a matter of minutes. My kitchen smelled like a sunlit orchard, and even the cat looked interested in what was going on. I realized instantly why people rave about homemade lemon curd.
I remember offering a spoonful of this lemon curd to a friend during a rainy afternoon, and the bright tang made us both laugh mid-bite—it cut right through the gray. Conversation wandered from favorite teas to travel stories, made sweeter by the surprise that something so elegant could be homemade. Even the process of filling the little jars felt like bottling up a bit of sunshine for later. Lemon curd has a way of turning the simple act of sharing into something memorable.
Ingredients
- Large eggs: Four eggs add body and richness. Crack them with care—stray shell pieces are hard to spot in that golden mixture.
- Unsalted butter, cubed: The butter gives a creamy finish and mellows out the tang. Letting it come to room temperature makes it melt smoothly.
- Lemons (zest and juice): Using both the zest and juice (about 1 tablespoon zest and 120 ml juice) makes the flavor electric rather than one-note. Rolling the lemons on the counter before juicing really helps extract every drop.
- Granulated sugar: I use 200g (1 cup) — just enough to balance the tartness. Whisk thoroughly for that satiny structure.
Instructions
- Whisk the base:
- In a heatproof bowl, whisk together the eggs and sugar until blended and pale. The sugar should mostly dissolve so your curd isn’t grainy later.
- Add the citrus:
- Stir in the lemon zest and juice. The mixture immediately smells incredible and looks wonderfully sunny.
- Cook gently:
- Place the bowl over a saucepan of gently simmering water, making sure the bottom doesn’t touch the water. Keep whisking constantly as the mixture gently thickens—it’ll feel soothingly meditative.
- Watch for thickness:
- After about 8–10 minutes, the curd will coat the back of a spoon. If you swipe your finger down the spoon, the trail should stay clear.
- Butter magic:
- Remove the bowl from the heat and whisk in the cubed butter. The curd becomes glossy, smooth, and just a little decadent.
- Strain for silkiness:
- Pour the curd through a fine-mesh sieve into a clean bowl. This step makes the texture irresistible by catching any stray egg or zest.
- Cool and store:
- Allow the curd to cool, then pour it into sterilized jars. Refrigerate for up to 2 weeks—you’ll likely finish it before then!
 Pin It
 The first warm spoonful I tasted surprised me: as tart as fresh lemonade, as lush as custard, and it made even plain toast feel festive. Since then, gifting a little jar of lemon curd has become my standby when neighbors or guests need cheering up—it’s pure edible happiness.
Choosing the Right Lemons
Using unwaxed, fresh lemons gives your curd a floral depth and balances sweetness with punchy acidity. If your lemons are small or not especially juicy, just buy one or two extra to ensure you hit that zingy quota.
What to Pair with Lemon Curd
Lemon curd isn’t just for scones—try swirling it into Greek yogurt or spreading a thick layer on a simple sponge cake. My favorite pairing lately is a generous dollop with poppy seed pancakes, though it’s tempting to just eat it by the spoonful.
Storing and Gifting Tips
Letting your lemon curd cool completely before sealing prevents condensation in the jar, keeping it silky. If you’re giving it as a present, a little handwritten label amps up the delight.
- If you want super-smooth curd, strain twice before jarring.
- For a dairy-free version, swap in plant-based butter—nobody will guess.
- Always store in the fridge and use a clean spoon for scooping.
 Pin It
 Every batch of lemon curd reminds me of how a few simple ingredients can bring a little extra light to the day. However you serve it, I hope this recipe adds a spark to your kitchen.
Recipe FAQs
- → How long does lemon curd keep?
-
Stored in sterilized jars in the refrigerator, it keeps up to 2 weeks. Always use clean utensils to avoid contamination.
- → Can I make a dairy-free version?
-
Yes. Swap unsalted butter for a firm plant-based butter and proceed the same way; chilling helps the curd set.
- → How do I prevent curd from curdling?
-
Cook gently over a double boiler, whisk constantly, and avoid boiling. Remove from heat as soon as it thickens and coats the back of a spoon.
- → Is straining necessary?
-
Straining through a fine-mesh sieve removes any bits of cooked egg or zest for an extra-smooth texture; strain twice if desired.
- → Can lemon curd be frozen?
-
Yes. Freeze in airtight containers for up to 3 months. Thaw overnight in the fridge and whisk before using to restore texture.
- → What are good pairings?
-
Spread on scones or toast, use as a tart or cake filling, swirl into yogurt, or serve alongside Earl Grey or Darjeeling tea.
