
 Pin It
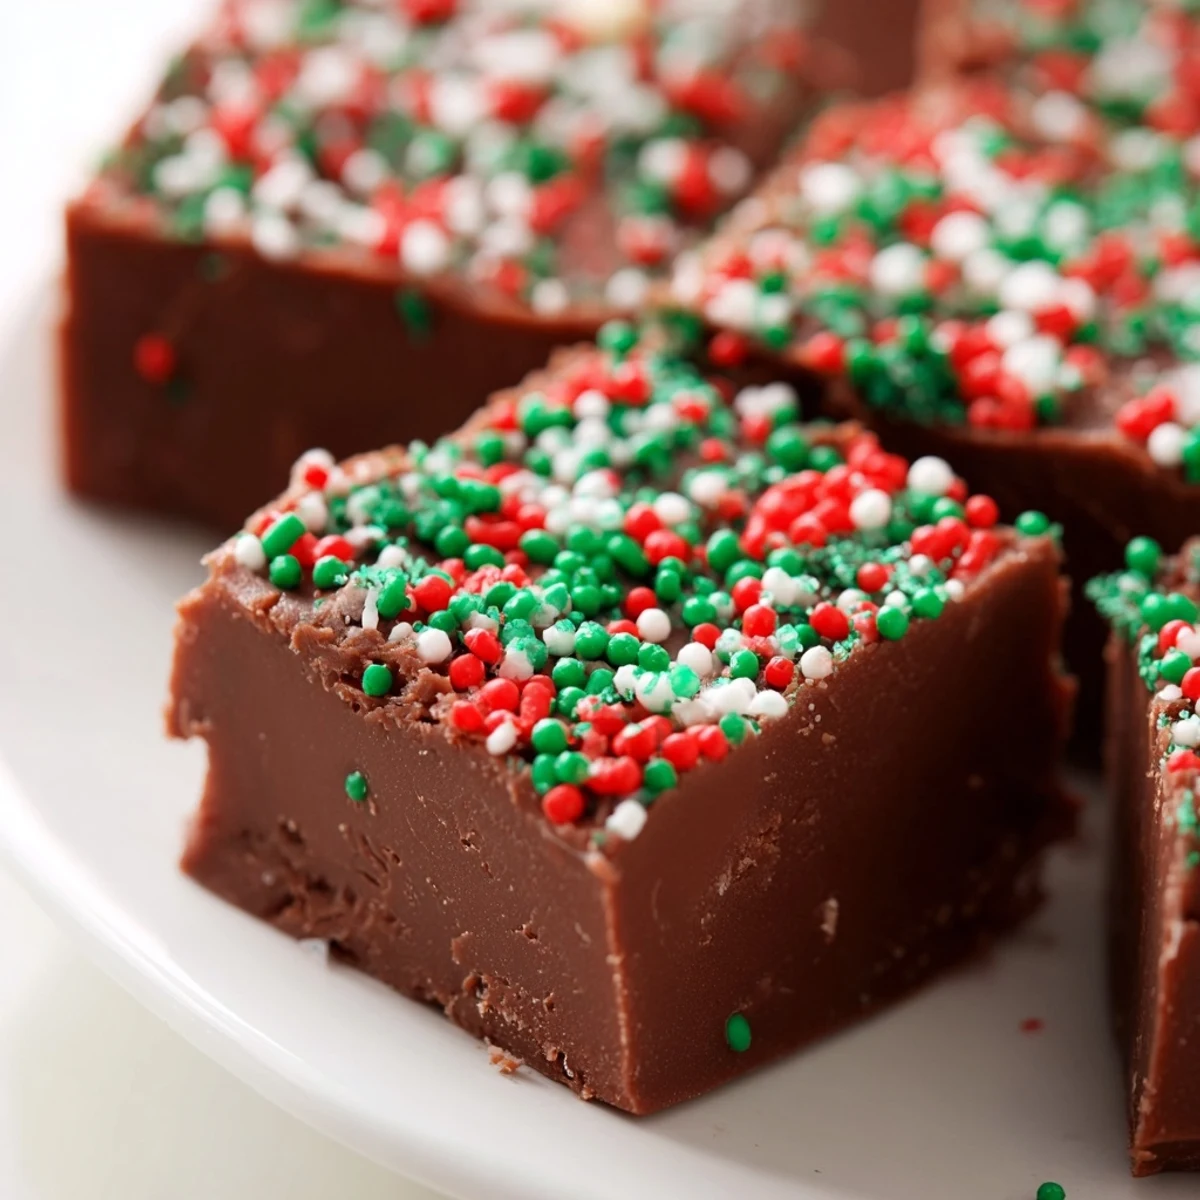
 This creamy Christmas fudge comes together with just five ingredients and minimal effort. Semi-sweet chocolate chips melt into sweetened condensed milk and butter, creating a velvety smooth base that sets beautifully in the refrigerator.
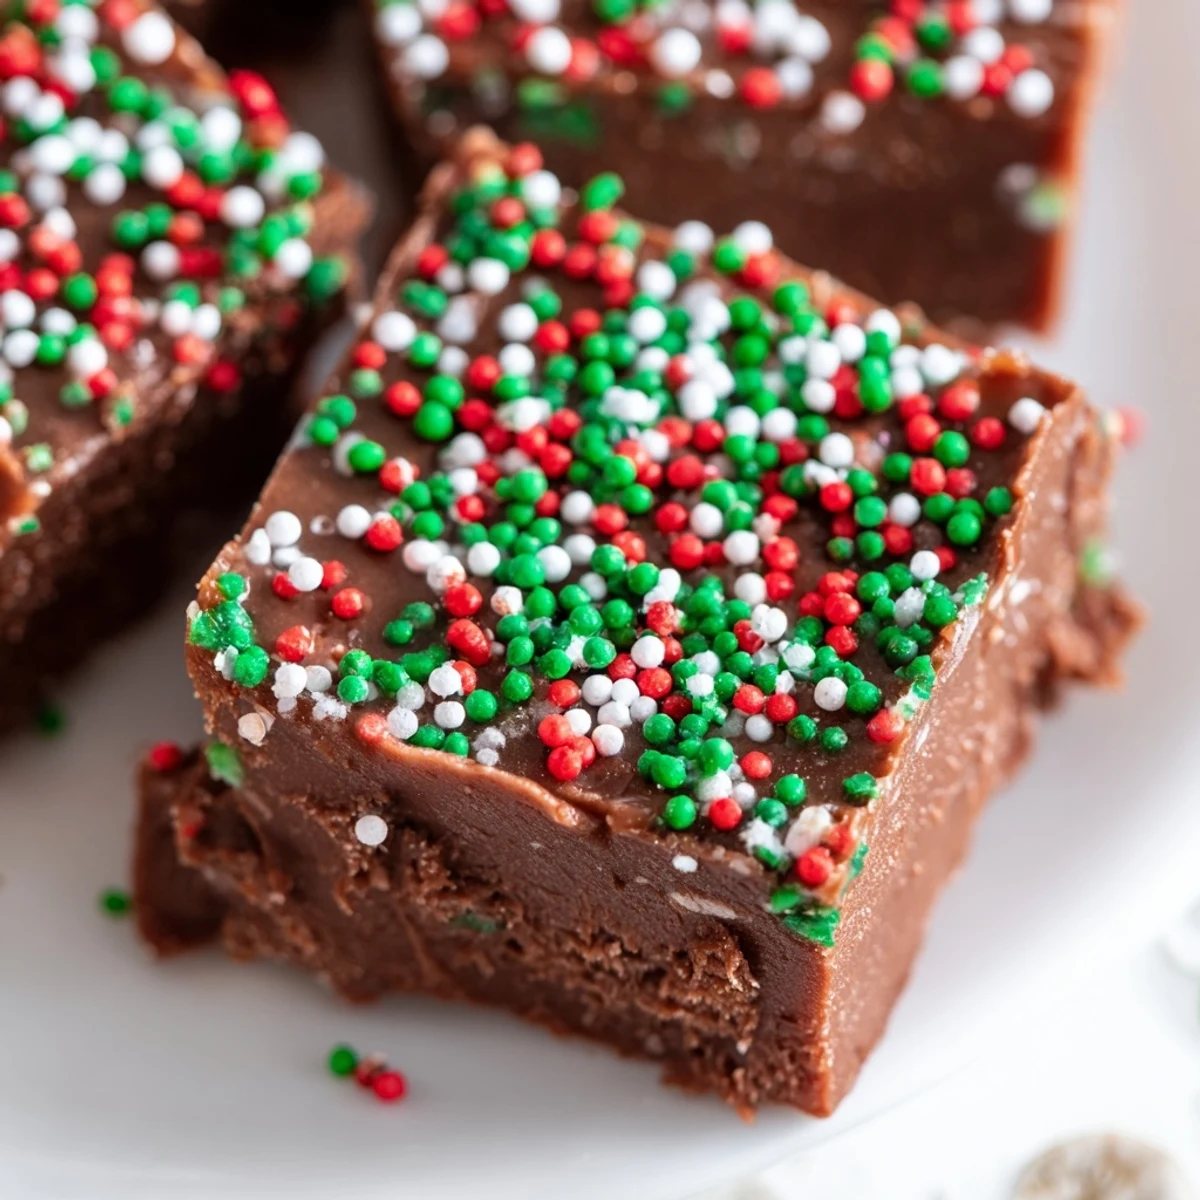
Topped with colorful holiday sprinkles, each bite-sized square is a festive addition to any dessert table or cookie platter. The entire process takes about 15 minutes of active preparation, followed by a two-hour chill before slicing into 24 perfect pieces.
Naturally gluten-free and vegetarian-friendly, this fudge is endlessly customizable—swap the chocolate variety, add chopped nuts or dried cranberries, or change the sprinkle colors for any celebration throughout the year.
The radiator in my first apartment always clanked right around the time I got the urge to make fudge, which was usually sometime after the first snowfall. Something about chocolate melting slowly on the stove while the windows fogged up felt like the whole season had been waiting for that exact moment. This Christmas fudge with sprinkles is the kind of recipe that makes you look like you tried way harder than you actually did.
One year my niece arranged every single sprinkle piece into a separate pile by color before eating them, which took her forty five minutes of deep concentration. Kids take this fudge very seriously, and frankly so do most adults I know.
Ingredients
- 3 cups semi sweet chocolate chips: Use good quality chips because this is the entire flavor backbone and cheaper ones taste waxy.
- 1 can sweetened condensed milk: Do not confuse this with evaporated milk, the thick sweet sticky kind is what makes fudge creamy.
- 4 tbsp unsalted butter: Butter keeps the texture silky and prevents that grainy bite you get from some fudges.
- 1 tsp pure vanilla extract: Add it off the heat so the flavor stays bright and does not cook out.
- 1/3 cup holiday sprinkles: Press them in gently while the surface is still warm and soft so they actually stick.
Instructions
- Prep the pan:
- Line an 8x8 inch baking pan with parchment paper and leave plenty hanging over the edges so you can lift the whole block out later without incident.
- Melt everything together:
- Combine the chocolate chips, sweetened condensed milk, and butter in a medium saucepan over low heat, stirring constantly until the mixture is completely smooth and glossy.
- Add the vanilla:
- Pull the pan off the stove and quickly stir in the vanilla extract so it blends through while the fudge is still hot and fluid.
- Spread and sprinkle:
- Pour the fudge into your prepared pan, smooth the top with a spatula, and scatter the sprinkles over the surface immediately, pressing them gently so they set into the top.
- Chill until firm:
- Refrigerate for at least two full hours until the fudge is completely set, then use the parchment overhang to lift it out and cut into twenty four neat squares.
 Pin It
 A friend once told me this fudge was the only thing that got her through wrapping presents at two in the morning, and honestly that is the highest compliment a recipe can receive.
Variations Worth Trying
Swap in milk chocolate chips for a sweeter more kid friendly fudge, or go with white chocolate and red and green sprinkles for a striking contrast. Fold in half a cup of chopped pecans or dried cranberries right before spreading if you want texture and a little tartness cutting through all that richness.
Storage and Gifting
This fudge keeps beautifully in an airtight container in the refrigerator for up to two weeks, which means you can make it well ahead of a party. Layer pieces between sheets of parchment paper in a decorative tin and you have an instant homemade gift that travels well and looks impressive.
Getting Clean Cuts
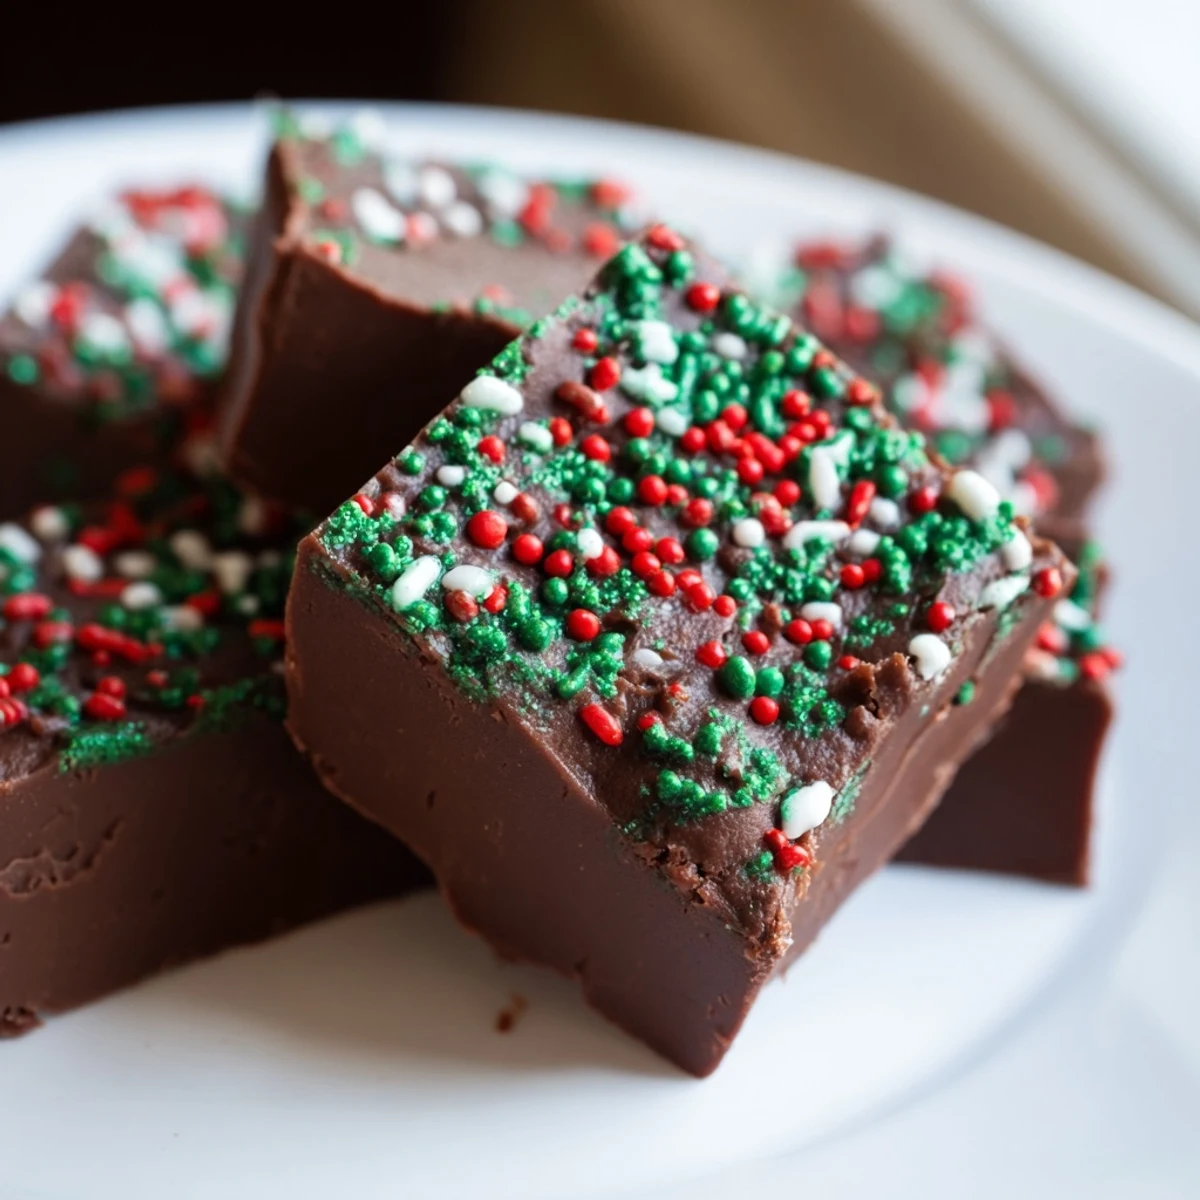
A sharp knife run under hot water and dried quickly gives you those perfectly clean edges you see in photos. Let the fudge sit at room temperature for about ten minutes before cutting so it softens slightly and does not crack.
- Use a ruler to mark your cuts first if you want uniform squares for a cookie tray.
- Wipe the blade clean between each cut to keep edges looking sharp.
- Chill the cut pieces again briefly before serving so they hold their shape on a platter.
 Pin It
 Every batch of this fudge carries a little bit of whatever magic December brings, snow on the window or not. Make extra because it disappears faster than you expect.
Recipe FAQs
- → How long does Christmas fudge need to chill before cutting?
-
The fudge needs to refrigerate for at least 2 hours, or until completely firm. Cutting too early will result in soft, messy squares that don't hold their shape.
- → Can I use milk or white chocolate instead of semi-sweet?
-
Yes, you can swap semi-sweet chocolate chips for milk or white chocolate. Keep in mind that milk chocolate will yield a sweeter fudge, while white chocolate pairs wonderfully with peppermint extract in place of vanilla.
- → How should I store leftover fudge?
-
Store the fudge in an airtight container in the refrigerator for up to 2 weeks. You can also freeze it for up to 3 months—just separate layers with parchment paper to prevent sticking.
- → Why is my fudge grainy or separated?
-
Grainy fudge usually results from cooking over too-high heat or insufficient stirring. Always use low heat and stir constantly while melting the chocolate mixture to achieve a smooth, creamy consistency.
- → Can I add mix-ins to this fudge?
-
Absolutely. Fold in up to ½ cup of chopped nuts, dried cranberries, toffee bits, or crushed candy canes right before pouring the mixture into the pan. Heavier mix-ins may sink slightly, so give the mixture a quick stir before transferring.
- → Is this fudge safe for gluten-free diets?
-
Yes, all the core ingredients are naturally gluten-free. However, always verify that your chocolate chips and sprinkles are certified gluten-free, as some brands may process them in facilities with cross-contamination risks.