
 Pin It
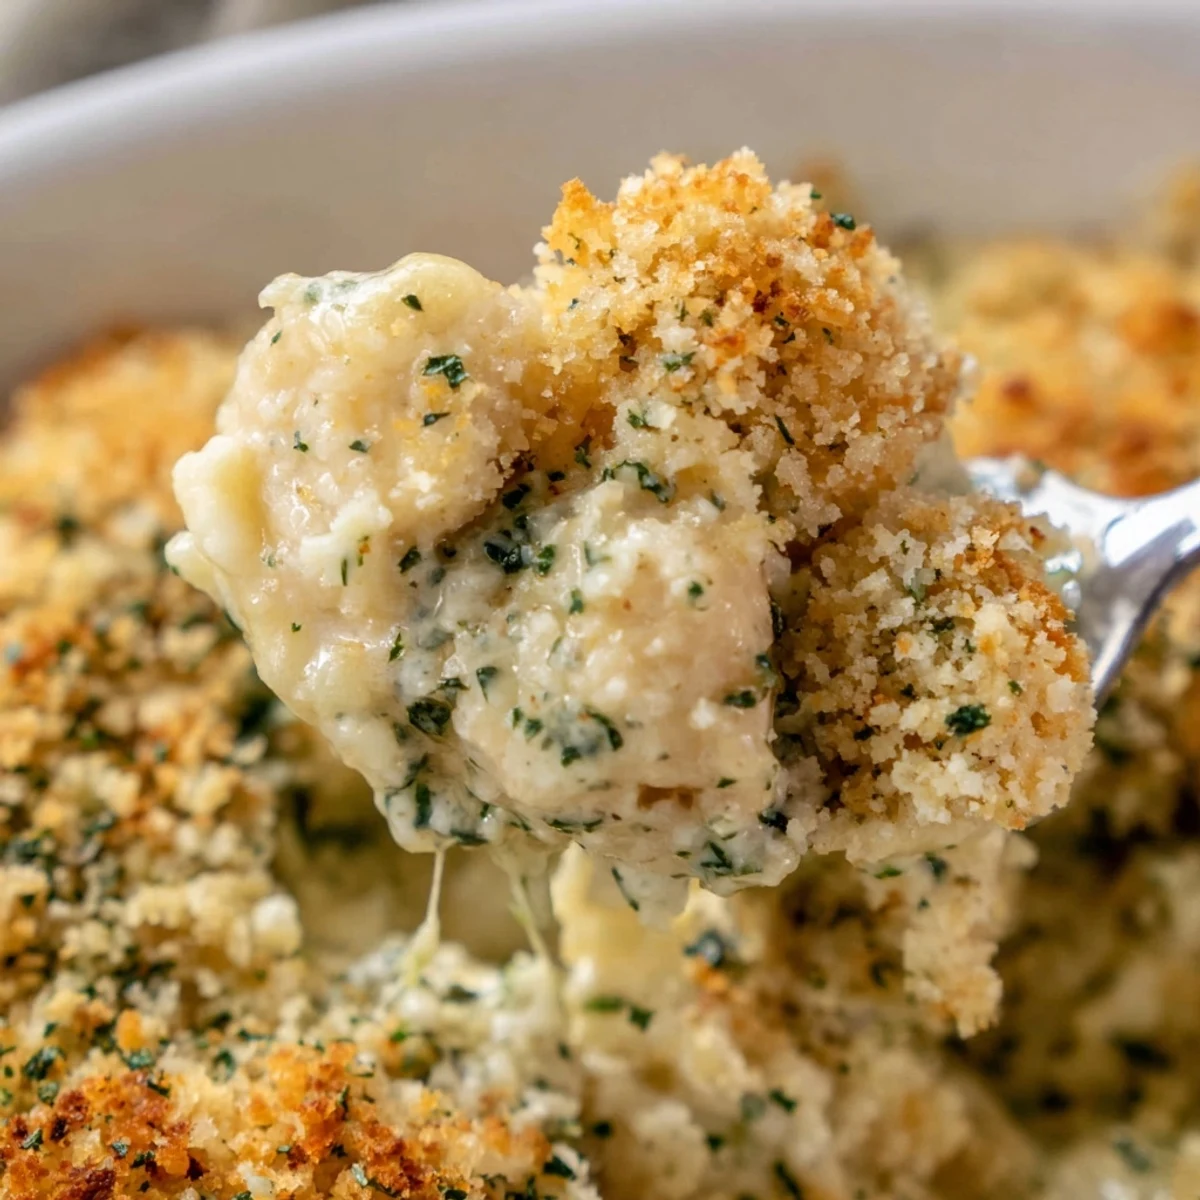
 This deconstructed chicken Kiev transforms the classic dish into a cozy one-pan bake. Tender chicken pieces are smothered in a rich garlic-herb butter sauce, then topped with crispy golden breadcrumbs and Parmesan cheese.
Ready in under an hour with just 20 minutes of prep, it's an easy weeknight dinner that delivers all the flavors of traditional chicken Kiev without the fuss of rolling and frying.
Serve it alongside steamed vegetables or a fresh green salad for a complete meal that feeds six comfortably.
The smell of garlic butter hitting a hot skillet is one of those things that stops me in my tracks every single time. My neighbor Lena introduced me to Chicken Kiev years ago at a dinner party, and I became obsessed with the idea of capturing that same flavor without the fussy rolling and frying. This casserole is what happened after a Tuesday night experiment that nearly made me late for book club because I refused to leave the kitchen until I got the sauce right.
I made this for my sister the week she moved into her new apartment, balancing the baking dish on her counter still stacked with unpacked boxes. She sat cross legged on the floor with a fork and the whole pan between us, and we polished off nearly everything before either of us thought to make a side dish.
Ingredients
- 1.5 lbs boneless skinless chicken breasts, cut into bite sized pieces: Cutting them uniformly ensures even cooking so no piece ends up dry while others are still pink inside.
- 6 tbsp unsalted butter, softened: The backbone of the garlic herb butter, and using unsalted gives you total control over seasoning.
- 3 garlic cloves, minced: Fresh garlic is non negotiable here since the jarred version lacks the sharp bite that makes this dish sing.
- 2 tbsp fresh parsley, chopped: Adds brightness that cuts through the richness of the butter sauce.
- 1 tbsp fresh dill, chopped (optional): A quiet nod to the Eastern European roots of Chicken Kiev that makes the flavor slightly more complex.
- 1/2 tsp salt and 1/4 tsp black pepper: Seasoning the herb butter directly means the flavor gets distributed throughout the whole dish.
- 1 tsp lemon juice: Just a splash to wake everything up and balance the heavy dairy.
- 1 cup whole milk: Whole milk creates a creamier sauce than lower fat alternatives.
- 1 cup low sodium chicken broth: Low sodium prevents the casserole from tasting overly salty once the cheese and butter are added.
- 2 tbsp all purpose flour: The thickening agent that turns thin liquids into a velvety coating for the chicken.
- 1 tbsp olive oil: Used for searing the chicken to get that light golden color before baking.
- 1 cup panko breadcrumbs: Panko stays crispier longer than regular breadcrumbs, which matters for a baked casserole.
- 1/4 cup grated Parmesan cheese: Mixed into the topping for a savory, salty crunch that elevates the entire dish.
- 2 tbsp unsalted butter, melted: Tossed with the breadcrumbs to help them toast and brown in the oven.
- 2 tbsp fresh parsley, chopped for garnish: A final sprinkle of green makes it look as good as it tastes.
Instructions
- Prep your baking dish and oven:
- Preheat your oven to 375 degrees and grease a 9x13 inch baking dish with a little butter or nonstick spray so nothing sticks to the corners.
- Make the garlic herb butter:
- In a small bowl, mash together the softened butter, minced garlic, parsley, dill if you are using it, salt, pepper, and lemon juice until it looks like a fragrant green flecked paste. Set it aside and try not to eat it straight from the bowl.
- Sear the chicken:
- Heat the olive oil in a large skillet over medium high heat, add the chicken pieces with a light sprinkle of salt and pepper, and sauté until just cooked through with a light golden color, about 5 to 7 minutes. Transfer the chicken to your prepared baking dish and spread it out evenly.
- Build the sauce:
- In the same skillet, sprinkle the flour over any remaining drippings and stir constantly for about a minute to cook off the raw flour taste. Slowly whisk in the milk and chicken broth, bring it to a gentle simmer, and let it thicken for 3 to 4 minutes until it coats the back of a spoon.
- Enrich the sauce:
- Take the skillet off the heat and whisk in your prepared garlic herb butter until the sauce turns silky and glossy. Pour this entire mixture evenly over the chicken in the baking dish.
- Prepare the crispy topping:
- In a medium bowl, toss the panko breadcrumbs with the grated Parmesan and melted butter until everything is evenly coated. Sprinkle this mixture over the casserole in an even layer, pressing lightly so it adheres to the sauce beneath.
- Bake until golden:
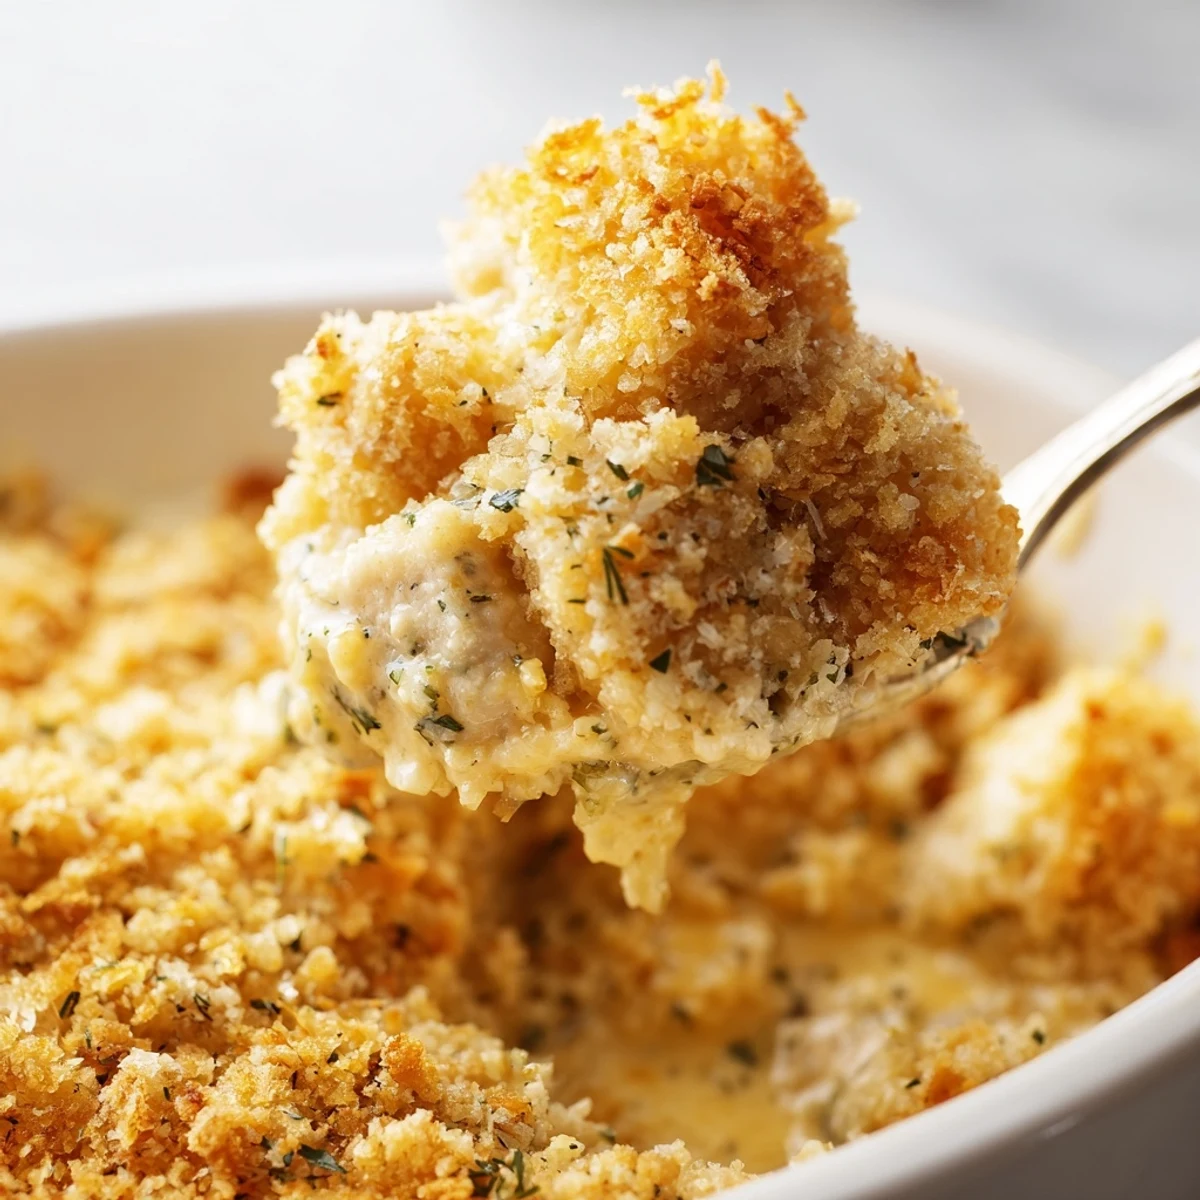
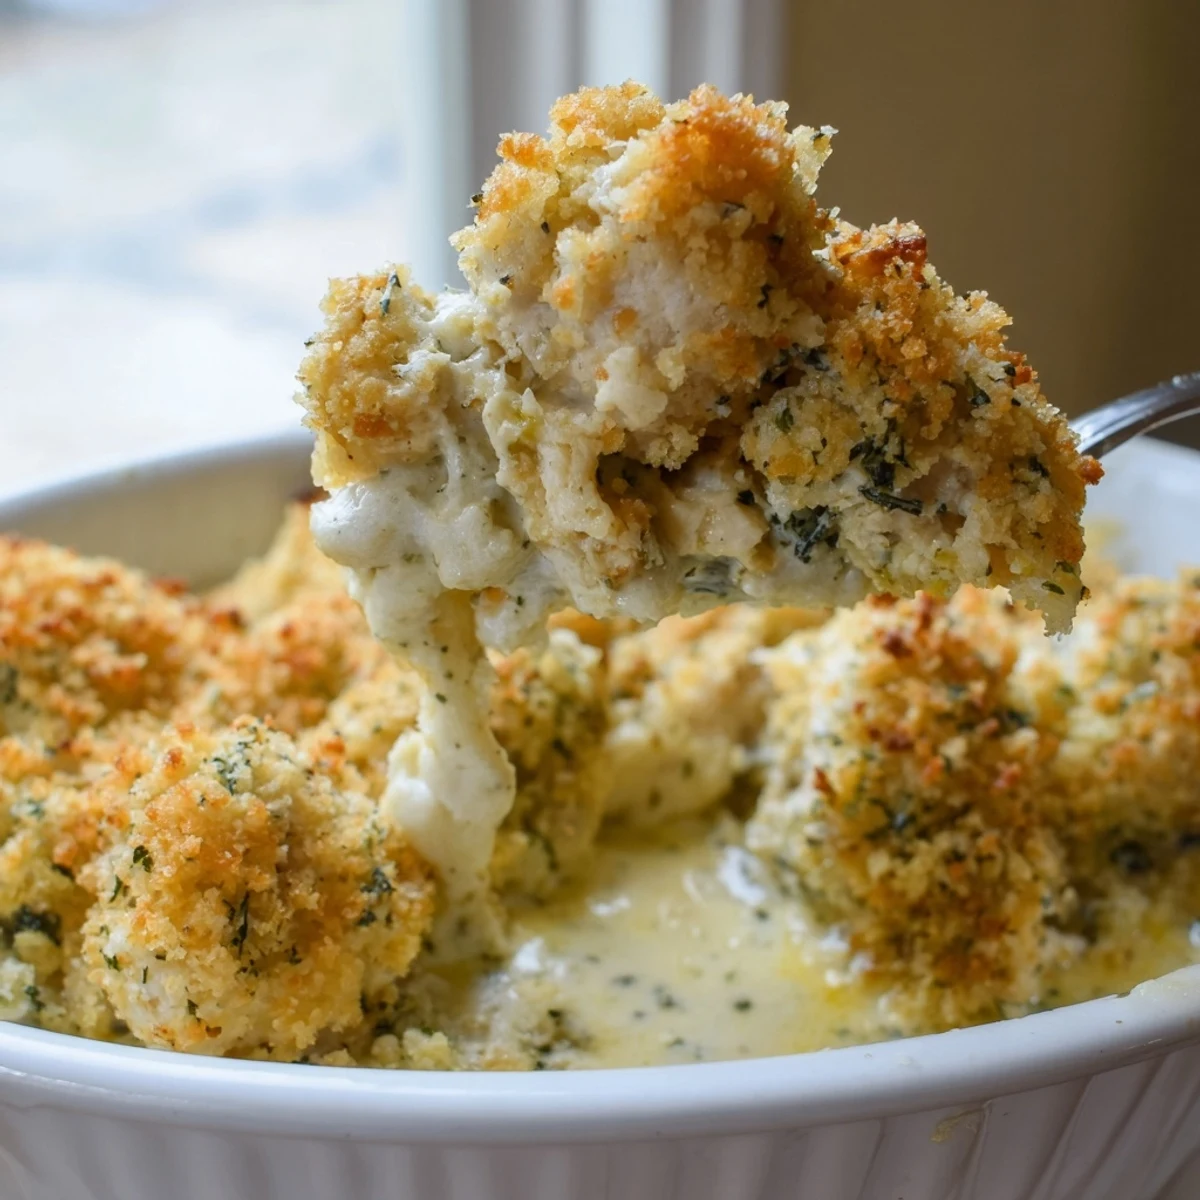
- Bake uncovered for 25 minutes until the topping is deeply golden and the edges of the casserole are bubbling. Let it rest for 5 minutes out of the oven before garnishing with fresh parsley and serving.
 Pin It
 The night I finally nailed this recipe, my husband walked into the kitchen and said it smelled like a restaurant, which is the highest compliment in our house.
Serving Suggestions That Actually Work
This casserole is rich enough on its own that you want something fresh and simple alongside it. A handful of arugula dressed with olive oil and lemon makes a perfect sharp contrast to the buttery sauce. Steamed green beans or roasted asparagus also work beautifully, and a crusty loaf of bread is mandatory for soaking up every last bit of sauce left on the plate.
Making It Your Own
Once you have the base technique down, this recipe is incredibly forgiving. I have stirred in a handful of frozen peas during the sauce step for a little color and sweetness. A layer of shredded Gruyere tucked under the breadcrumb topping turns it into something almost decadent enough for a holiday table. Chicken thighs work just as well as breasts if you prefer darker meat, and honestly they stay even juicier after baking.
Storage and Reheating Notes
Leftovers keep well covered in the refrigerator for up to three days, though the topping loses some of its crunch overnight. Reheat portions in a 350 degree oven for about 15 minutes rather than using the microwave, which makes the breading soggy. I have never successfully frozen this casserole because the sauce separates upon thawing, so plan to enjoy it fresh.
- Sprinkle a thin extra layer of fresh panko on top before reheating to revive the crunch.
- A splash of chicken broth stirred into leftovers before reheating helps loosen the sauce back up.
- If you are making this for a crowd, assemble everything ahead of time and refrigerate, then add the topping right before baking.
 Pin It
 Some dinners are just dinner, but this one has a way of making an ordinary weeknight feel like you put real thought into it without actually spending your whole evening in the kitchen. Keep this one in your back pocket for the nights when comfort food is the only acceptable answer.
Recipe FAQs
- → Can I use chicken thighs instead of breasts?
-
Yes, boneless skinless chicken thighs work great in this casserole. They'll stay even juicier and add slightly more flavor. Just cut them into similar-sized pieces and adjust the sauté time as needed.
- → What can I substitute for panko breadcrumbs?
-
Regular fresh breadcrumbs work fine, though panko gives the crispiest texture. You can also use crushed crackers, cornflakes, or a gluten-free breadcrumb blend if needed.
- → How do I store and reheat leftovers?
-
Store leftovers in an airtight container in the refrigerator for up to 3 days. Reheat in a 350°F oven for about 15 minutes until warmed through and the topping crisps back up. Microwave works too but the topping won't be as crispy.
- → Can I assemble this ahead of time?
-
Absolutely. You can prepare the casserole up to the baking step, cover it tightly, and refrigerate for up to 24 hours. Add an extra 5–10 minutes to the bake time if going straight from the fridge.
- → What should I serve with chicken Kiev casserole?
-
Steamed vegetables like broccoli or green beans pair perfectly. A simple green salad with vinaigrette, buttered egg noodles, or mashed potatoes also make excellent sides to soak up the garlic-herb sauce.
- → Can I freeze this casserole?
-
Yes, you can freeze it before or after baking. Wrap tightly and freeze for up to 2 months. Thaw overnight in the refrigerator before baking or reheating. The topping may soften slightly but will still taste delicious.