
 Pin It
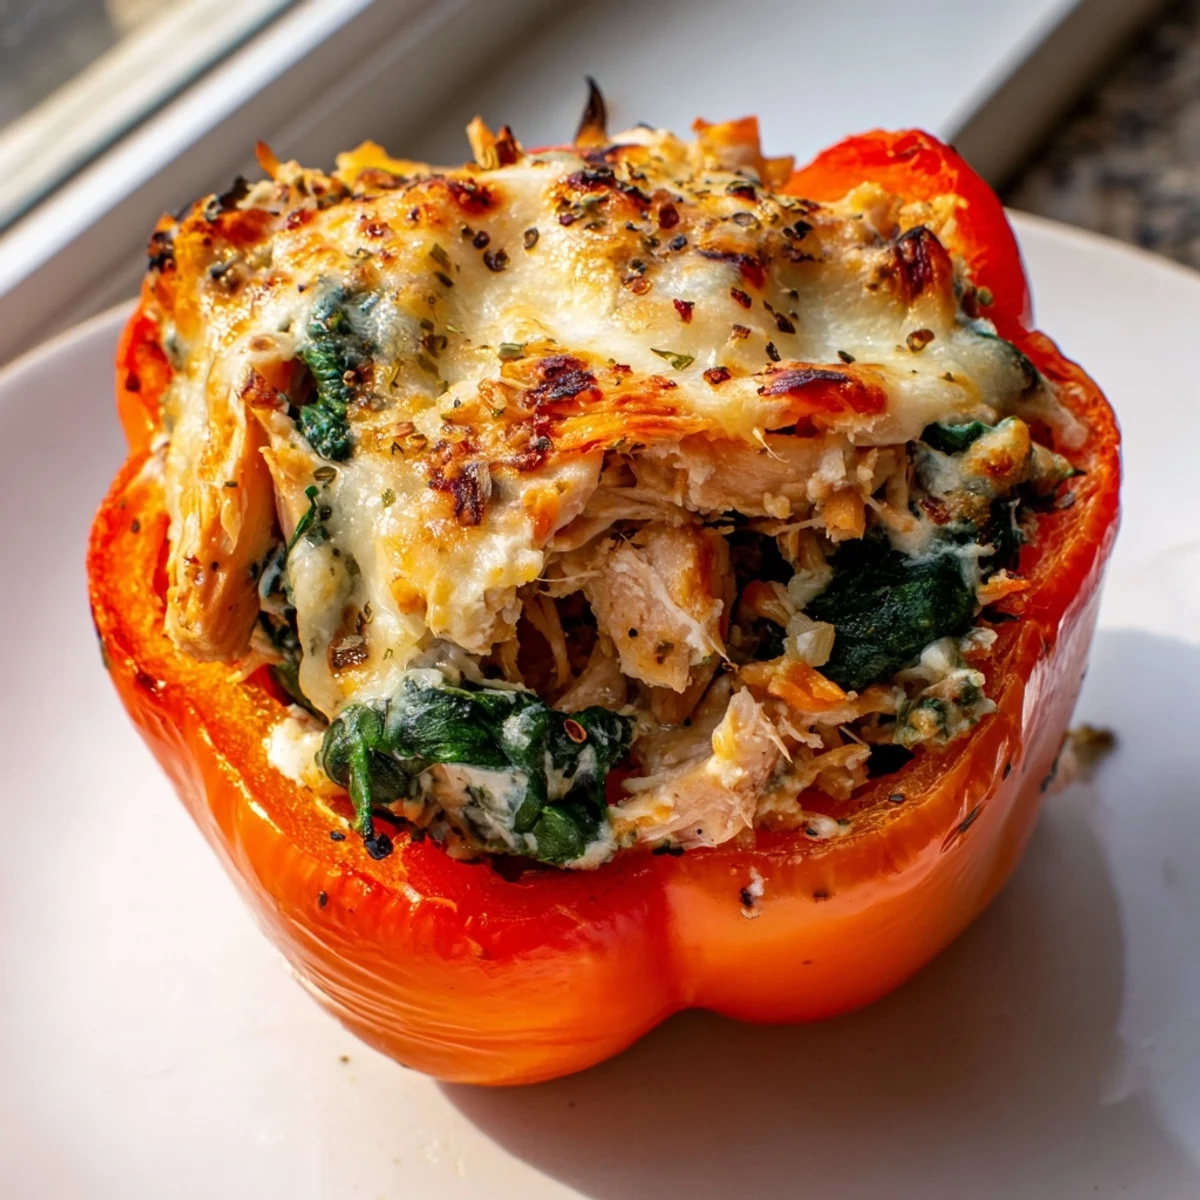
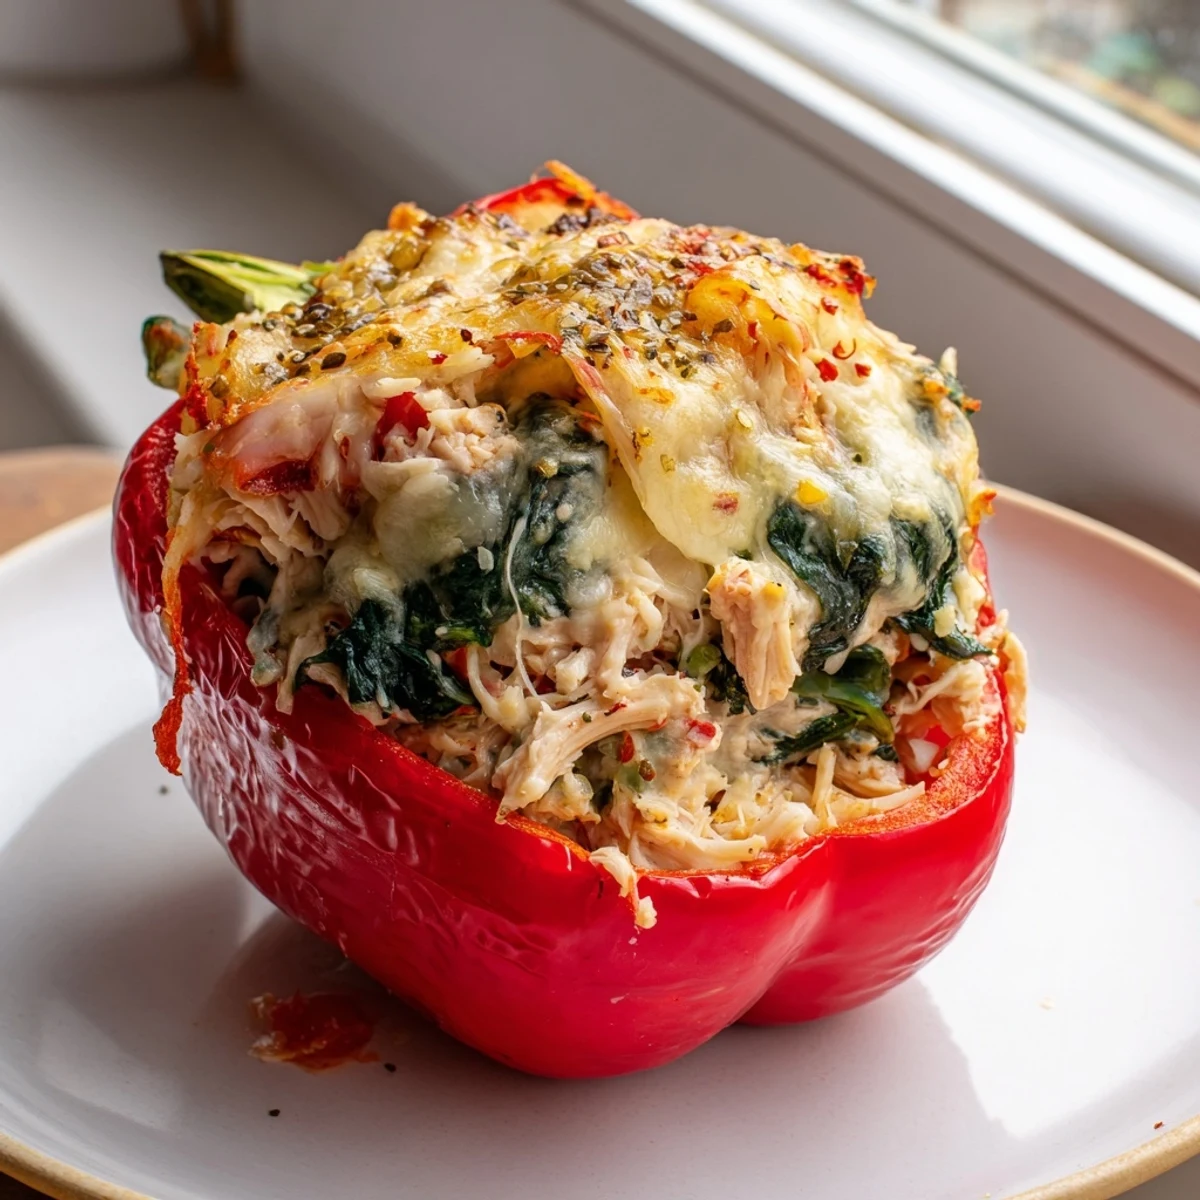
 These chicken Florentine stuffed peppers combine tender blanched bell peppers with a rich filling of shredded chicken, fresh spinach, and a blend of ricotta, Parmesan, and mozzarella cheeses.
Seasoned with Italian herbs and garlic, each pepper is assembled then baked until the tops turn golden and bubbly. At just 320 calories per serving with 29 grams of protein, this dish is both satisfying and gluten-free.
The preparation takes about 25 minutes, followed by 35 minutes in the oven, making it an excellent choice for a hearty weeknight dinner that serves four.
The oven door had a stubborn squeak that particular Tuesday evening, and every time I opened it to check on those stuffed peppers, the whole kitchen filled with this ridiculous aroma of melting cheese and roasted peppers that made my neighbor knock on the wall. Chicken Florentine stuffed peppers became my go to when I wanted something that felt fancy but honestly required more patience than skill. There is something deeply satisfying about hollowing out a pepper and packing it with everything good you have in the fridge. This dish lives in that sweet spot between weeknight practical and weekend worthy.
My sister called one afternoon while I was mid assembly, wrist deep in ricotta and shredded chicken, and she stayed on the phone the entire time I stuffed the peppers because she refused to hang up before hearing how they turned out. She now makes them every other Sunday and credits that phone call as the moment she learned to enjoy cooking.
Ingredients
- 2 cups cooked chicken breast, shredded or diced: Rotisserie chicken saves you time and adds a depth of flavor that plain boiled chicken never will.
- 4 large bell peppers (any color): Pick peppers with flat bottoms so they stand upright without wobbling in the baking dish.
- 2 cups fresh spinach, chopped: Fresh spinach wilts down beautifully and blends into the filling far better than frozen.
- 1 small onion, finely diced: The onion should practically disappear into the filling, so dice it as small as your patience allows.
- 2 cloves garlic, minced: Fresh garlic makes a noticeable difference here, so skip the jarred version if you can.
- 1 cup ricotta cheese: This is the creamy backbone of the filling, so use whole milk ricotta for the best texture.
- 1/2 cup grated Parmesan cheese: It adds a salty, nutty punch that ties everything together.
- 1 cup shredded mozzarella cheese, divided: Half goes inside the filling and half melts on top into that golden stretchy crown.
- 2 tbsp cream cheese, softened: Just a touch makes the filling luxuriously smooth without heaviness.
- 2 tbsp olive oil: Use it to soften the onion and garlic and build your first layer of flavor.
- 1/2 tsp dried Italian herbs: A simple blend of basil, oregano, and thyme does all the heavy lifting.
- 1/4 tsp ground black pepper: Keep it light since the Parmesan already brings saltiness.
- 1/2 tsp salt: Taste your filling before adding the full amount, especially if your chicken was well seasoned.
- Pinch of red pepper flakes (optional): Just a pinch wakes up the whole dish without making it spicy.
Instructions
- Preheat and prepare the baking dish:
- Set your oven to 375°F and lightly grease a baking dish large enough to hold four peppers standing tall. Give the dish a quick shake to distribute the oil evenly.
- Blanch the bell peppers:
- Drop the cored peppers into a pot of boiling salted water for exactly three minutes, then fish them out and let them cool. You are not cooking them through, just giving them a head start so they finish perfectly tender in the oven.
- Build the flavor base:
- Warm olive oil in a skillet over medium heat and cook the diced onion until it turns soft and translucent, about three to four minutes. Toss in the garlic and stir for half a minute until your kitchen smells incredible.
- Wilt the spinach:
- Add the chopped spinach to the skillet and stir gently until it collapses into a dark green pile, roughly two minutes. Pull the pan off the heat and let everything cool down a bit before mixing.
- Combine the filling:
- In a large bowl, toss together the chicken, the sautéed onion and garlic mixture, wilted spinach, ricotta, Parmesan, half the mozzarella, cream cheese, Italian herbs, salt, pepper, and red pepper flakes if using. Get your hands in there and mix until every bit of chicken is coated in that creamy, cheesy filling.
- Stuff the peppers:
- Spoon the filling generously into each blanched pepper, pressing gently to pack it in without tearing the walls. Stand them up in the prepared baking dish and make sure none of them tip over.
- Add the cheese crown:
- Sprinkle the remaining mozzarella over the top of each pepper, letting it drape slightly over the edges. This is the part that turns into that bubbling golden lid everyone fights over.
- Bake until golden:
- Slide the dish into the oven and bake for thirty to thirty five minutes until the peppers are fork tender and the cheese on top is melted and spotted with golden brown. Let them rest for five minutes before serving so the filling settles and does not rush out when you cut in.
 Pin It
 I brought these to a potluck once and watched three grown adults hover near the baking dish pretending to chat while strategically positioning themselves for seconds.
Making It Your Own
Swap the chicken for cooked turkey after Thanksgiving and the dish transforms into the best leftovers reinvention you will ever taste. Mushrooms make a surprisingly hearty stand in for the meat if you want to go vegetarian.
What to Serve Alongside
A glass of crisp Pinot Grigio or Sauvignon Blanc cuts right through the richness of the cheese and balances every bite. A simple side salad with a bright vinaigrette also does wonders for rounding out the meal.
Storing and Reheating
Leftover stuffed peppers keep beautifully in the refrigerator for up to three days and taste even better when reheated because the flavors have had time to mingle. Cover the baking dish tightly with foil before refrigerating so the peppers do not dry out.
- Reheat in the oven at 350°F for about fifteen minutes rather than using the microwave for the best texture.
- Frozen stuffed peppers will keep for up to two months if wrapped tightly in foil and stored in an airtight container.
- Always let frozen peppers thaw overnight in the fridge before reheating for even warming throughout.
 Pin It
 These peppers have a way of turning an ordinary weeknight into something worth sitting down for, and that is really all you can ask from a recipe. Make them once and they will quietly become part of your regular rotation.
Recipe FAQs
- → Can I use raw chicken instead of cooked chicken?
-
It is best to use pre-cooked chicken for this dish. You can use leftover roasted chicken, poached chicken breast, or even store-bought rotisserie chicken. Simply shred or dice it before mixing with the other filling ingredients.
- → Do I need to blanch the peppers before stuffing them?
-
Blanching the peppers for 3 minutes in boiling water softens them slightly, which ensures they bake evenly and have a tender texture. You can skip this step if you prefer peppers with more crunch and structure.
- → What can I substitute for ricotta cheese?
-
If you do not have ricotta on hand, cottage cheese blended until smooth works well as a substitute. You could also use mascarpone for a richer filling, or increase the cream cheese amount slightly to maintain the creamy texture.
- → How should I store and reheat leftovers?
-
Store leftover stuffed peppers in an airtight container in the refrigerator for up to 3 days. To reheat, place them in a baking dish covered with foil at 350°F for about 15 minutes, or microwave individual portions for 2 to 3 minutes until heated through.
- → Can I freeze stuffed peppers?
-
Yes, these stuffed peppers freeze well. Assemble and bake them fully, then let them cool completely before wrapping individually in foil and placing in a freezer bag. They will keep for up to 3 months. Thaw overnight in the refrigerator before reheating.
- → What color bell peppers work best?
-
Any color of bell pepper works well for this dish. Red, yellow, and orange peppers tend to be slightly sweeter, while green peppers offer a more traditional, slightly bitter flavor. Choosing a mix of colors also makes for a beautiful presentation.