
 Pin It
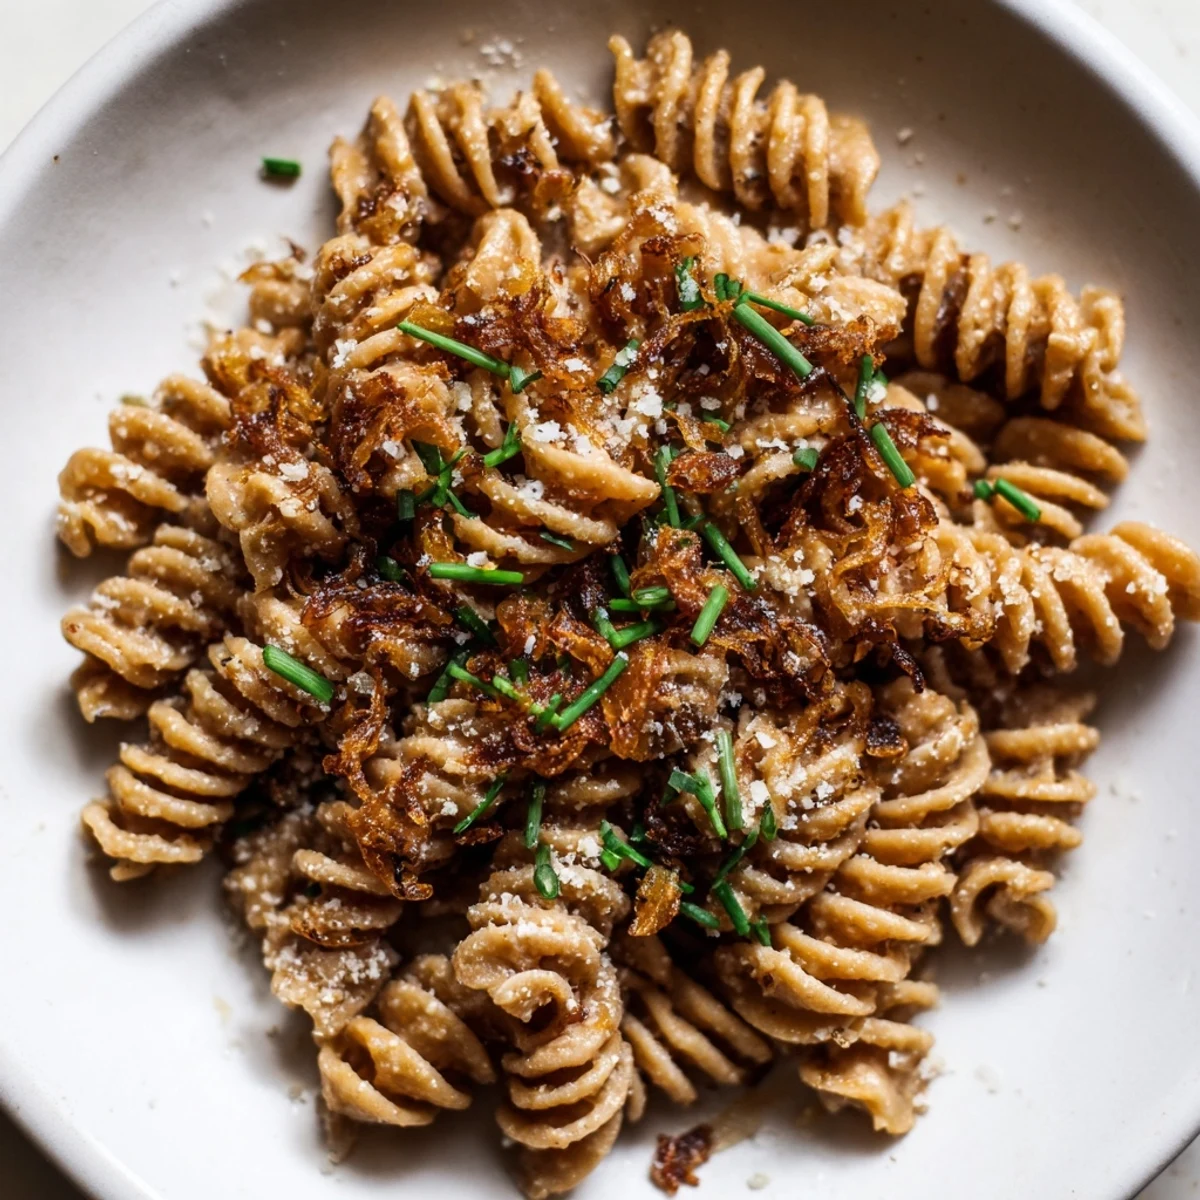
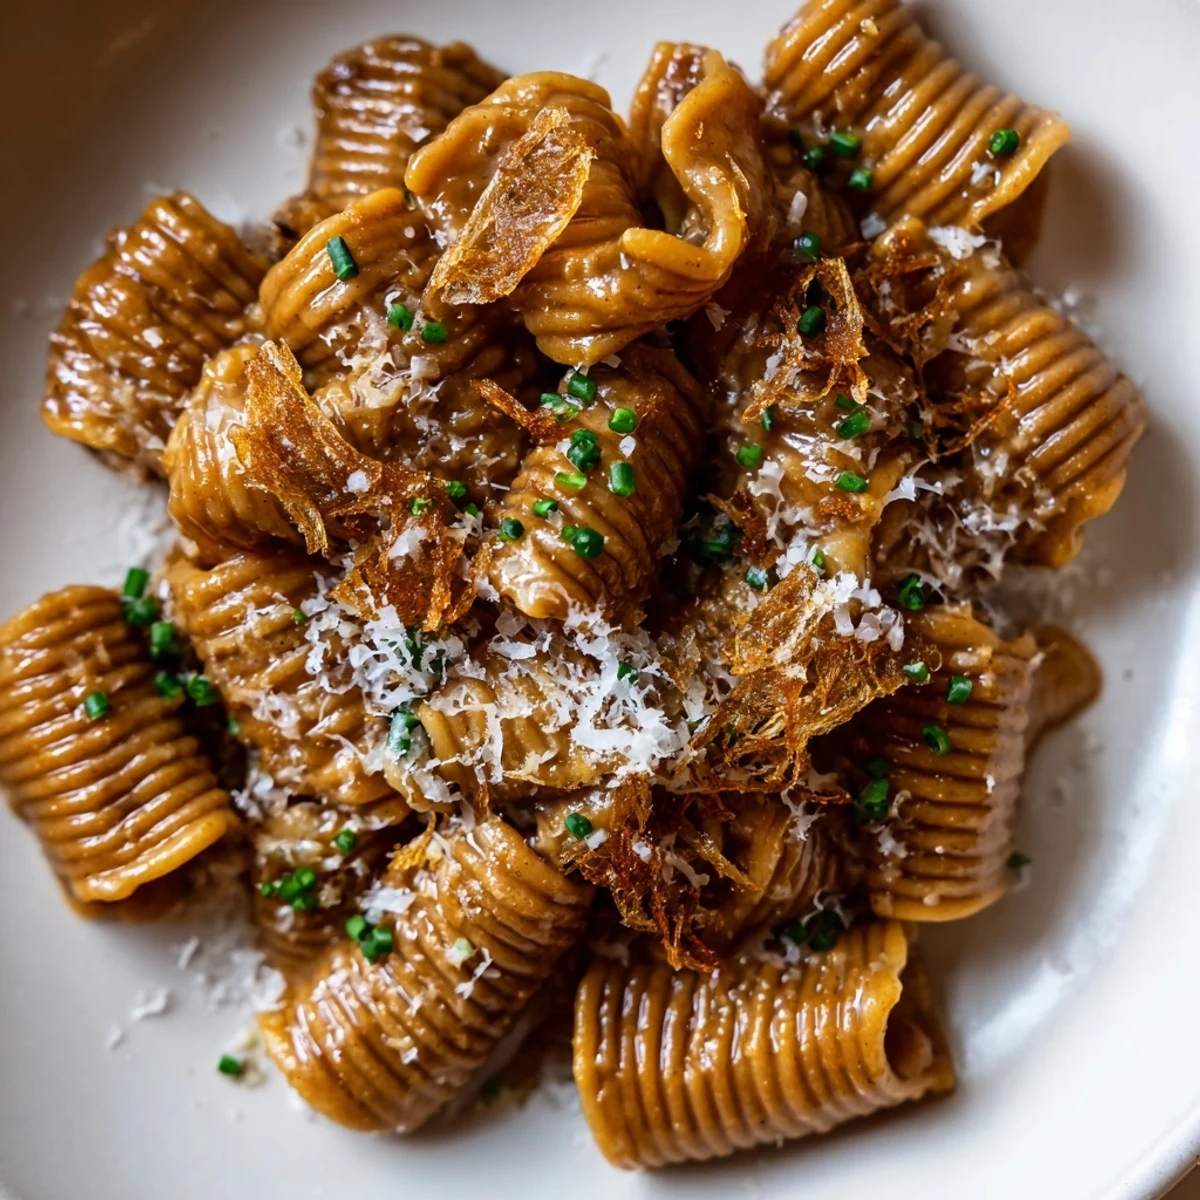
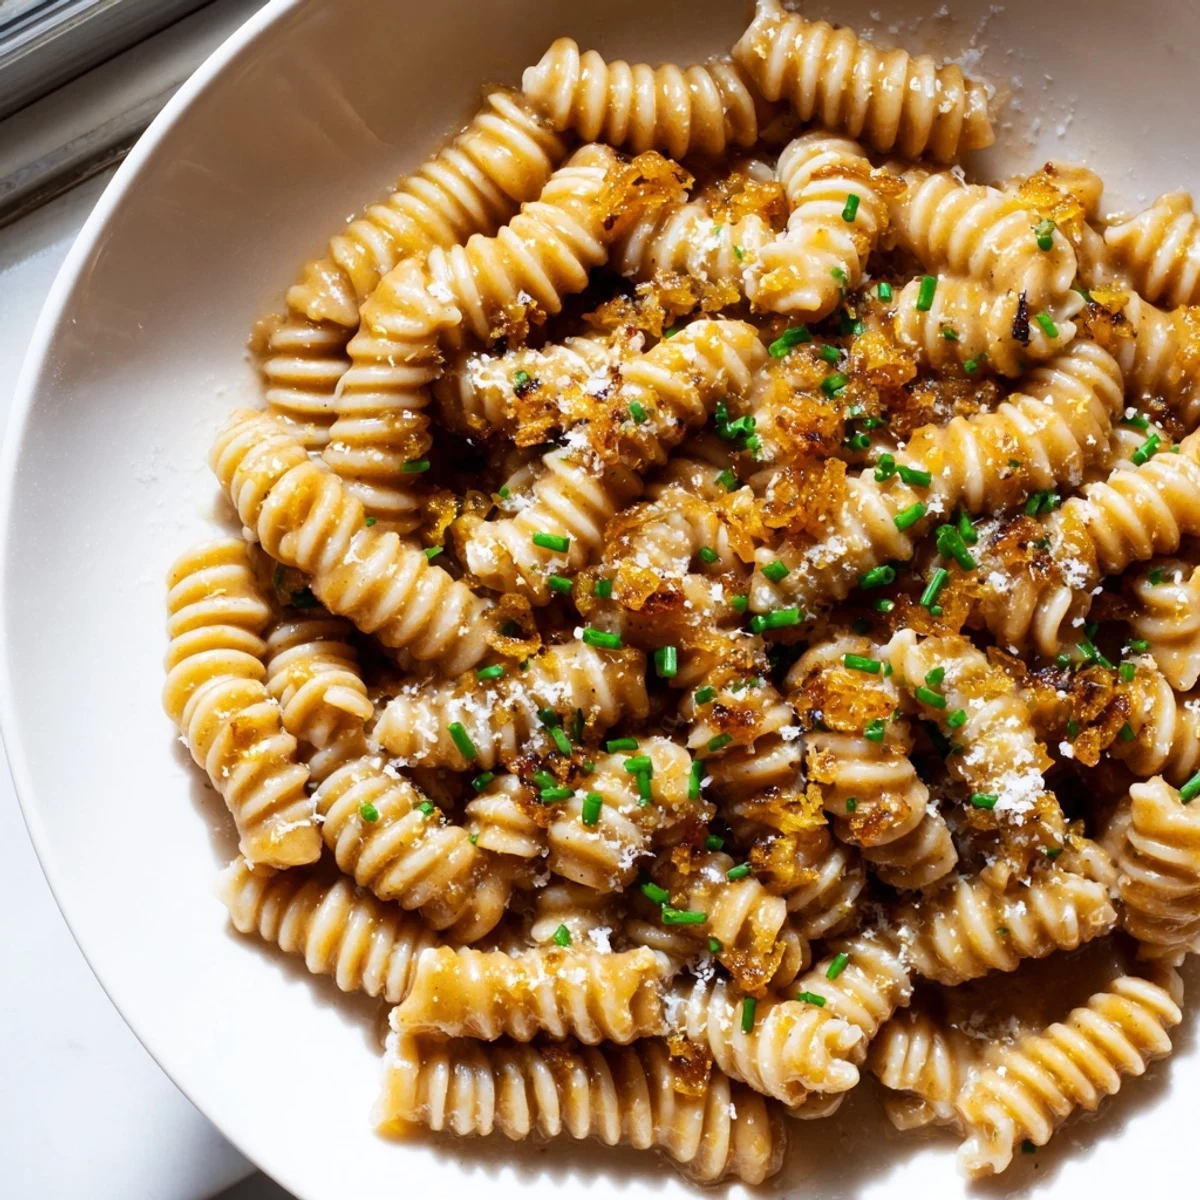
 This indulgent fusion pasta brings together the nutty depth of brown butter, the umami punch of white miso, and the mellow sweetness of slow-roasted garlic. Radiatori's ridged shape grabs onto every bit of the glossy, Parmesan-enriched sauce, while a crown of golden crispy shallots adds an irresistible crunch. It's a 60-minute dish that bridges Italian comfort with Japanese-inspired seasoning.
The hiss of butter browning in a skillet is one of those sounds that makes everyone in the house wander toward the kitchen, noses leading the way. I threw this dish together one rainy Tuesday when the fridge offered nothing but shallots, miso, and a block of Parmesan, and it somehow became the most requested dinner in my household. The radiatori pasta deserves real credit here, because those little ridges grab onto every drop of that nutty, garlicky sauce like they were designed for it. It is the kind of recipe that sounds fancy but feels like comfort food at its core.
My partner now judges every pasta dish by the standard of this one, which is honestly a little stressful. The first time I served it to friends, the conversation stopped entirely for about eight minutes, which is the highest compliment a home cook can receive.
Ingredients
- Radiatori pasta (400 g): Those ruffled edges are structural engineering at its finest, trapping sauce in every ridge and crevice.
- Unsalted butter (100 g): You need unsalted here because the miso brings plenty of salt to the party and you want full control over the browning.
- White or yellow miso paste (2 tbsp): This is the secret weapon that makes people close their eyes and try to guess what is in the sauce.
- Large head garlic (1): Roasting transforms it from pungent and sharp to mellow and sweet, almost like a different ingredient entirely.
- Shallots (2 large): Thinly sliced and fried until golden, they provide the crunch that makes this dish unforgettable.
- Parmesan cheese (1/4 cup grated, plus extra): Please use the real stuff from a block, because pre grated will not melt the same way.
- Olive oil (1 tbsp): Just enough to coax the garlic into soft, sweet submission in the oven.
- Neutral oil (1/2 cup): Canola or grapeseed works best for frying the shallots without adding competing flavors.
- Lemon juice (1 tbsp, optional): A splash at the end wakes everything up and cuts through the richness beautifully.
- Freshly ground black pepper: Do not skip this, because the warmth of fresh pepper ties all the flavors together.
- Salt: For pasta water and for seasoning the shallots and garlic.
- Fresh parsley or chives (optional): A handful of chopped herbs adds color and a fresh finish that balances the decadence.
Instructions
- Roast the garlic low and slow:
- Preheat your oven to 200 degrees C (400 degrees F) and slice the top off the garlic head to expose the cloves. Drizzle with olive oil, sprinkle with salt, wrap it tightly in foil, and let it roast for 30 to 35 minutes until the cloves are golden and impossibly soft. Once cool enough to handle, squeeze the cloves out and mash them into a paste with the back of a fork.
- Fry the shallots until golden:
- Heat neutral oil in a small saucepan over medium heat and fry the thinly sliced shallots in batches, stirring gently, until they turn a deep golden color. This takes about 3 to 5 minutes per batch, and you want to pull them just before they look done because they keep cooking on the paper towel. Sprinkle with salt immediately and set aside.
- Cook the pasta to al dente:
- Bring a large pot of generously salted water to a rolling boil and cook the radiatori according to the package directions, stopping just short of fully tender. Reserve a full cup of that starchy pasta water before draining, because it is the key to a silky sauce.
- Brown the butter with patience:
- In a large skillet, melt the butter over medium heat and let it cook undisturbed until the foaming subsides and you see golden brown flecks forming at the bottom. You will smell toasted nuts when it is ready, which takes about 3 to 4 minutes, and it can go from perfect to burnt quickly so stay right there.
- Build the sauce:
- Reduce the heat to low and whisk the miso paste and roasted garlic paste into the brown butter until smooth and fragrant. It might look like it will never come together at first, but keep whisking and it will emulsify into something gorgeous.
- Toss and coat the pasta:
- Add the drained pasta to the skillet and toss vigorously to coat every piece, then stir in the Parmesan and a splash of reserved pasta water. Keep tossing and adding water until you have a glossy sauce that clings to every ridge, then finish with lemon juice if using and a generous amount of black pepper.
- Plate and finish with flair:
- Divide the pasta among warm plates and top with a generous pile of crispy shallots, an extra shower of Parmesan, and fresh herbs if you have them. Serve immediately because the shallots lose their crunch quickly and that contrast is everything.
 Pin It
 Somewhere between the second and third time I made this, it stopped being a recipe and started being a Thursday night ritual. There is something about the smell of browning butter mixed with roasted garlic that turns an ordinary weeknight into a small celebration.
What to Serve Alongside
A simple arugula salad with lemon vinaigrette cuts right through the richness of this pasta and takes about three minutes to throw together. If you want to lean into the comfort, a warm crusty loaf for sauce mopping is never a bad idea.
Swaps and Substitutions
You can absolutely swap radiatori for fusilli, rigatoni, or any pasta with plenty of surface area and texture. For a vegan version, plant based butter and vegan Parmesan work surprisingly well, and just confirm your miso is vegan friendly.
Storing and Reheating
Leftovers keep well in the refrigerator for up to two days, though the sauce will thicken considerably as it cools. Reheat gently with a splash of water in a skillet over low heat, stirring until the sauce comes back to life.
- Store the crispy shallots separately in a paper towel lined container at room temperature so they stay crunchy.
- Avoid microwaving if you can help it, because gentle stovetop reheating preserves the sauce texture much better.
- Make extra roasted garlic next time and freeze the paste in ice cube trays for an almost instant weeknight sauce.
 Pin It
 This is the kind of dish that reminds you why cooking at home matters, because no restaurant plate can replicate the feeling of pulling something this good out of your own kitchen. Share it with someone you love, or keep it all to yourself on a night when you deserve something wonderful.
Recipe FAQs
- → Can I use a different pasta shape?
-
Absolutely. Fusilli, rigatoni, or any short pasta with ridges or nooks works beautifully. The key is choosing a shape that holds onto the brown butter miso sauce effectively.
- → What type of miso should I use?
-
White or yellow miso is ideal here because of its mild, slightly sweet profile that complements the brown butter without overpowering it. Red miso can work but will deliver a stronger, saltier punch.
- → How do I know when the butter is properly browned?
-
Watch for the butter to foam, then quiet down. You'll see golden-brown flecks at the bottom of the pan and smell a distinct nutty, toasty aroma. This typically takes 3 to 4 minutes over medium heat. Remove from heat immediately once you see those brown specks to prevent burning.
- → Can I make the crispy shallots ahead of time?
-
Yes, crispy shallots can be prepared a day in advance. Store them in an airtight container at room temperature. They may lose some crunch but will still add excellent flavor. Avoid refrigerating them as moisture softens the texture.
- → Is this dish suitable for vegans?
-
With a few swaps it can be. Use vegan butter, a plant-based Parmesan alternative, and confirm your miso paste is vegan-friendly. The roasted garlic and shallots are already vegan, so the core flavors remain intact.
- → Why reserve pasta water before draining?
-
Pasta water is full of starch that helps bind the brown butter miso sauce to the pasta, creating a silky, emulsified coating rather than a greasy one. Add it in small splashes until the sauce reaches your desired consistency.